Accelerating software development with Red Hat Developer Hub
Red Hat Developer Hub
The Red Hat® Developer Hub is a developer portal that promotes efficiency and collaboration by visually consolidating elements of the development process. It streamlines onboarding speed, developer productivity, and collaboration through a unified and open platform while reducing cognitive load and frustration for the development team. With pre-architected and supported approaches, and by centralizing technology resources, developer focus can center on delivering a competitive advantage for their organization.
Development teams can help make sure workflows run smoothly by providing the right tools, validated environments, and on-demand services. Confidence is gained that software will adhere to organizational best practices and standards without introducing unnecessary bureaucracy. Maintenance becomes more manageable, and future teams can easily assume control within a known, trusted environment, while also enhancing governance.
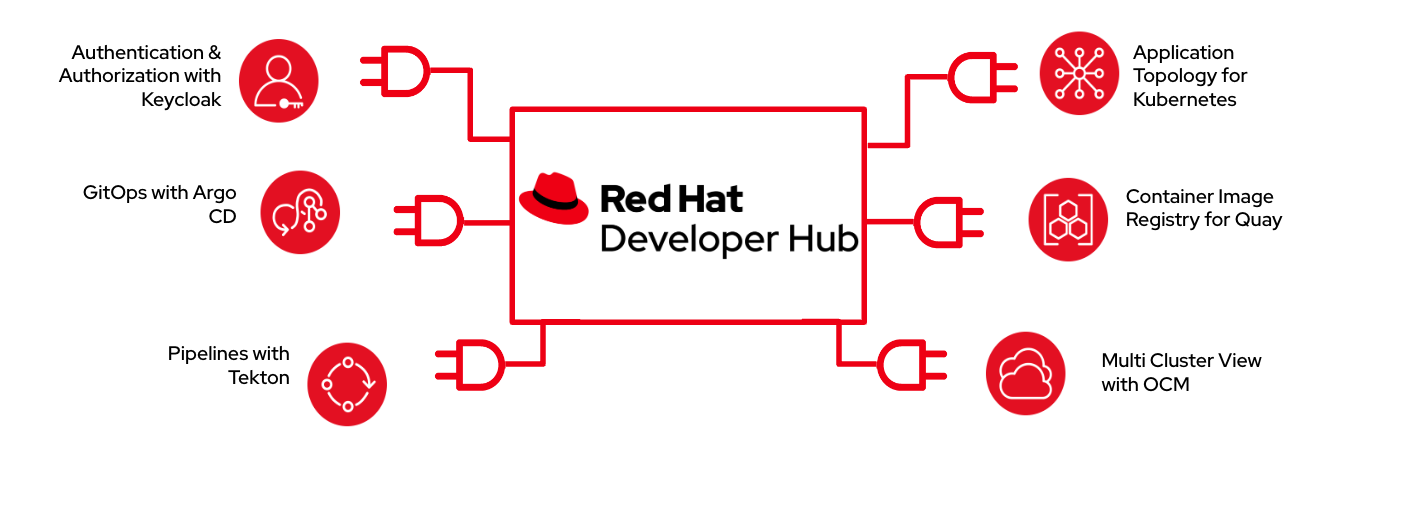
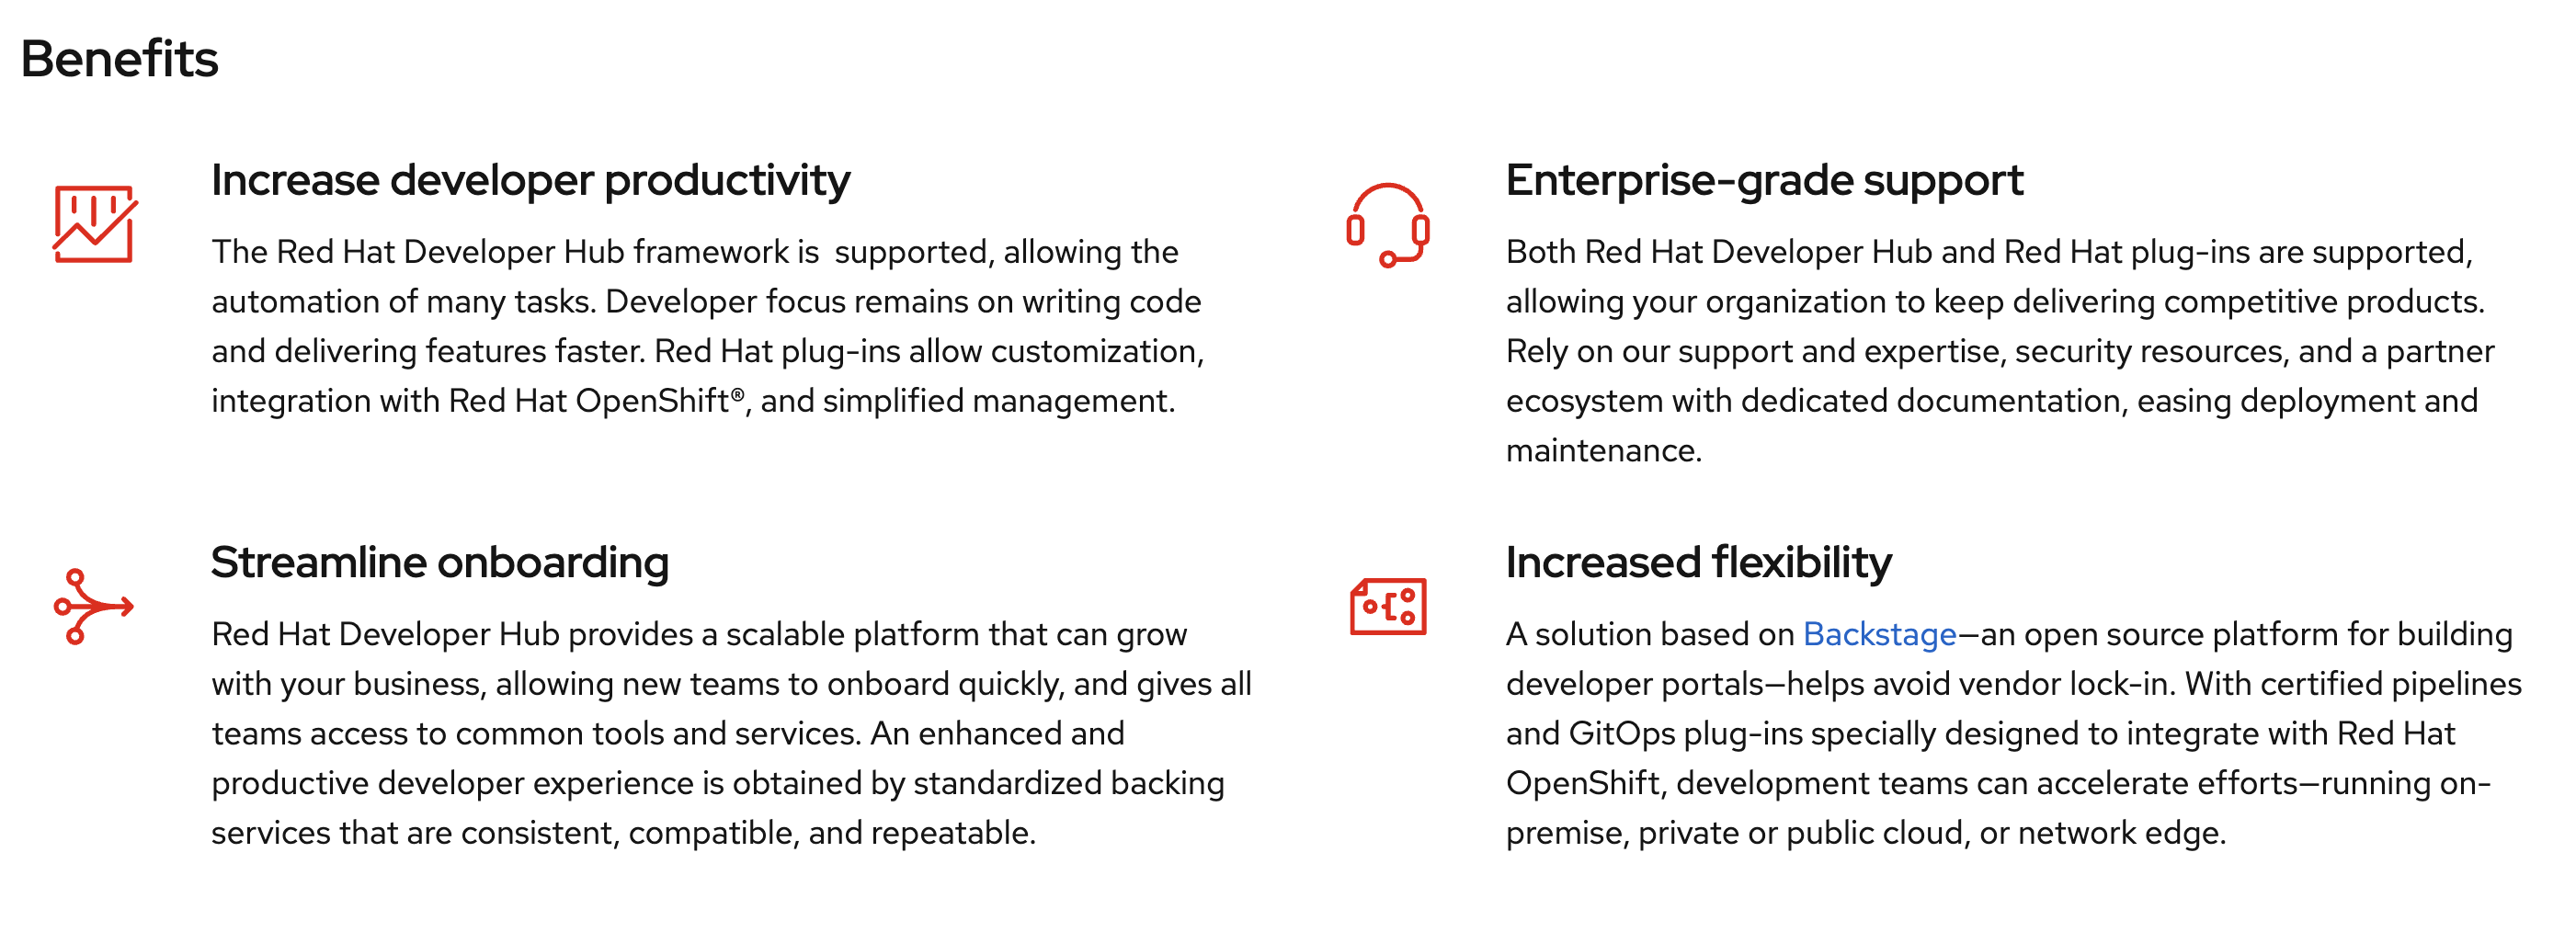
Red Hat Developer Hub Benefits include:
More Details about Red Hat Developer Hub.
Red Hat Developer Hub Lab Environment
-
Red Hat Developer Hub (RHDH)
RHDH (i.e. Backstage) is the front end of our RHDH Demo. It gives insight into the components installed in our Clusters and how those components connect to one another.
RHDH Demo also uses RHDH plugins to allow for the rapid deployment of new components. With the click of a button application teams can create a new code base including repo, pipelines, security, Kubernetes objects and everything required for development and deployment into OpenShift.
-
Developer Workspaces
The RHDH Demo deployment includes integration with Dev Spaces allowing development teams to have instant access to an IDE preloaded with their new code and ready for development.
-
Deployment
RHDH Demo deploys a pipeline using OpenShift Pipelines(Tekton) that run test and security scans on the code, as well as packaging the application and building/deploying the container image into a specified registry.
OpenShift GitOps(ArgoCD) enables customers to build and integrate declarative git driven CD workflows directly into their application development platform.
-
Security
Red Hat SSO(Keycloak) Red Hat SSO(Keycloak) is an identity management platform that secures our services (such as backstage) using a range of Identity Providers
Register for Lab Access
-
Open workshop link provided from instructor, register with your email and
openshiftas password.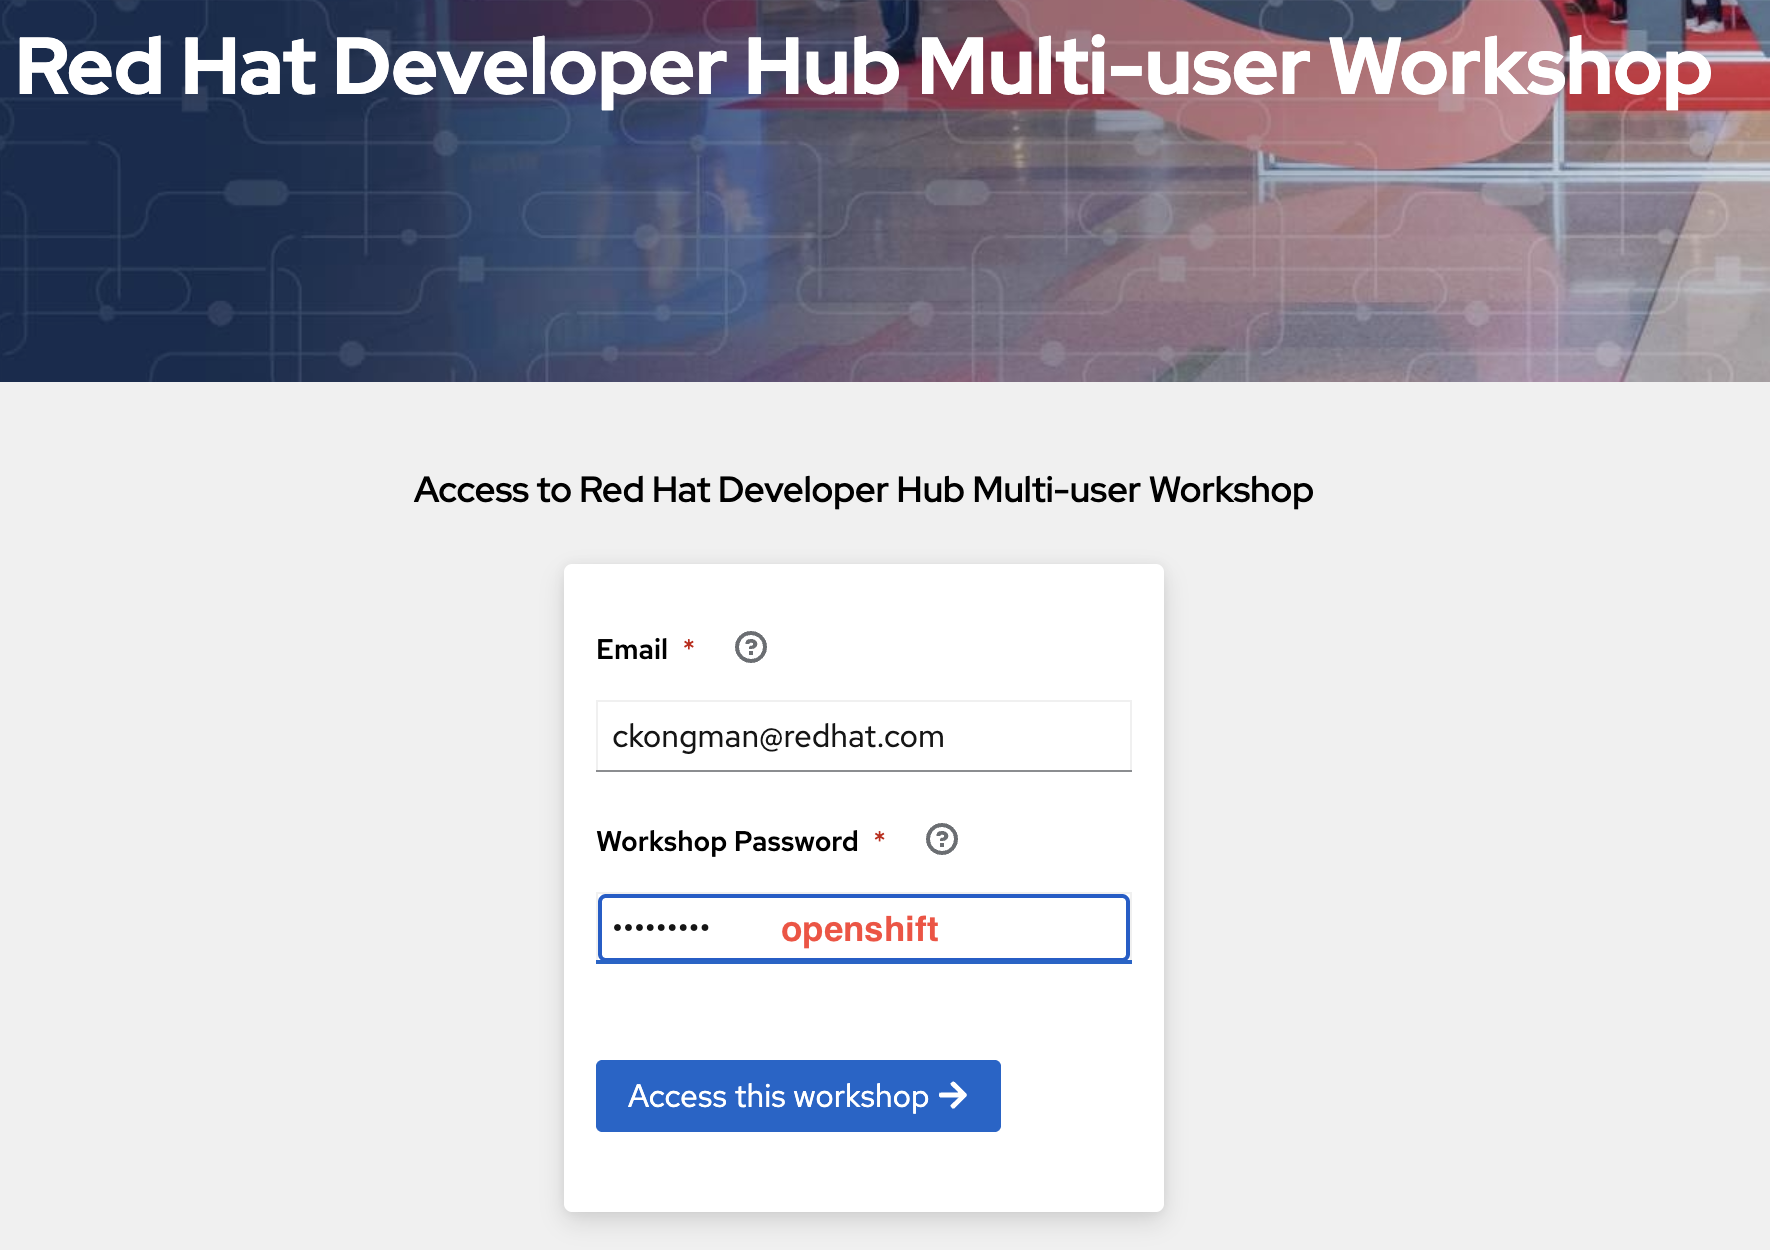
-
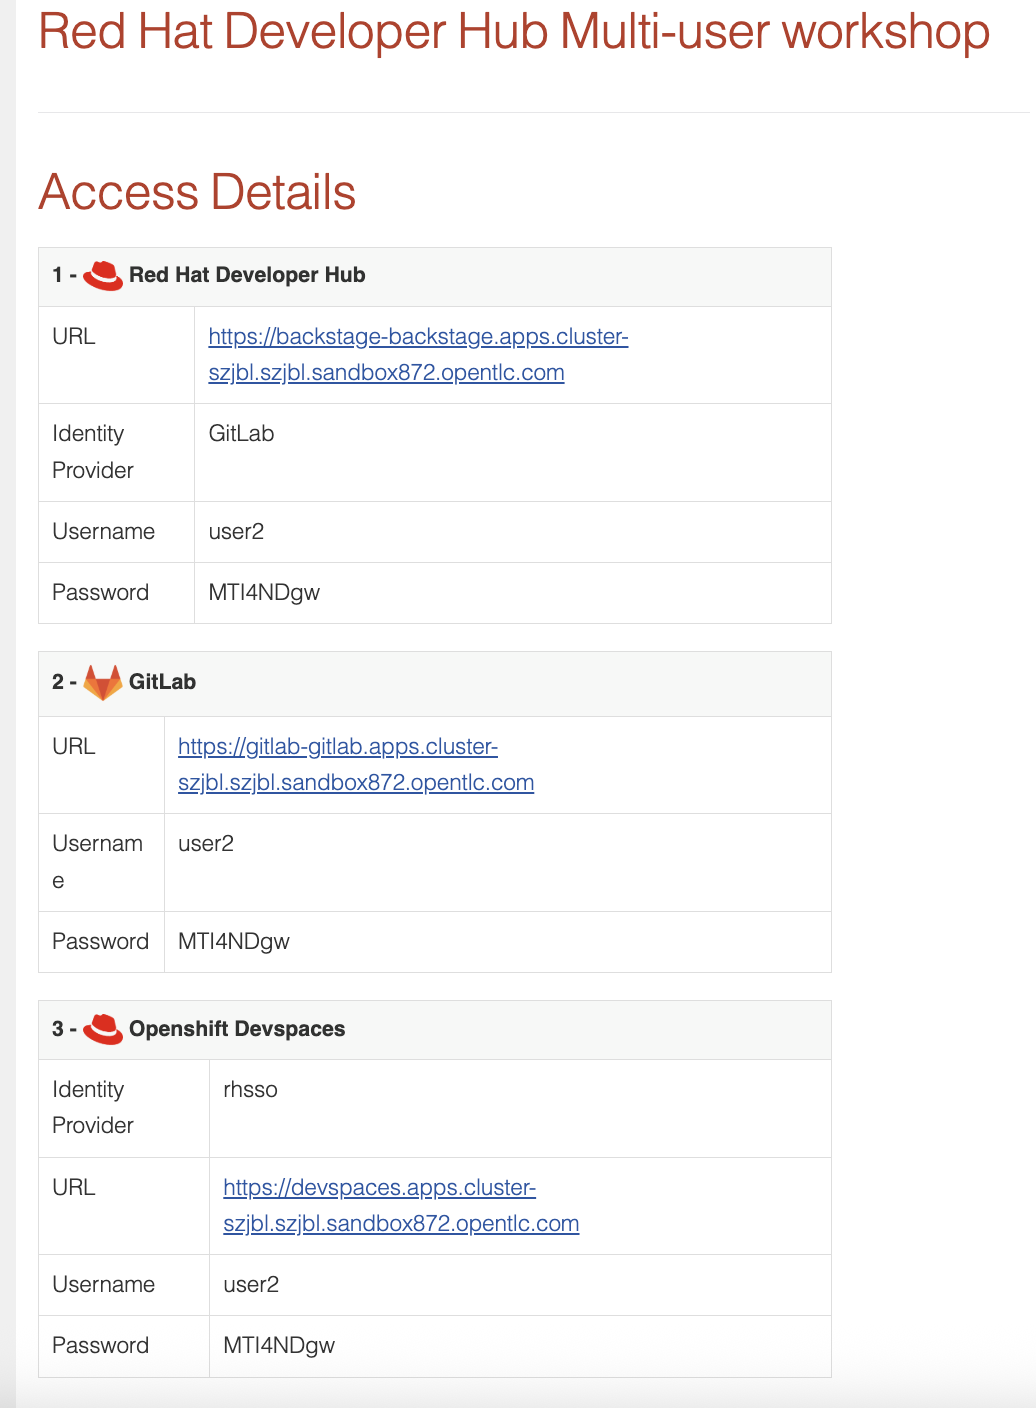
After registration, you’ll get username, password, and URL for access to each component.
-
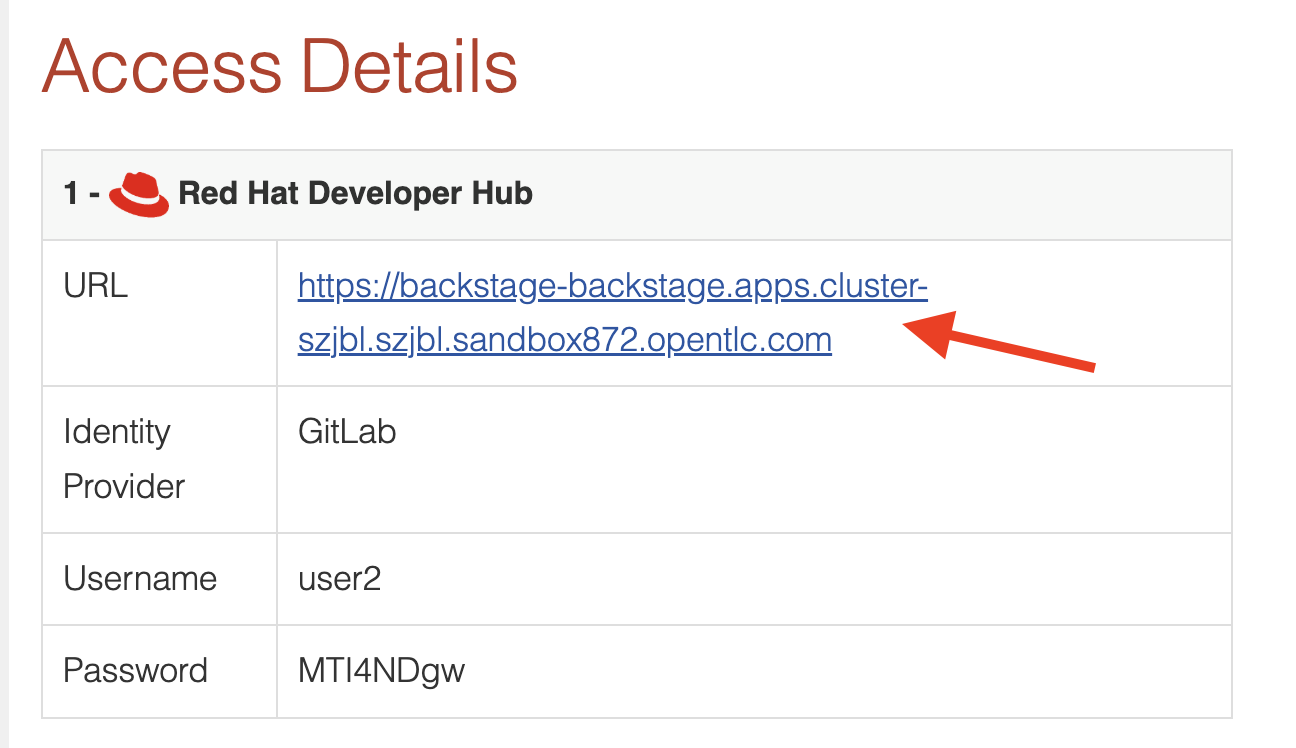
Open Red Hat Developer Hub URL.
-
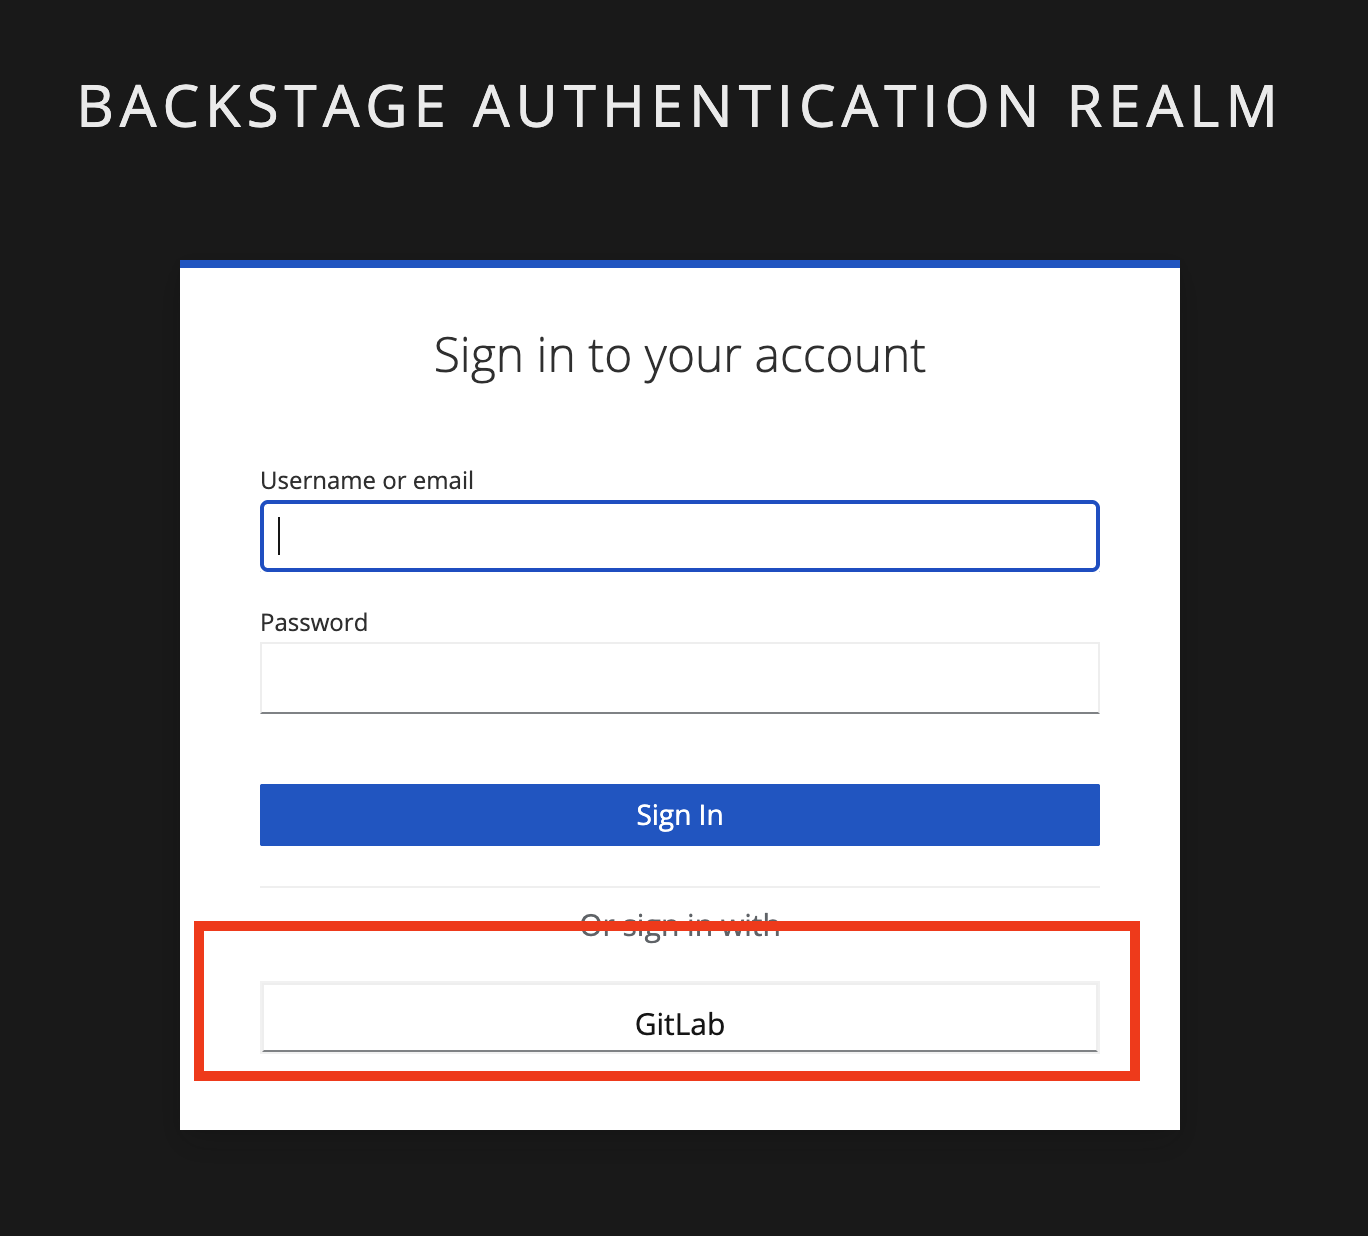
In Sign In page, choose sign in with GitLab.
-
Enter username and password for Gitlab provided in the lab registration page.
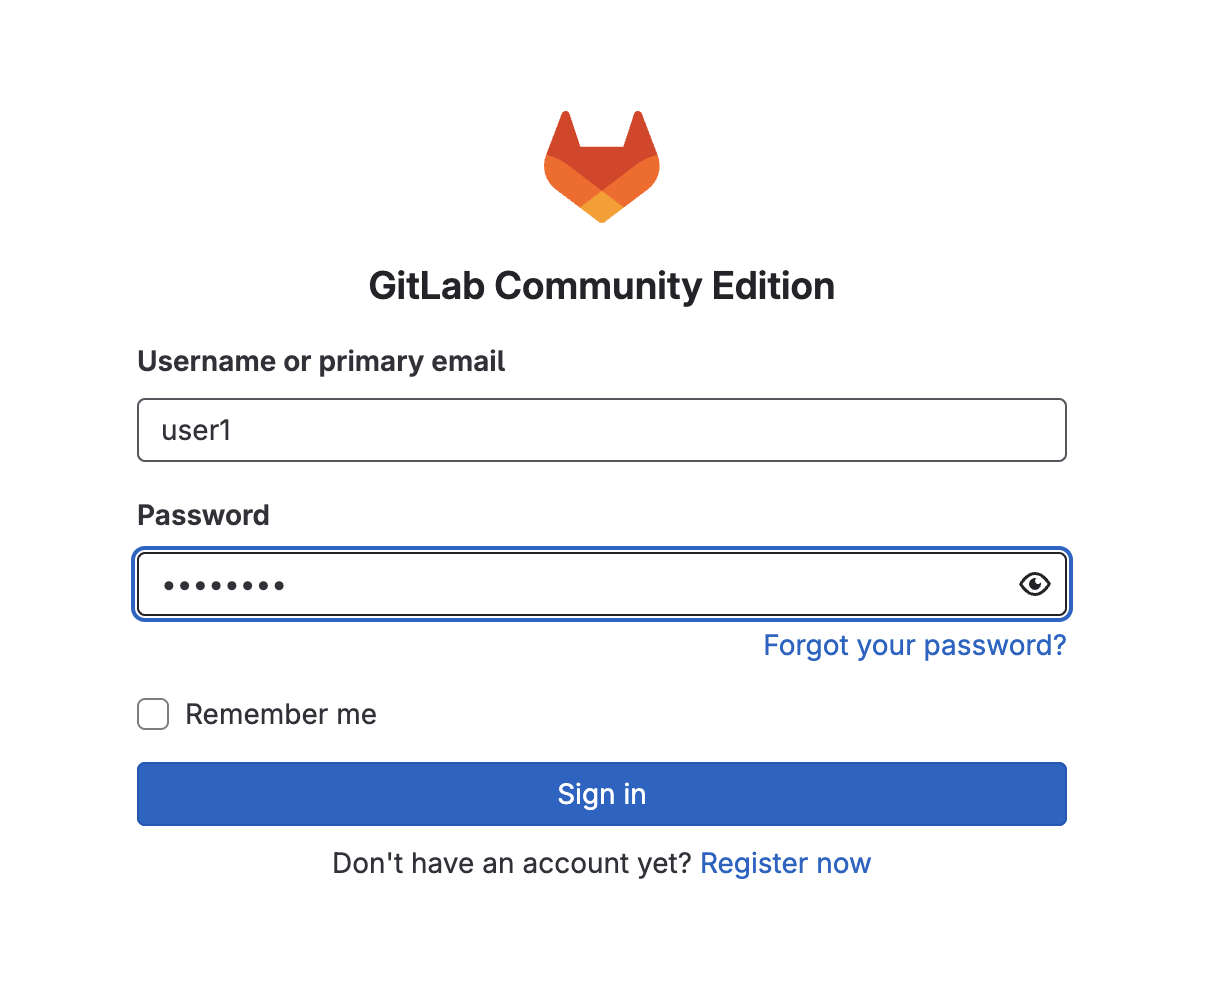
-
Give authorize to Keycloak to access your account profile on GitLab.
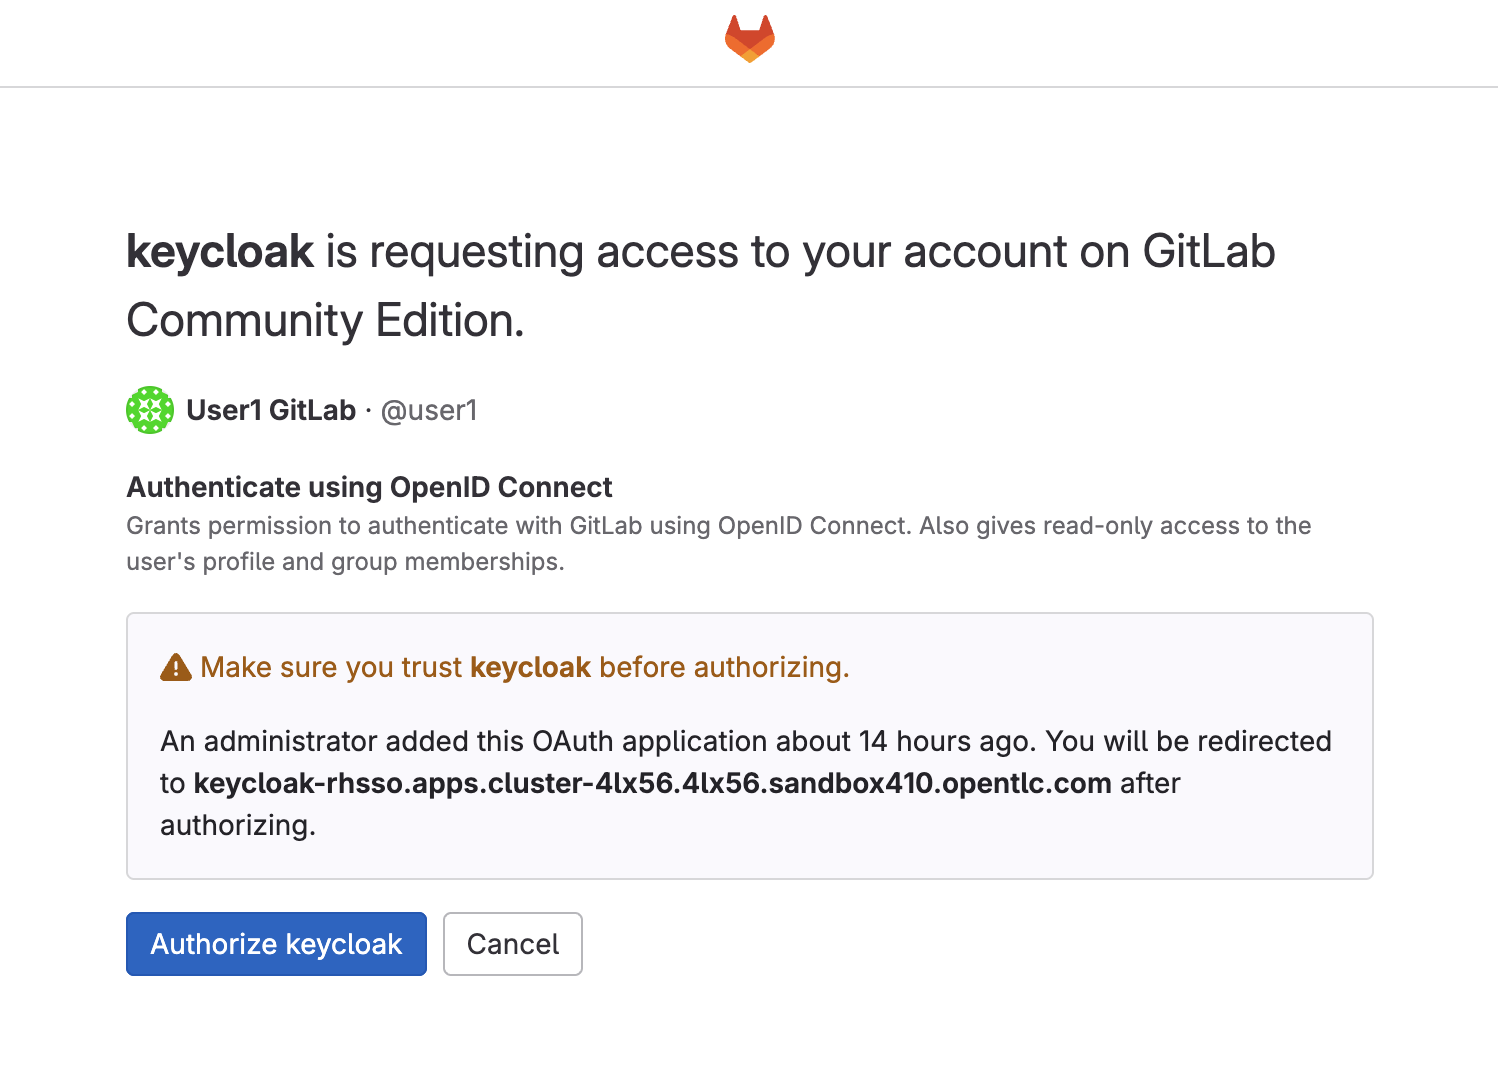
-
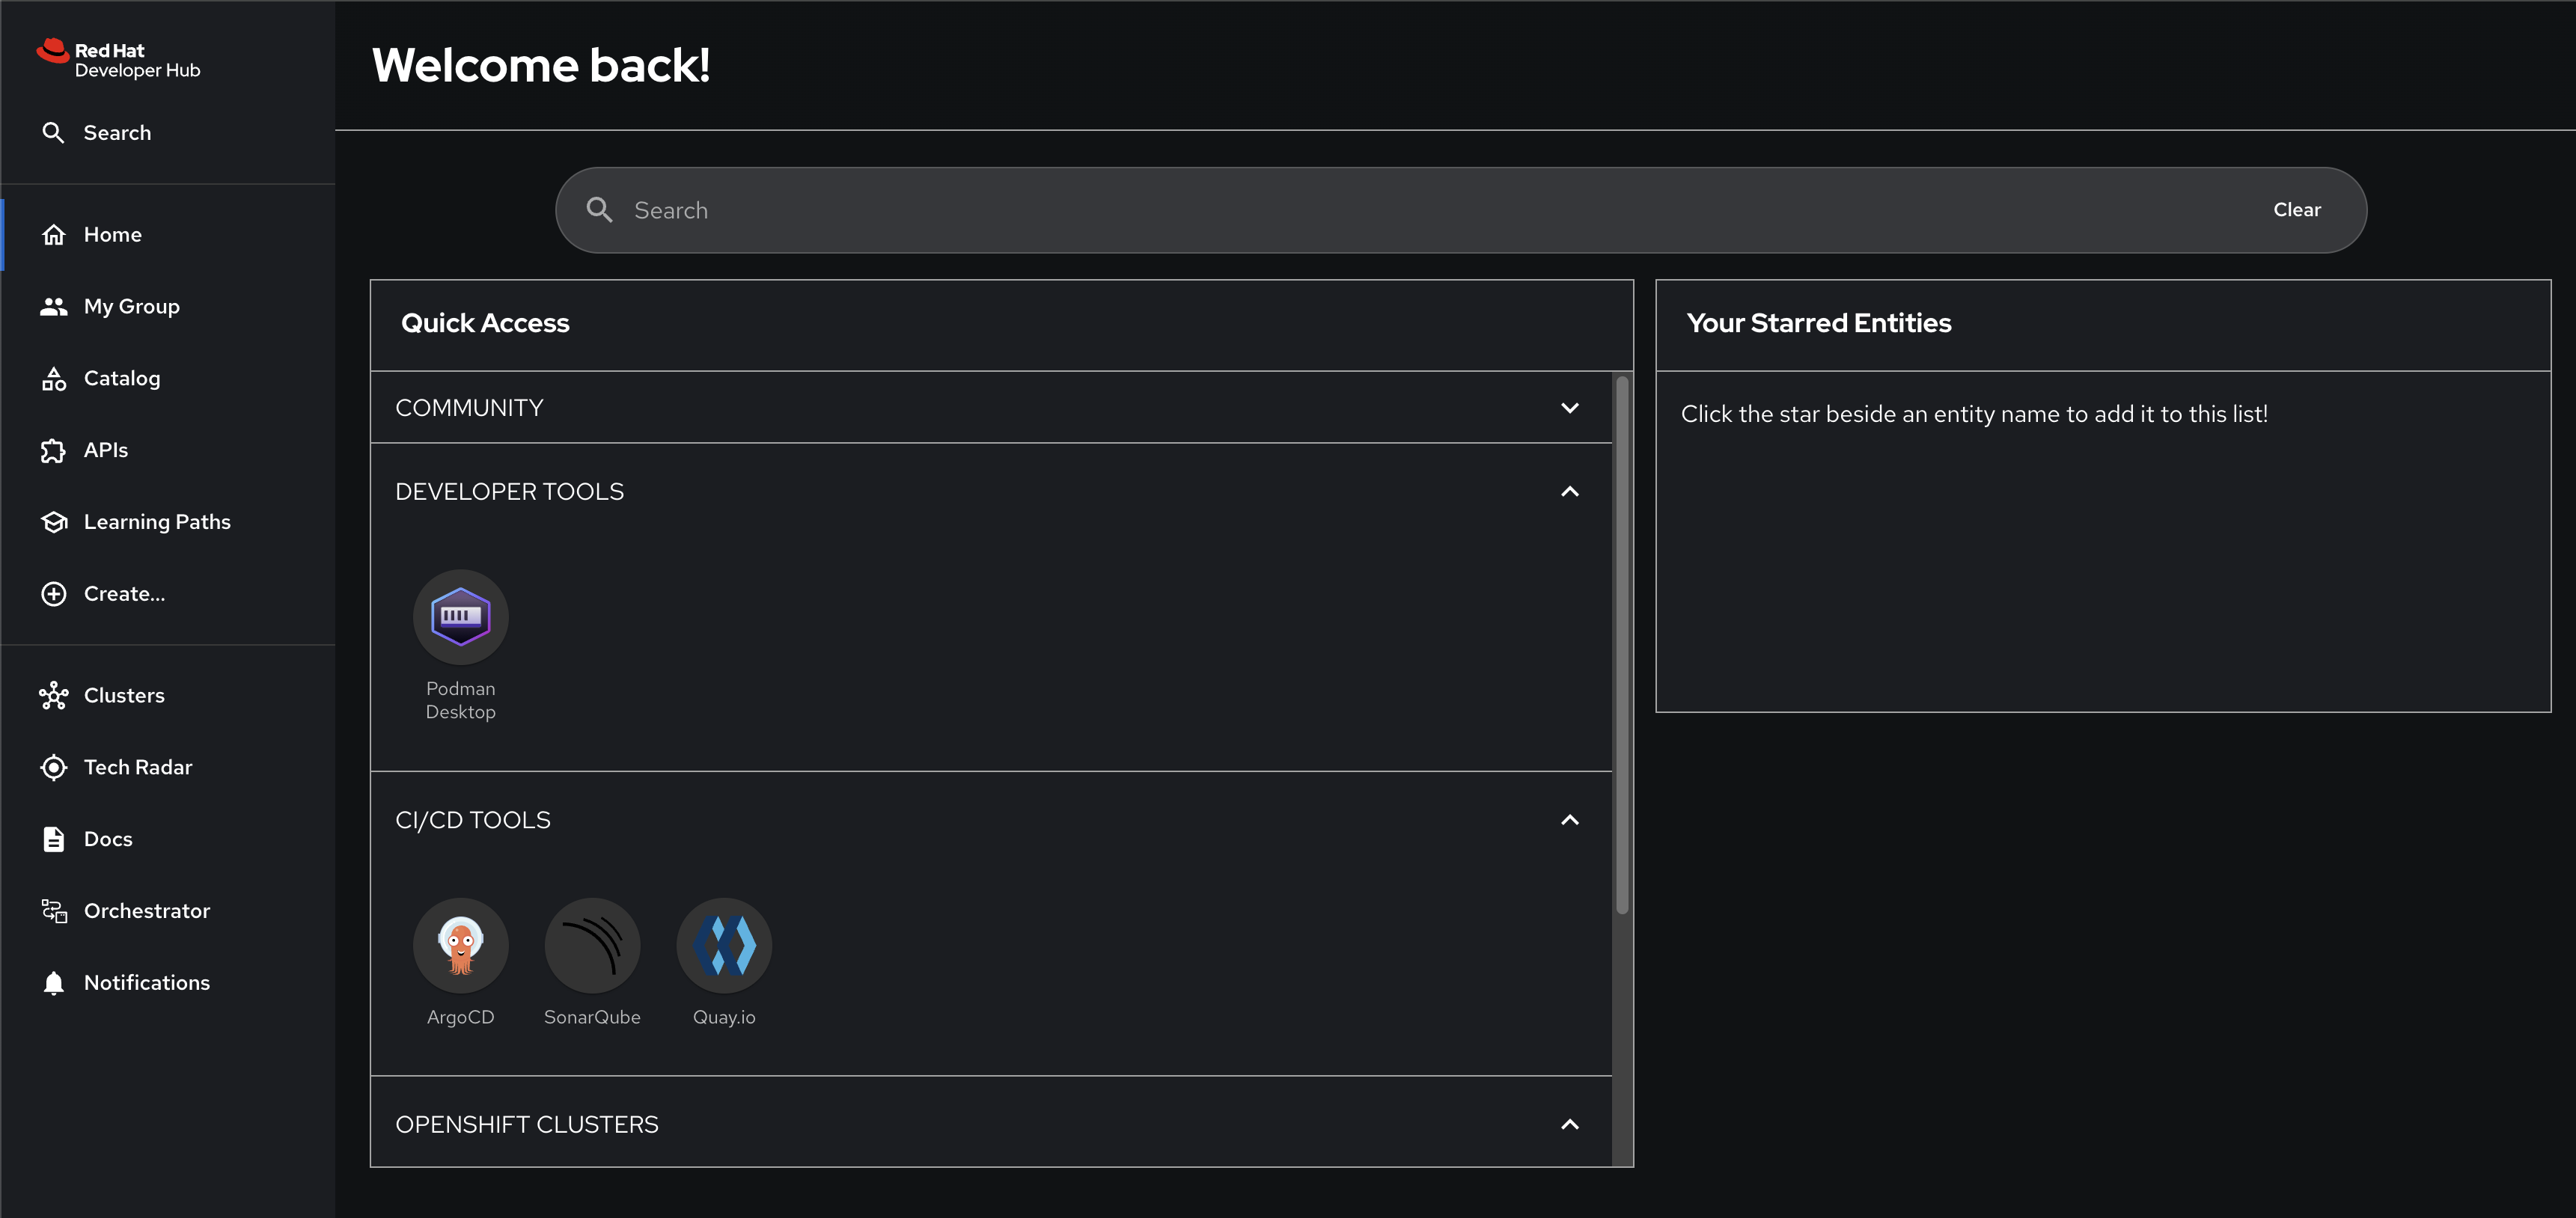
You should be authenticated successfully and redirected to the RHDH home screen.
Technical Storytelling - Golden Path
Golden Paths are a fundamental ingredient of well architected Internal Developer Platforms (IDP). Spotify uses the term "Golden Path", but that concept has other monikers. For example Netflix calls the same idea "Paved Road".
The general notion behind this concept is that the platform offers some form of pre-architected and supported approaches to building and deploying a particular piece of software. If a team can "stay" in the path (because the requirements of what they are building allow them to), then they get a supported road to production without having to learn all the details of the technology used to create that road.
This approach accelerates typical application development use cases (onboarding of a new team member, onboarding of a new application), and at the same time, injects the best practices that have been learned in the past. The more sophisticated Golden Paths are, the more they will be adopted, providing, as a result, more uniformity of configuration and behavior across the application portfolio.
So, what is in a Golden Path? It depends on what is being deployed. In the case of an internally developed application, a Golden Path will have at a minimum, the following ingredients:
A repository template to get started with. This could be a simple hello world application, but with the key resources and the configurations that allows any developer to get started quickly with the company IDEs and all the settings that embodies the best practices for code development.
A pipeline that can take the aforementioned repository, build it, and push the resulting artifacts all the way to production. The pipeline will have all of the steps that are deemed necessary for the organization to trust that code being deployed to production.
A set of manifests to allow for deploying the application. These could be Helm charts or kustomize configurations in the Kubernetes world, or other forms configuration descriptions, if not using Kubernetes. Observability capability baked in. Observability (logs, traces, metrics and alerts) is a foundational capability that should be provided by the platform. Exactly what to observe in a specific application has to be defined as part of the deployment manifest. A Golden Path should provide reasonable defaults for observability settings.
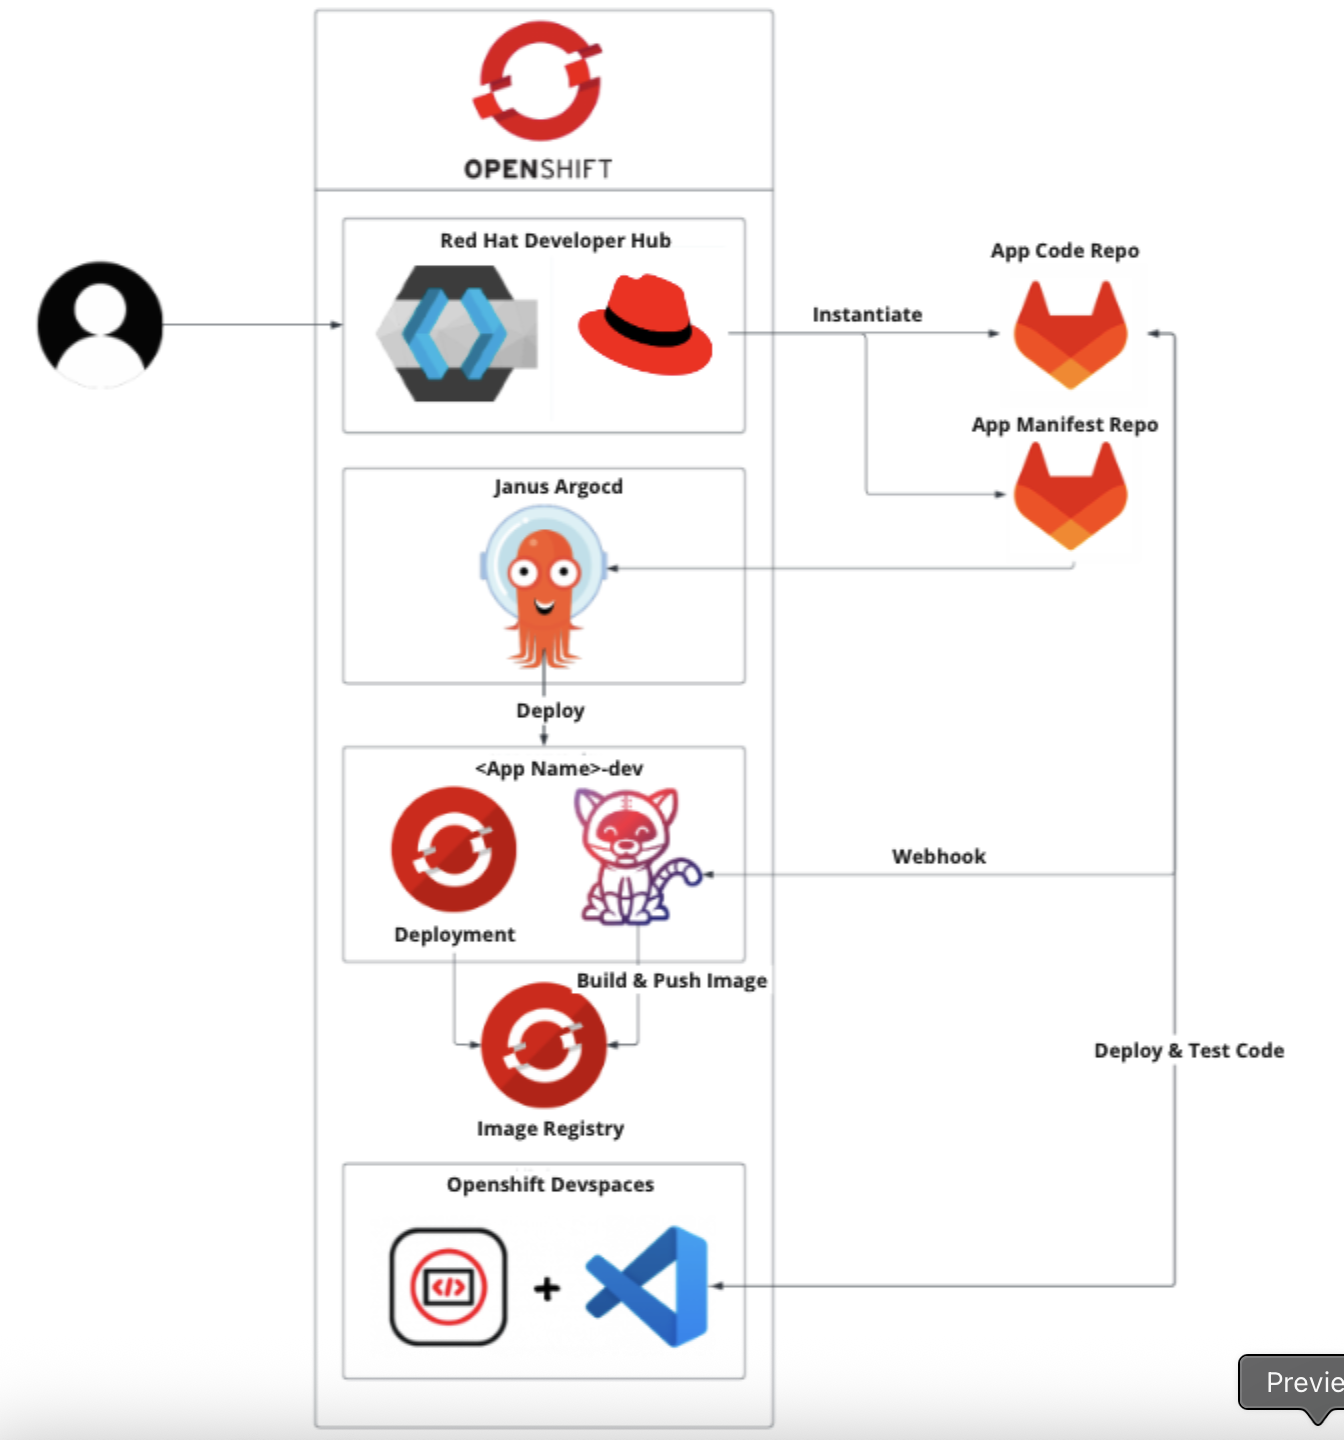
Now, let’s assume that we onboard an application using a Golden Path. Here is what it might look like:
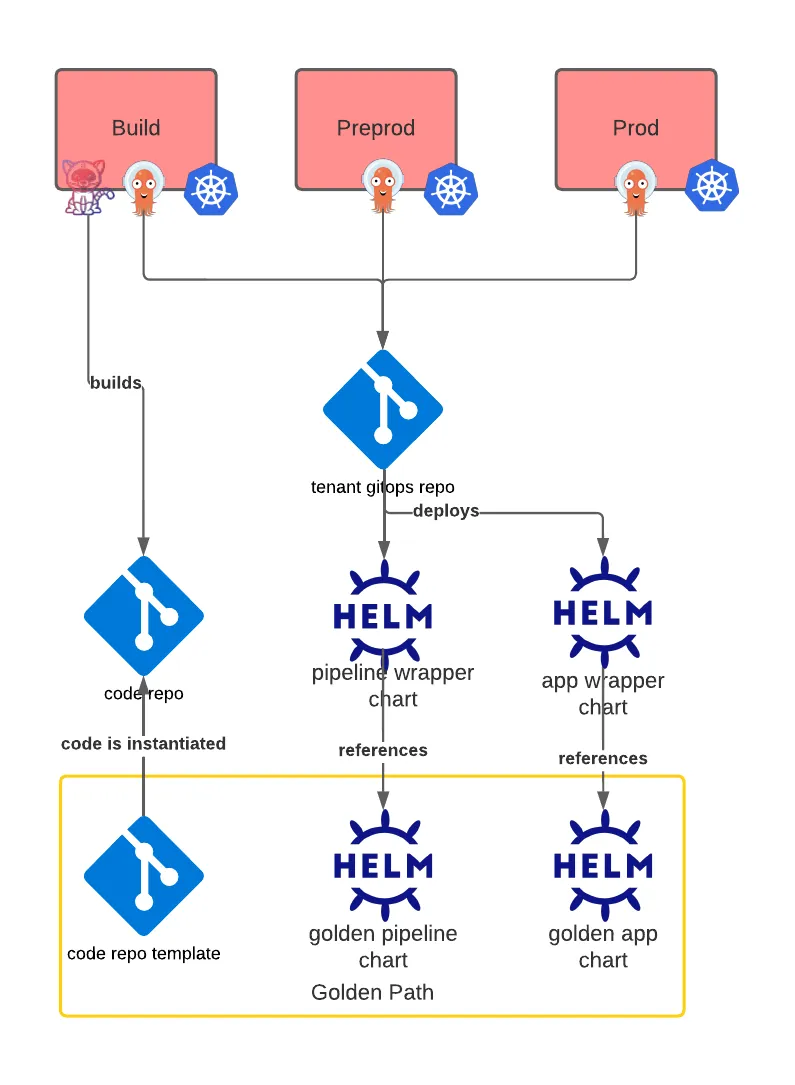
Golden Path with Red Hat Developer Hub Software Templates Library
Welcome to the Red Hat Developer Hub Software Templates Library (Link). This repository contains a collection of software templates designed to illustrate best practices in software development and deployment. Our templates cover a wide range of technologies and frameworks, ensuring you have a suitable starting point for your project’s needs.
-
Software / Golden Templates
Software / Golden Templates are pre-configured, best practice templates that are considered the standard for certain types of applications or environments. They are maintained with the latest recommendations and practices. Using Software Templates can help ensure that your projects adhere to industry standards and organizational policies.
Our software templates are crafted to provide you with a solid foundation for your projects. Each template is a blueprint that includes predefined configurations, dependencies, and deployment procedures. These templates are intended to help you quickly set up and deploy applications with industry best practices.
-

Review Software Template
-
Back to workshop registration result page, then open GitLab URL and login with the given username and password (if required).
-
Select
rhdh/software-templateproject.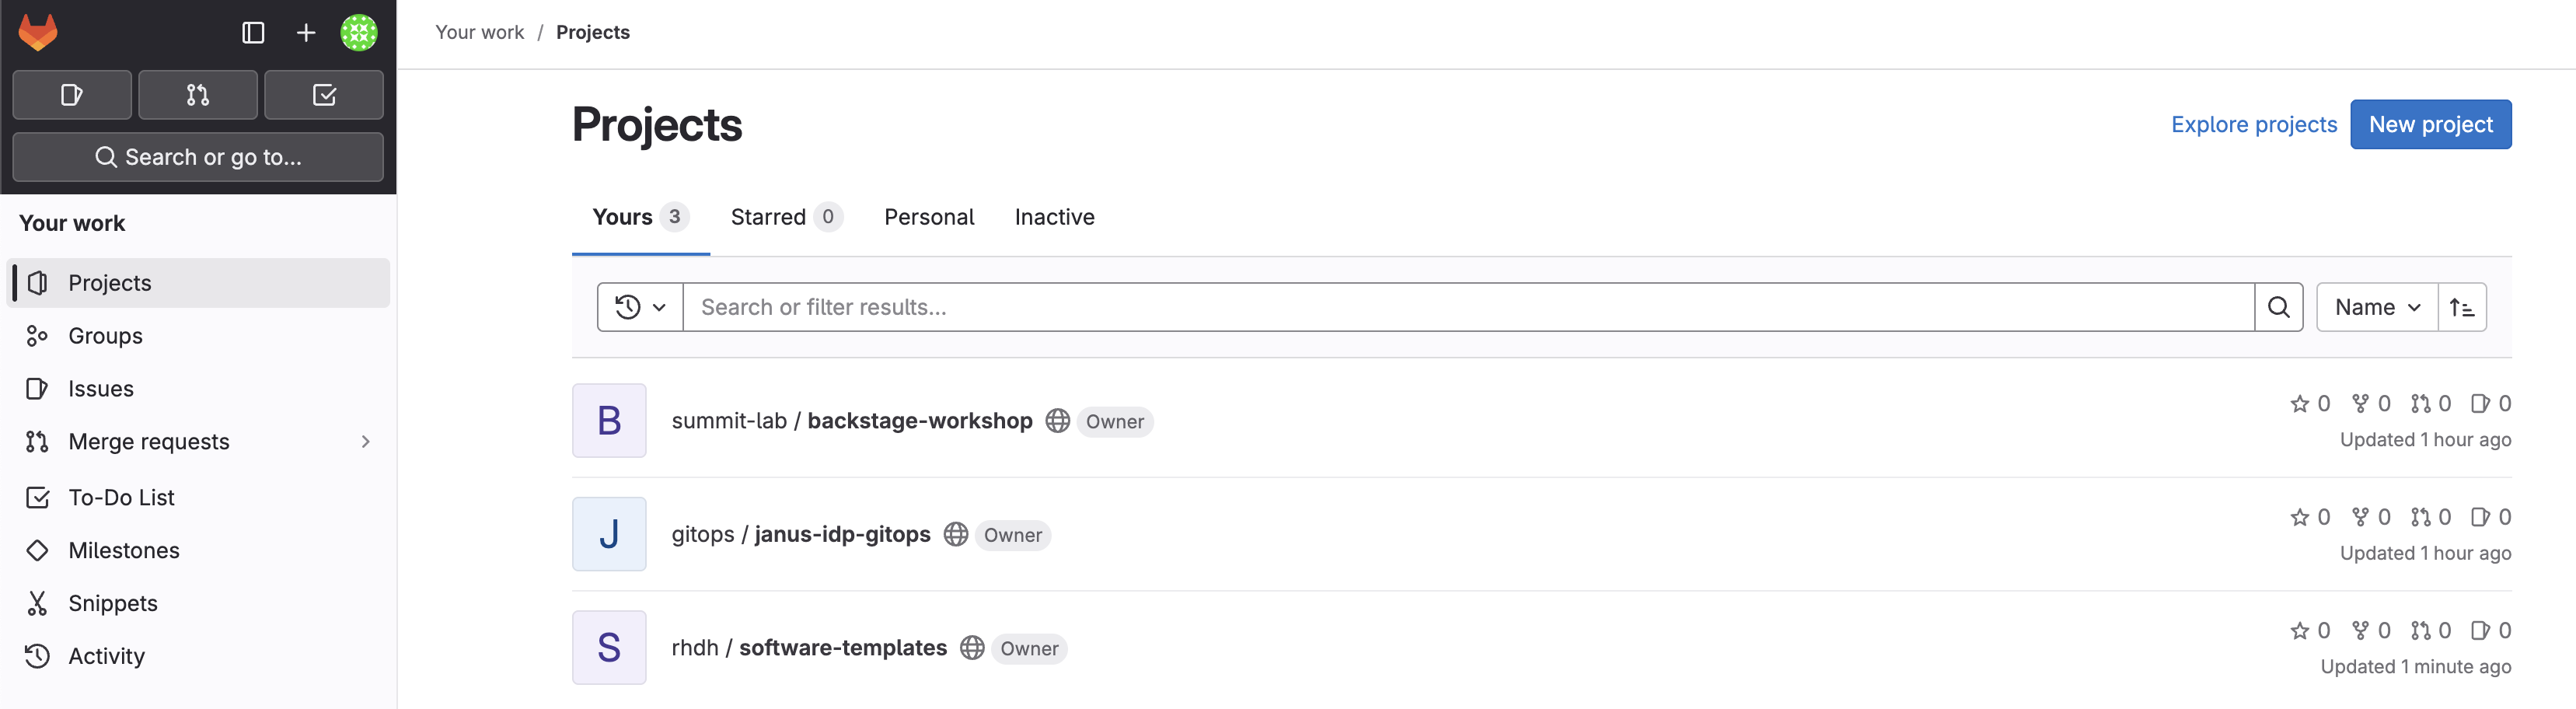
-
Review the repository structure.
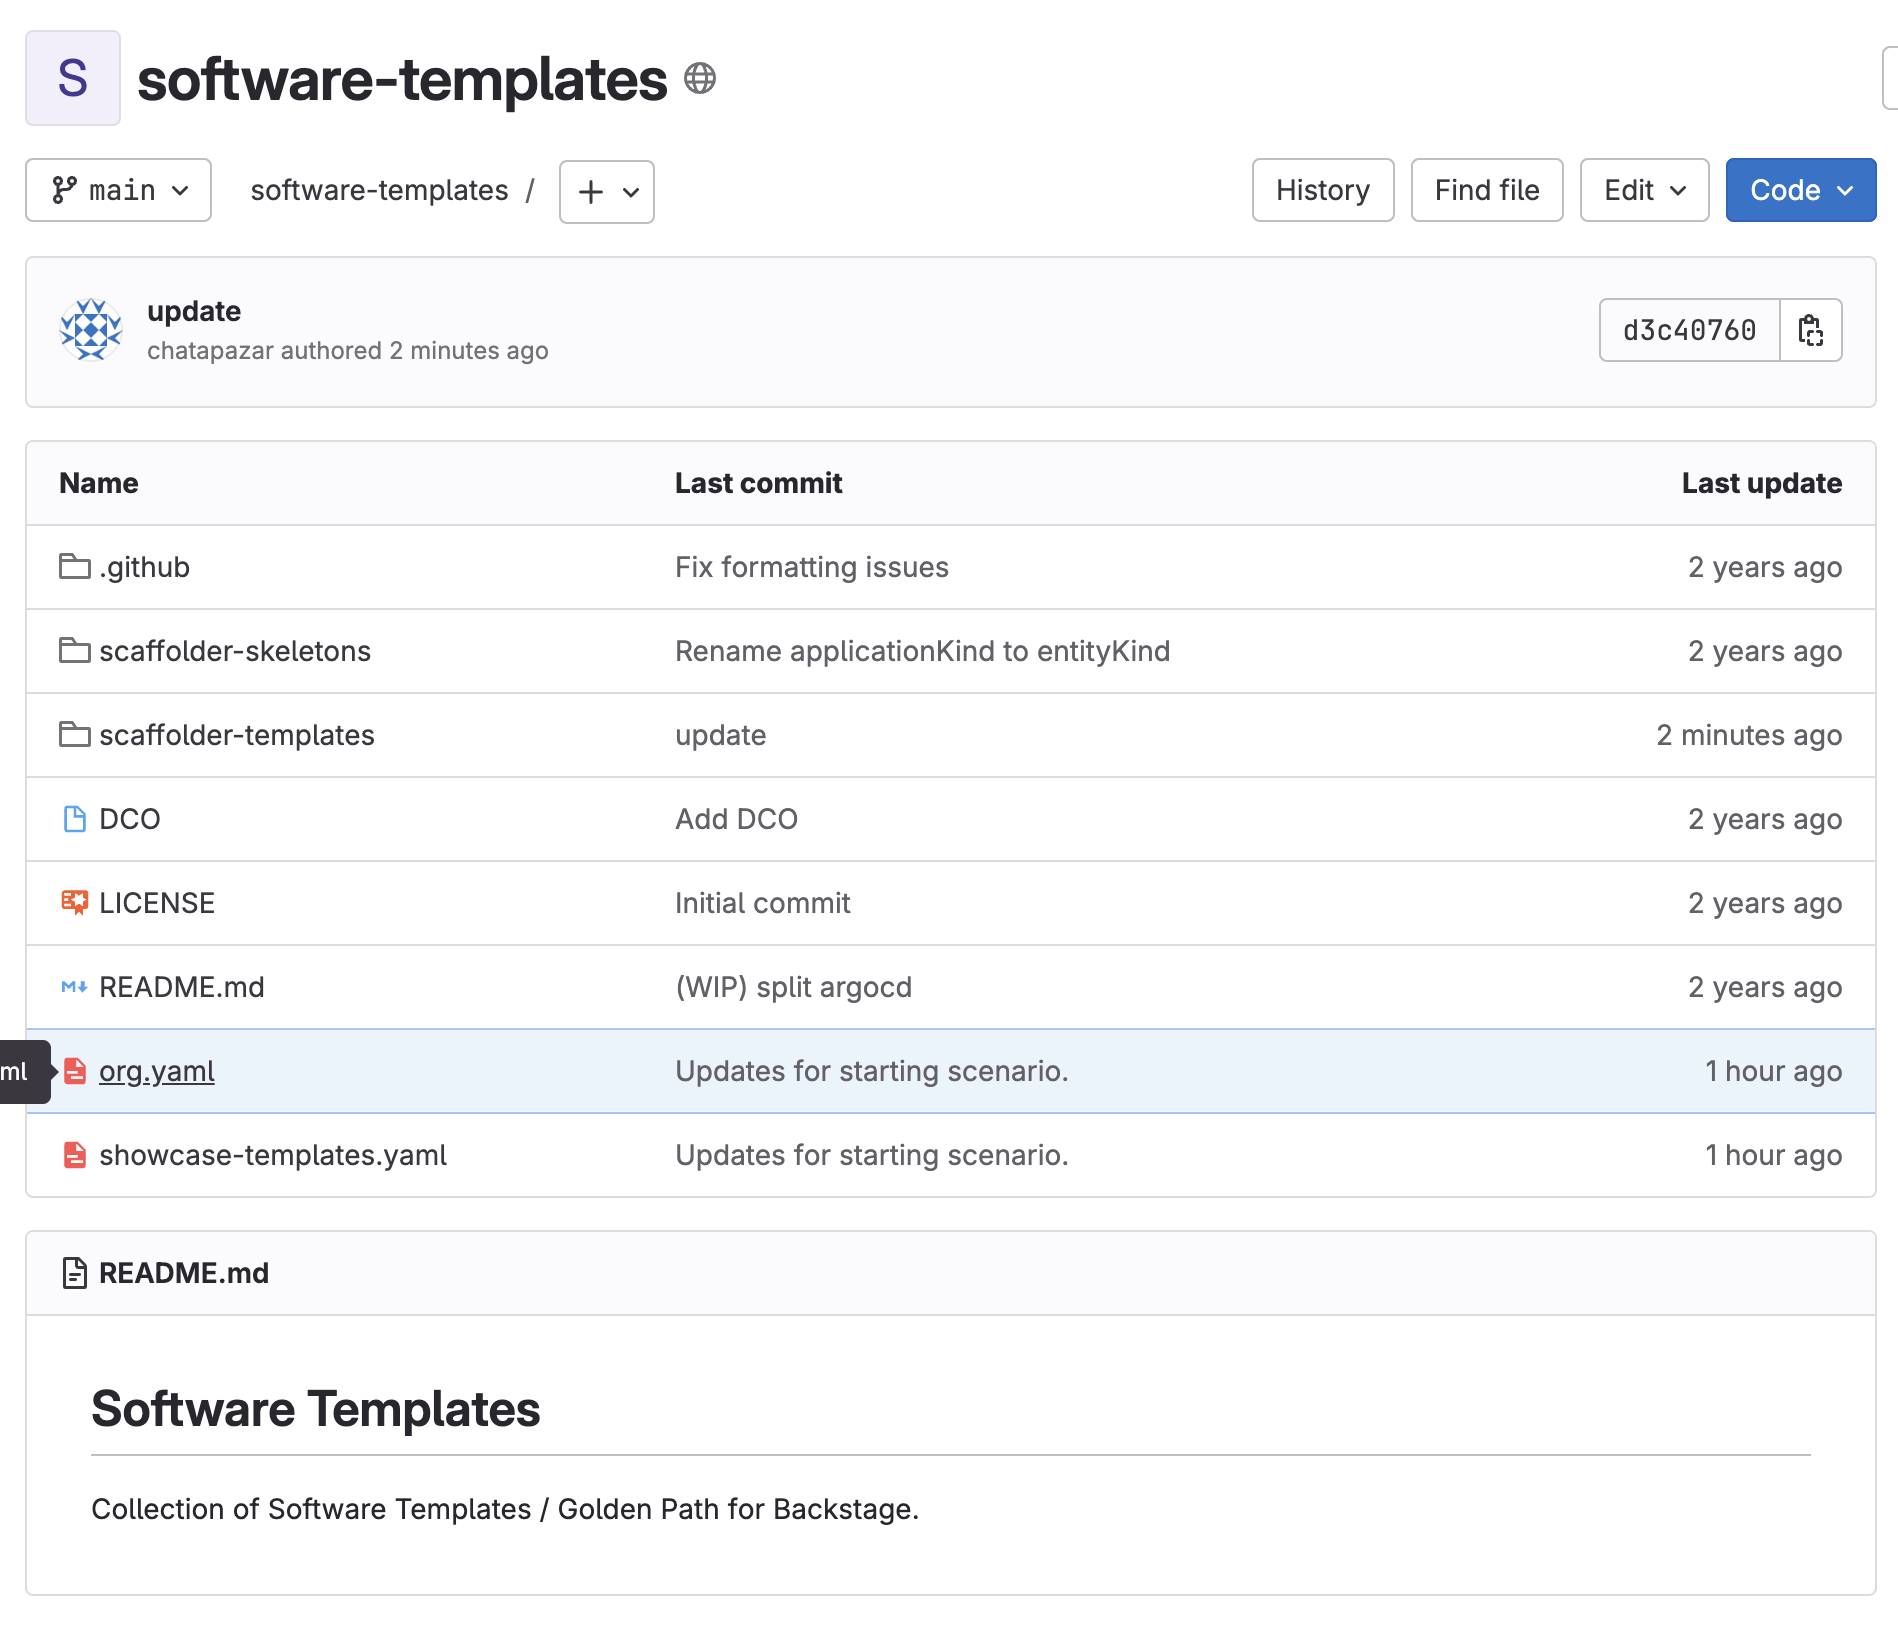
-
Click on
scaffolders-templatesdirectory to view pre-defined templates. We will begin creating a software component based on thequarkus-web-templatetemplate to create a Quarkus application with a Tekton Pipeline and Argo CD for CI/CD.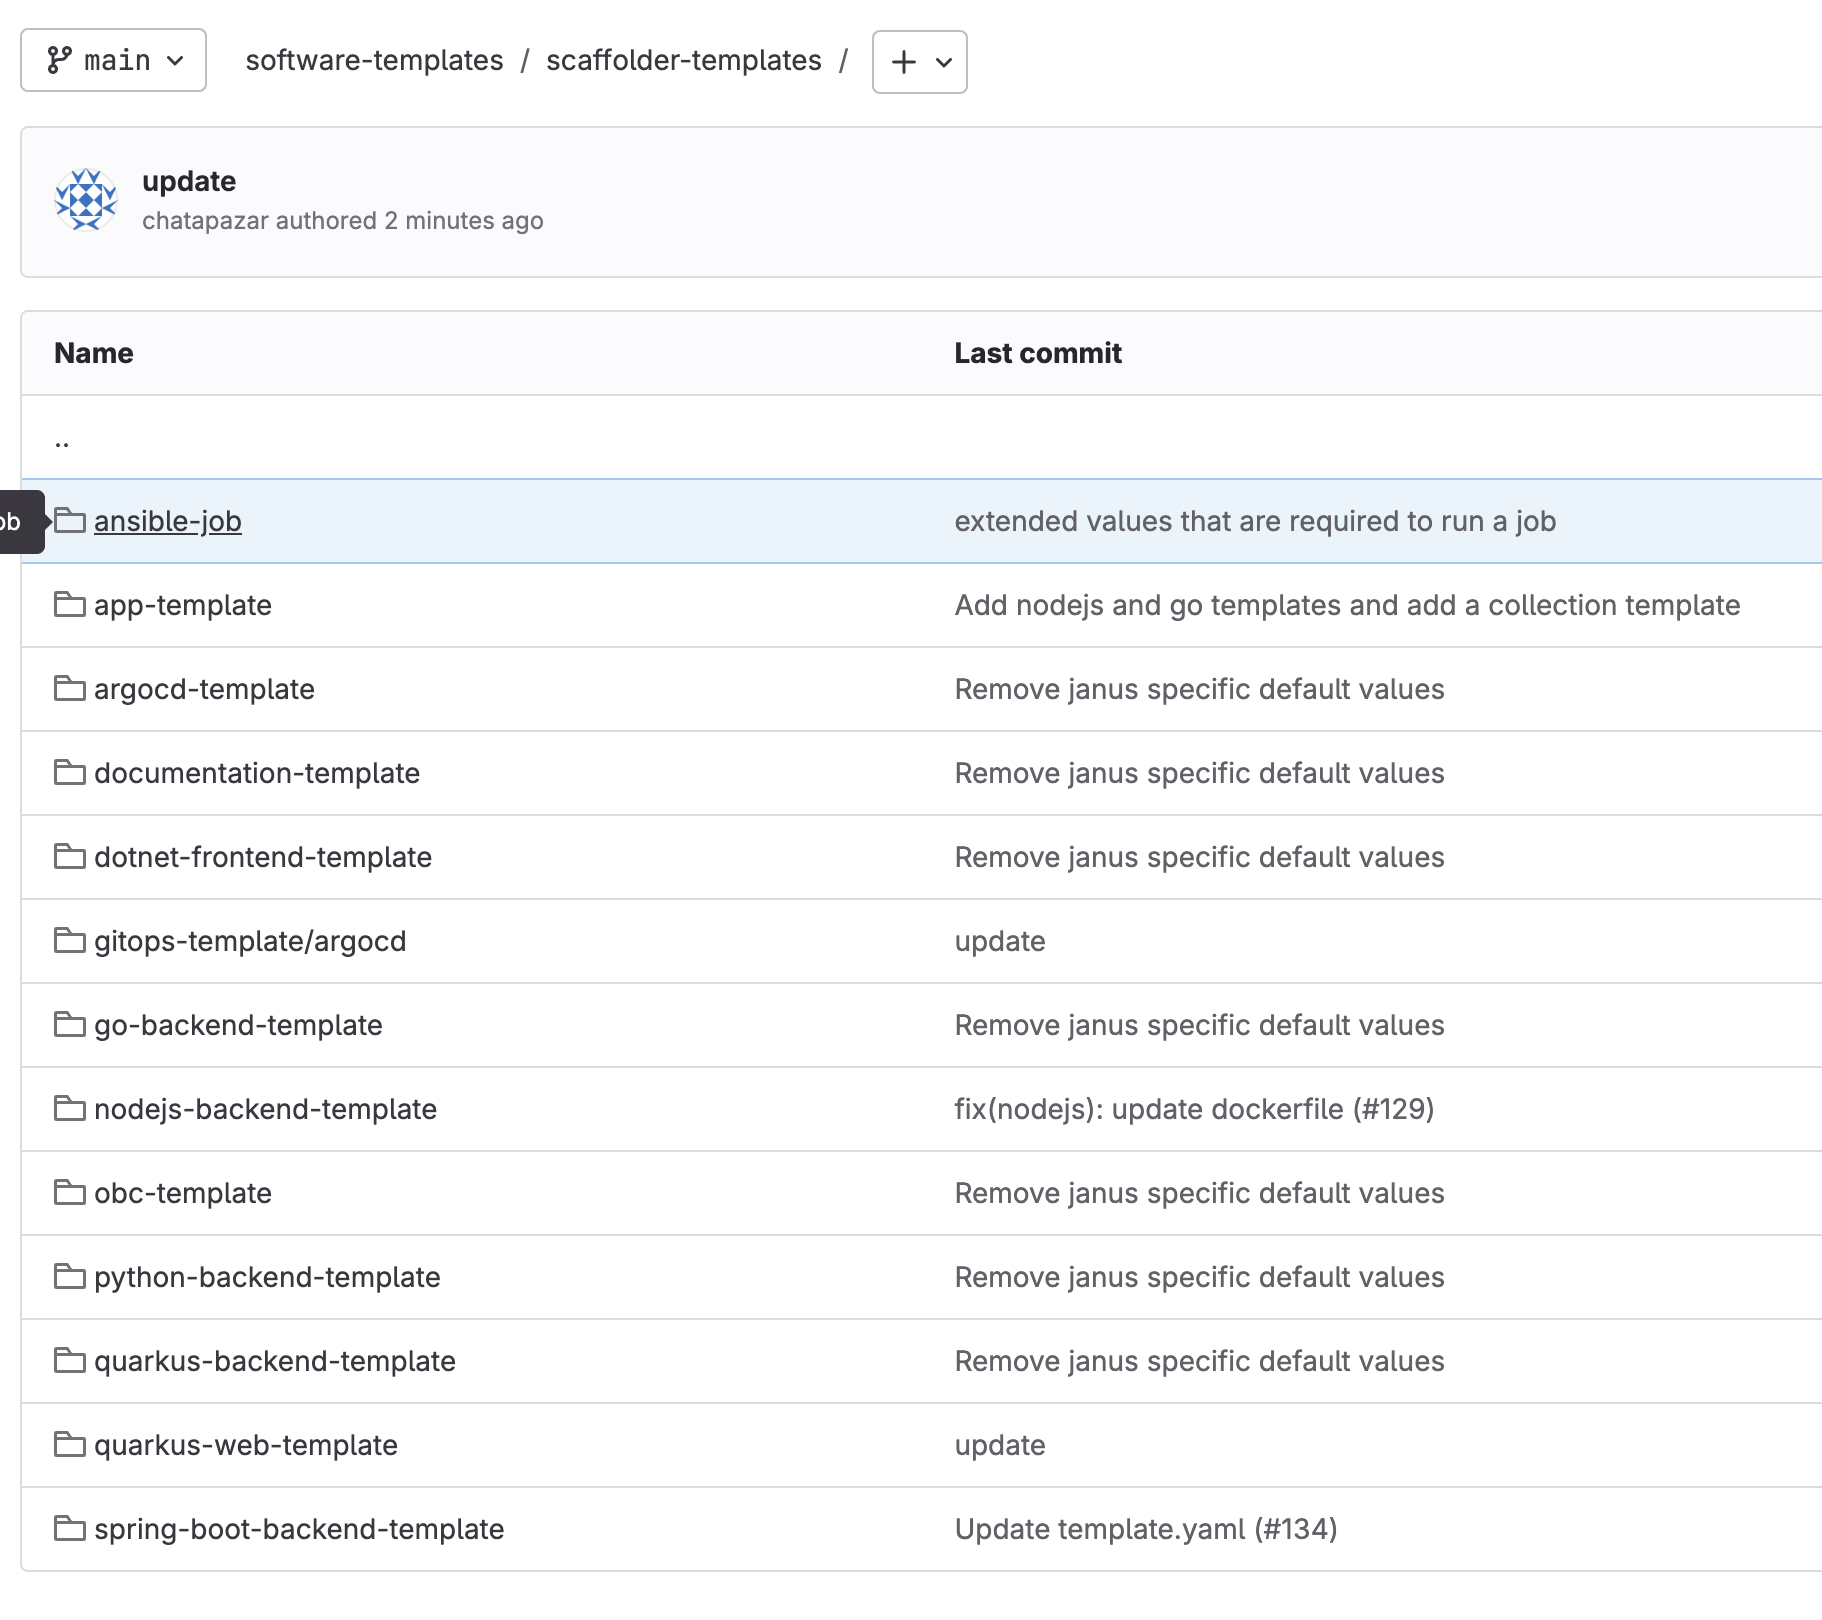
-
Click on
quarkus-web-templatediretory to see the template structure and files.
-
Go into
skeleton/src/main/java/${{values.java_package_name}}directory to view skeleton code in this template.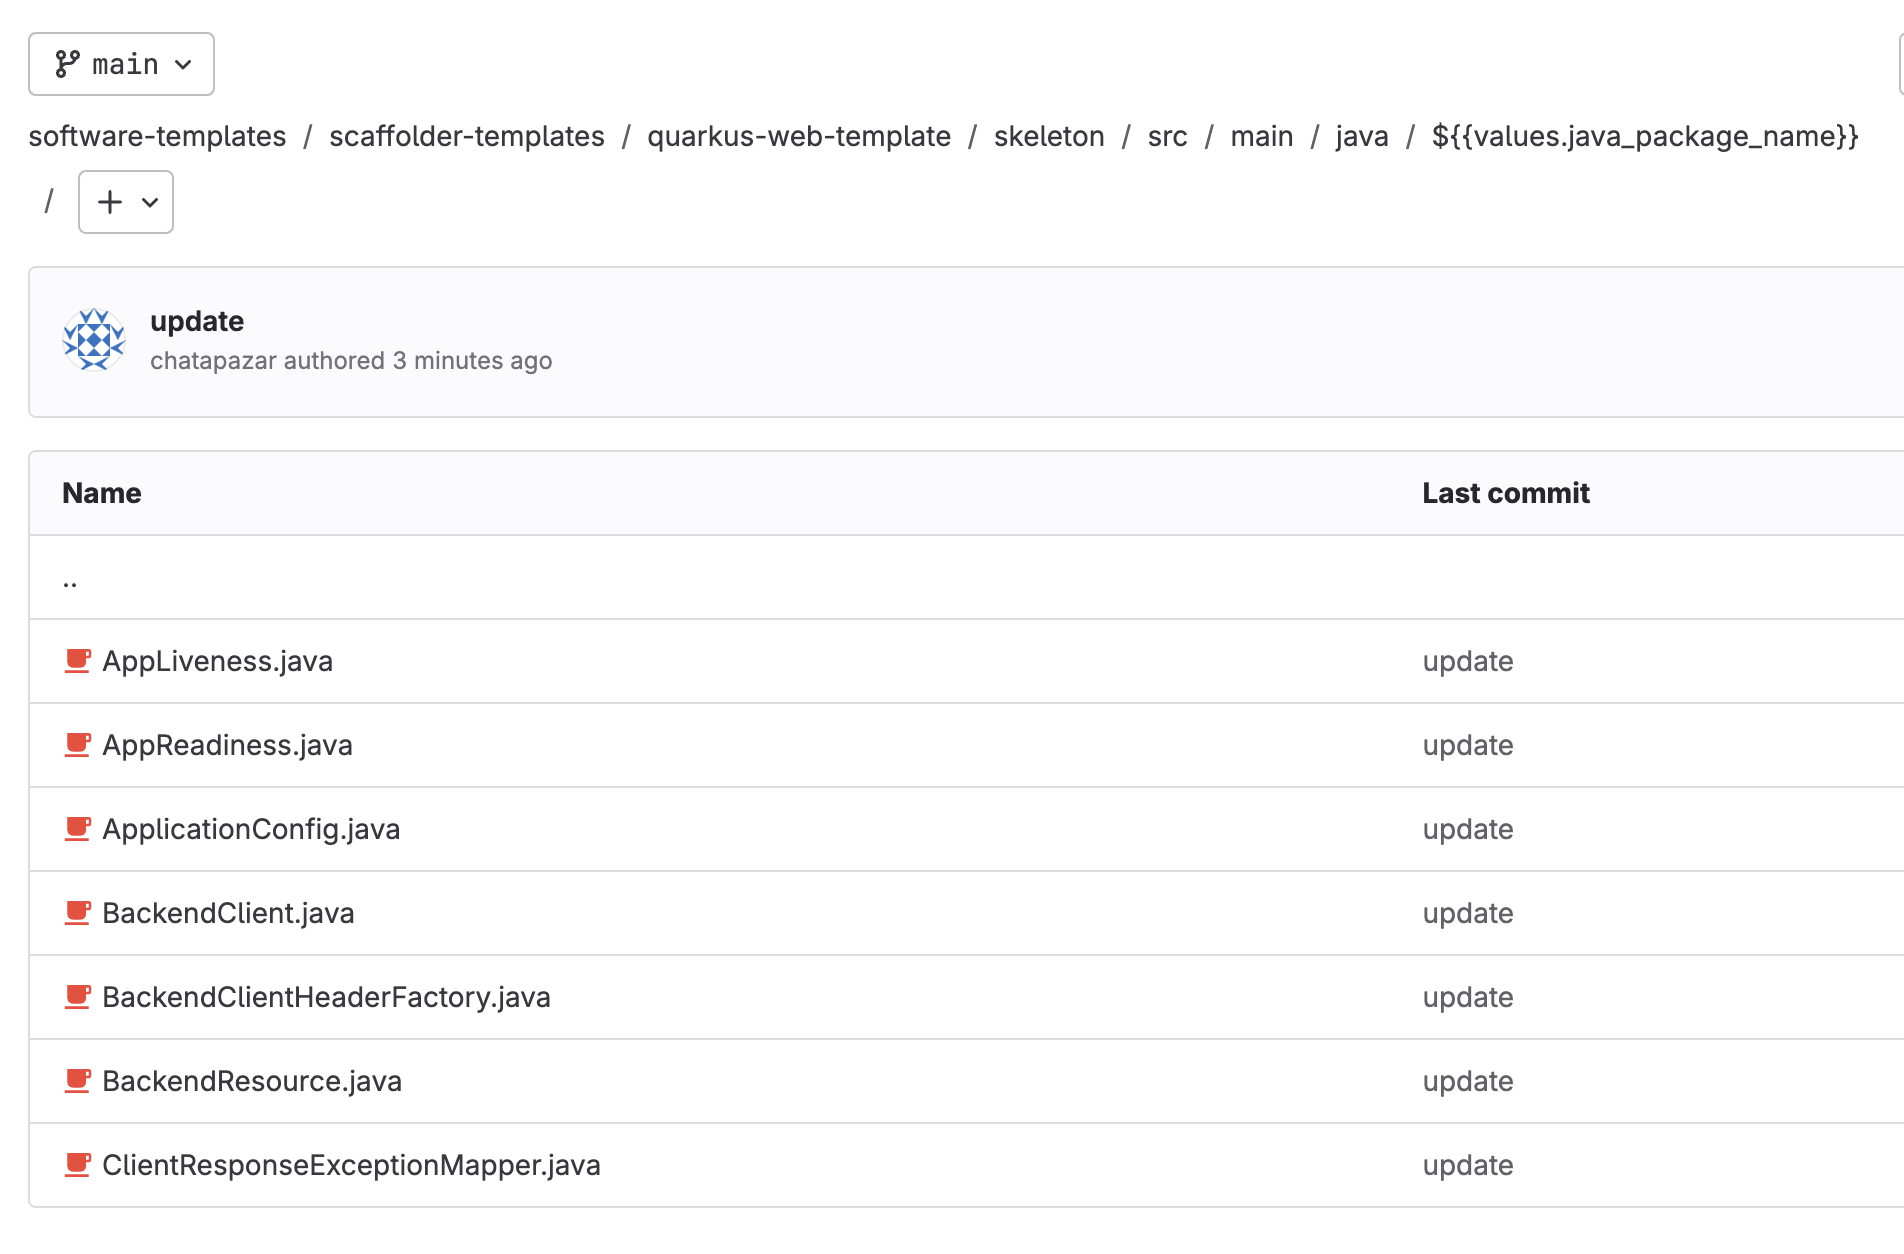
-
Go into
skeleton/src/main/resourcesdirectory to view sampleapplication.propertiesfile in this template.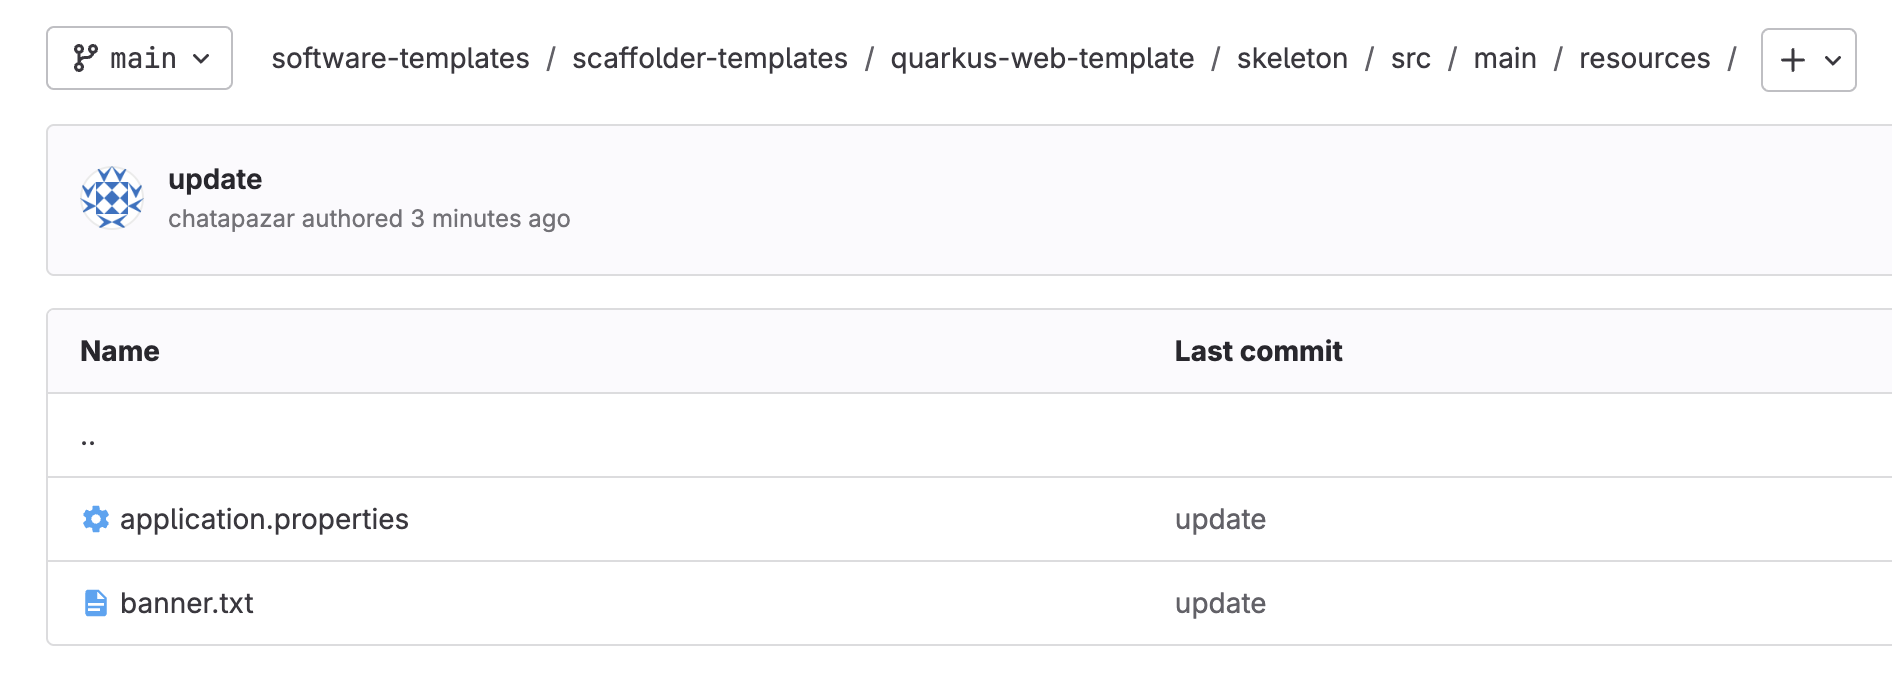
-
Open the
skeleton/pom.xmlfile to view Maven project configuration in this template.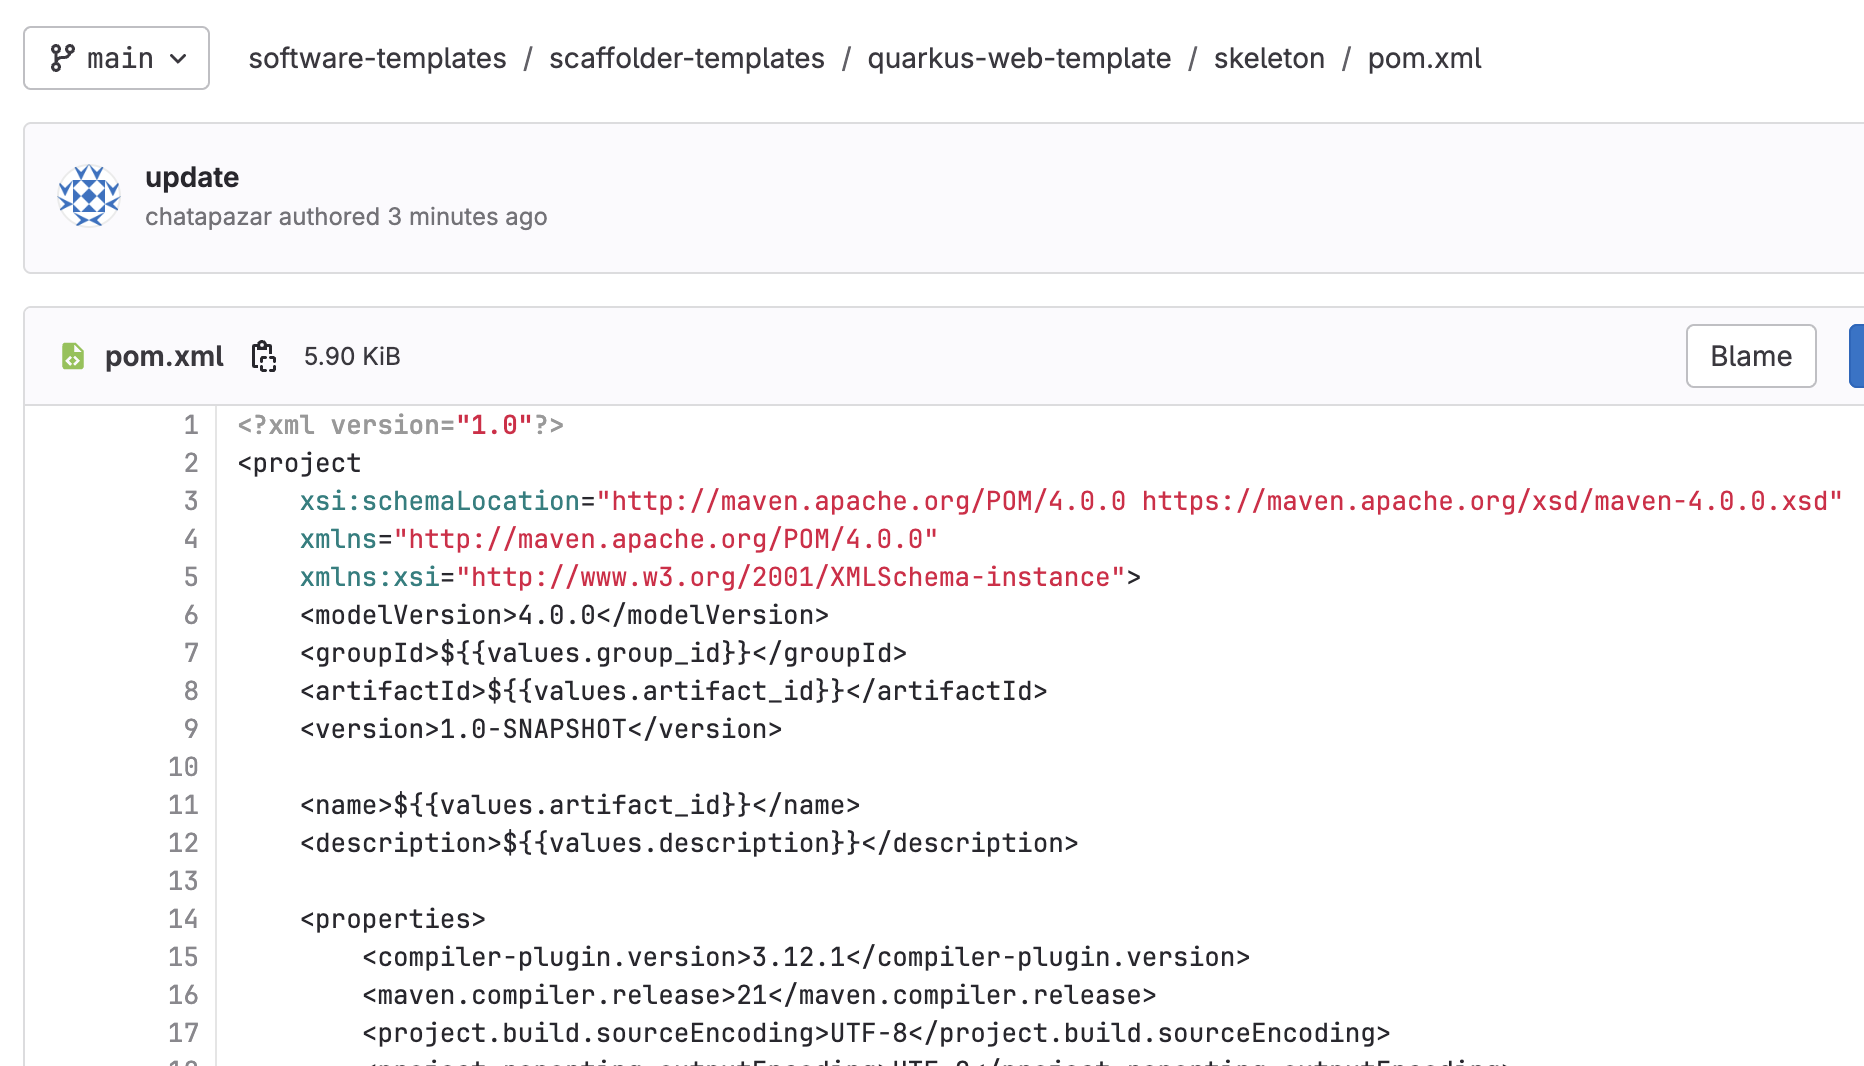
-
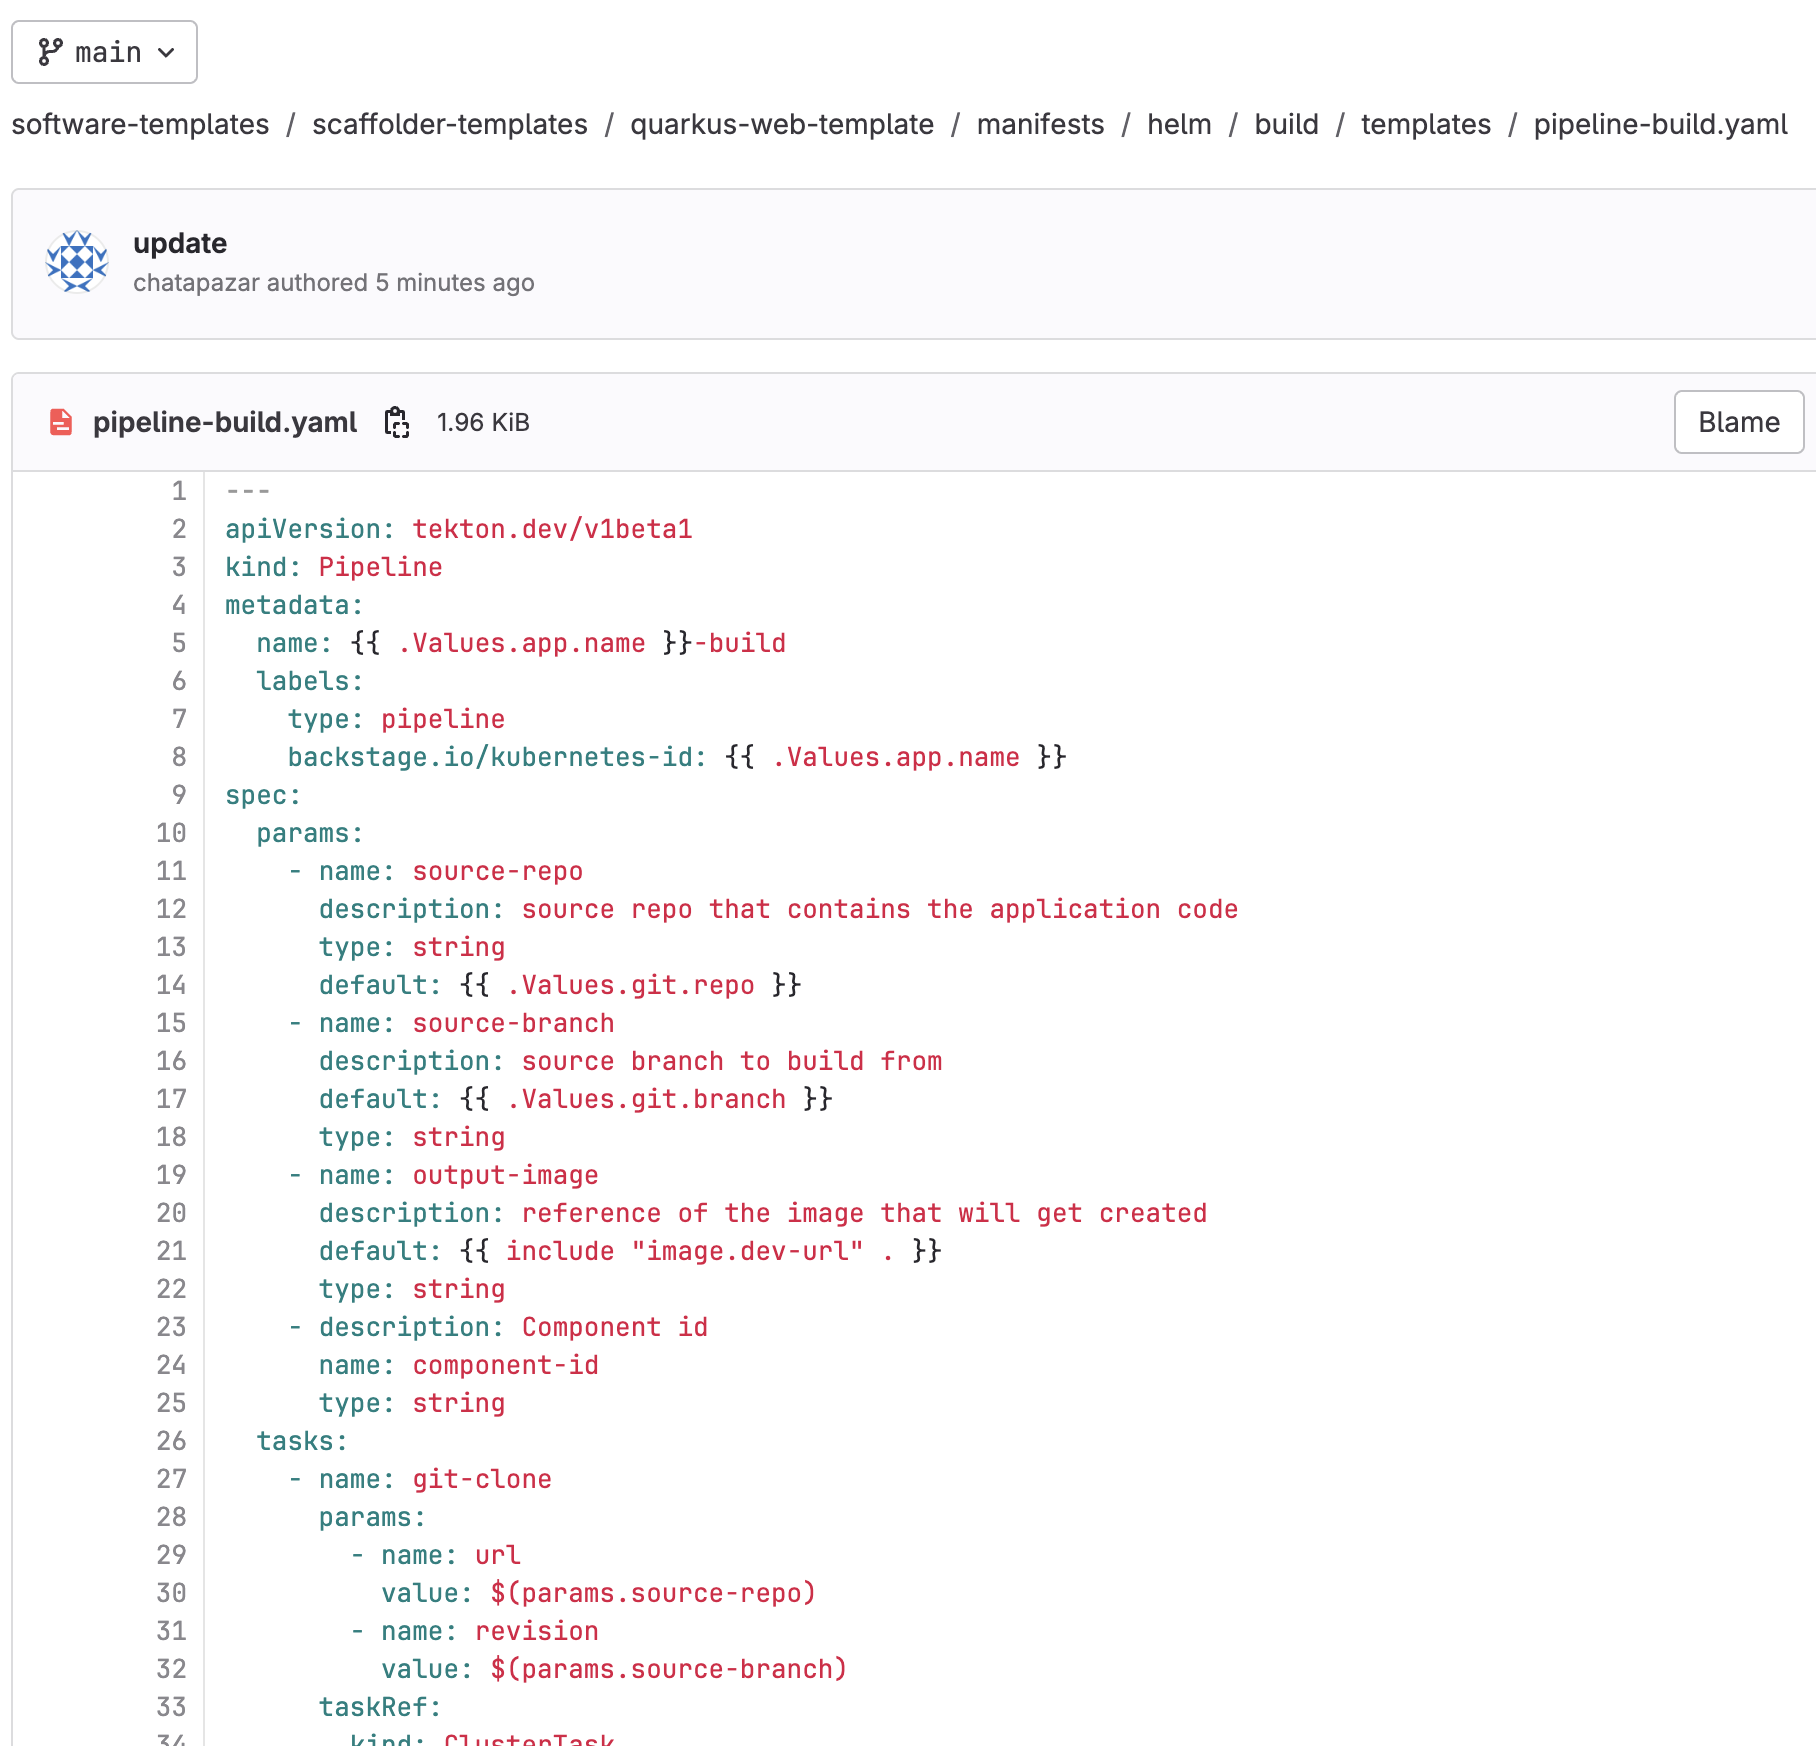
Open
manifests/helm/build/templates/pipeline-build.yamlfile to view Tekton Pipeline (CI) configurations.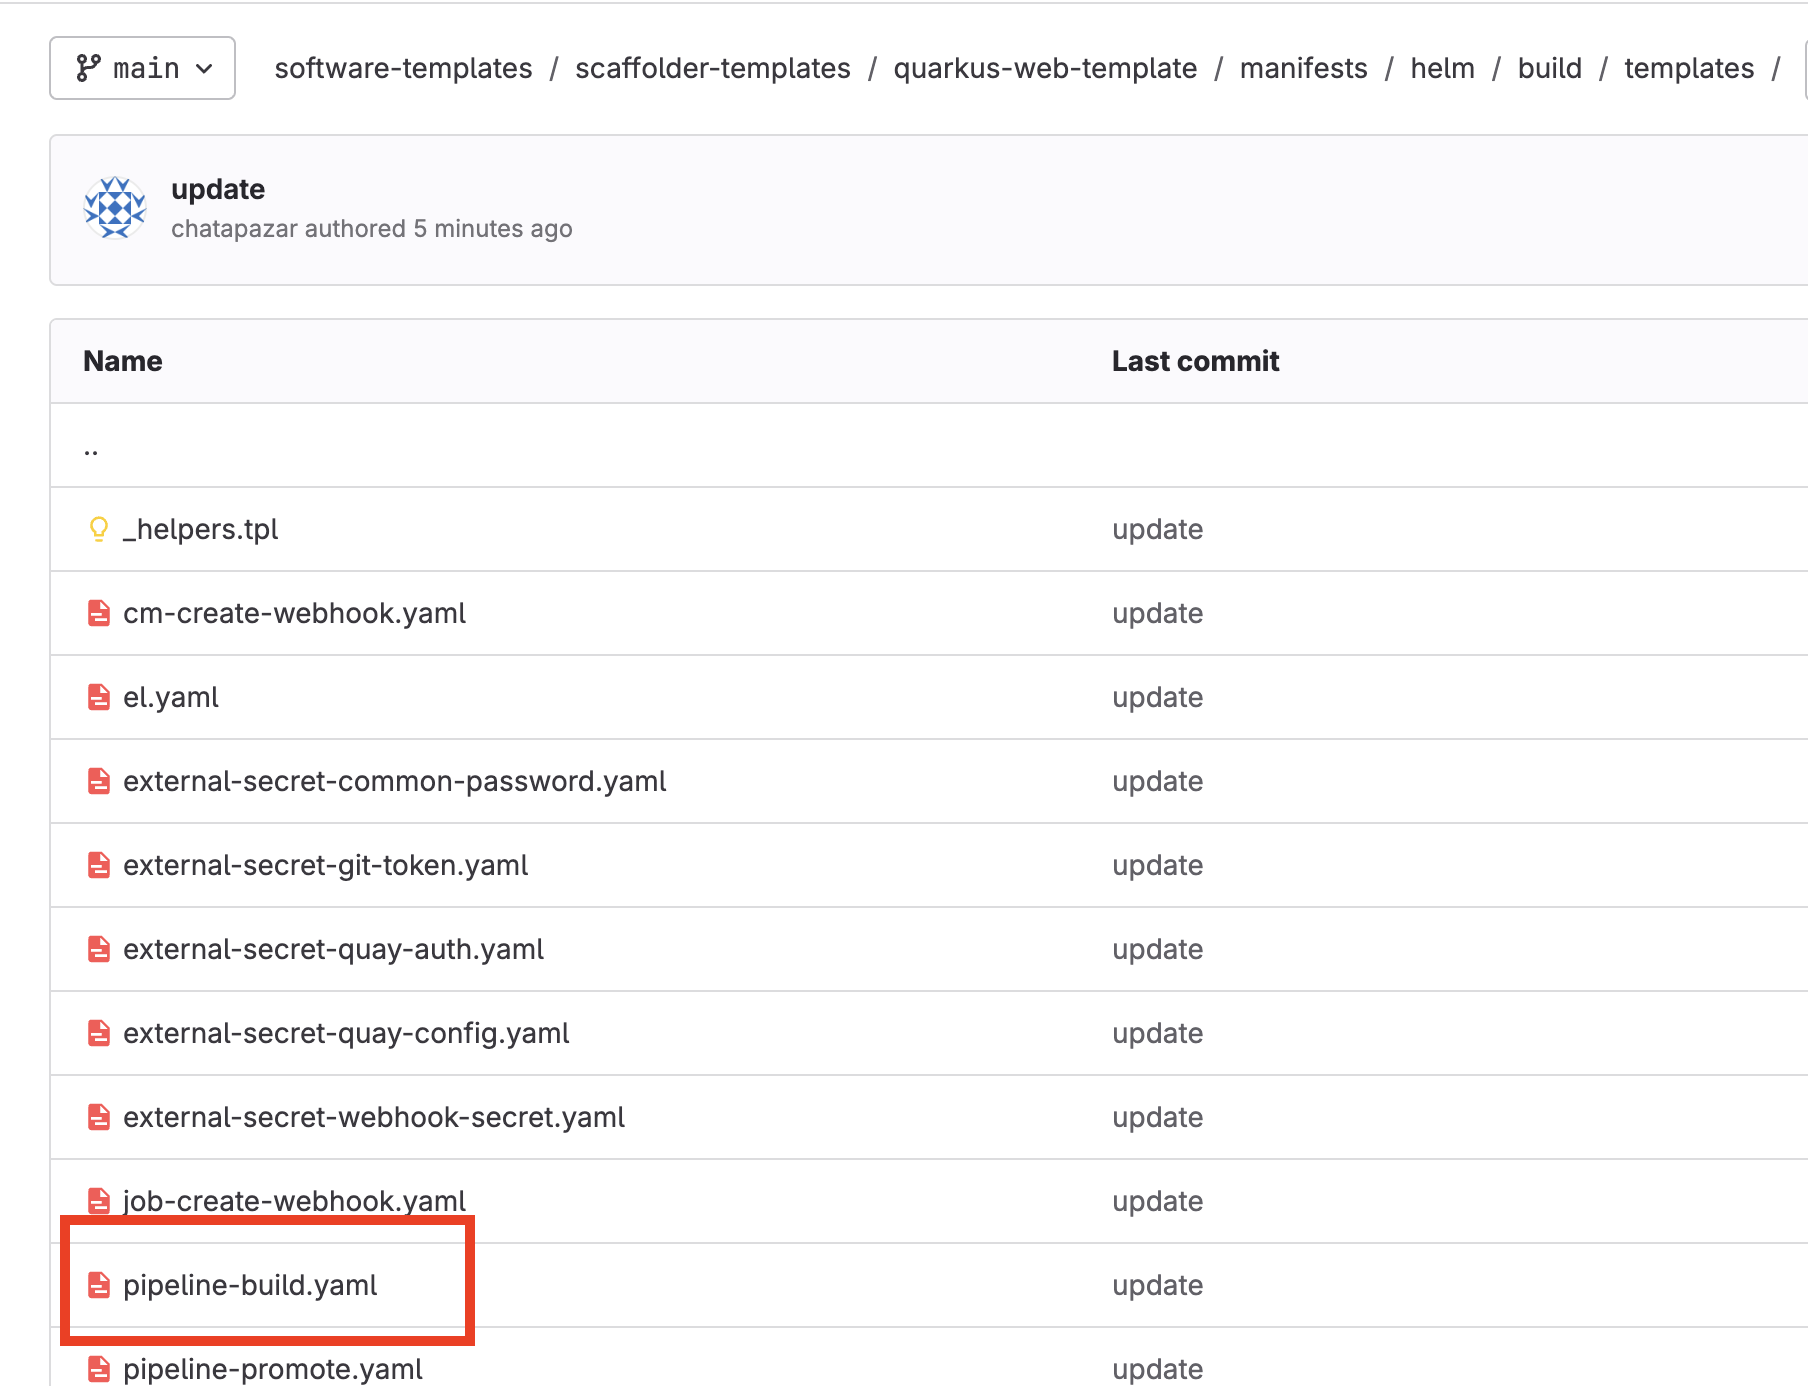
-
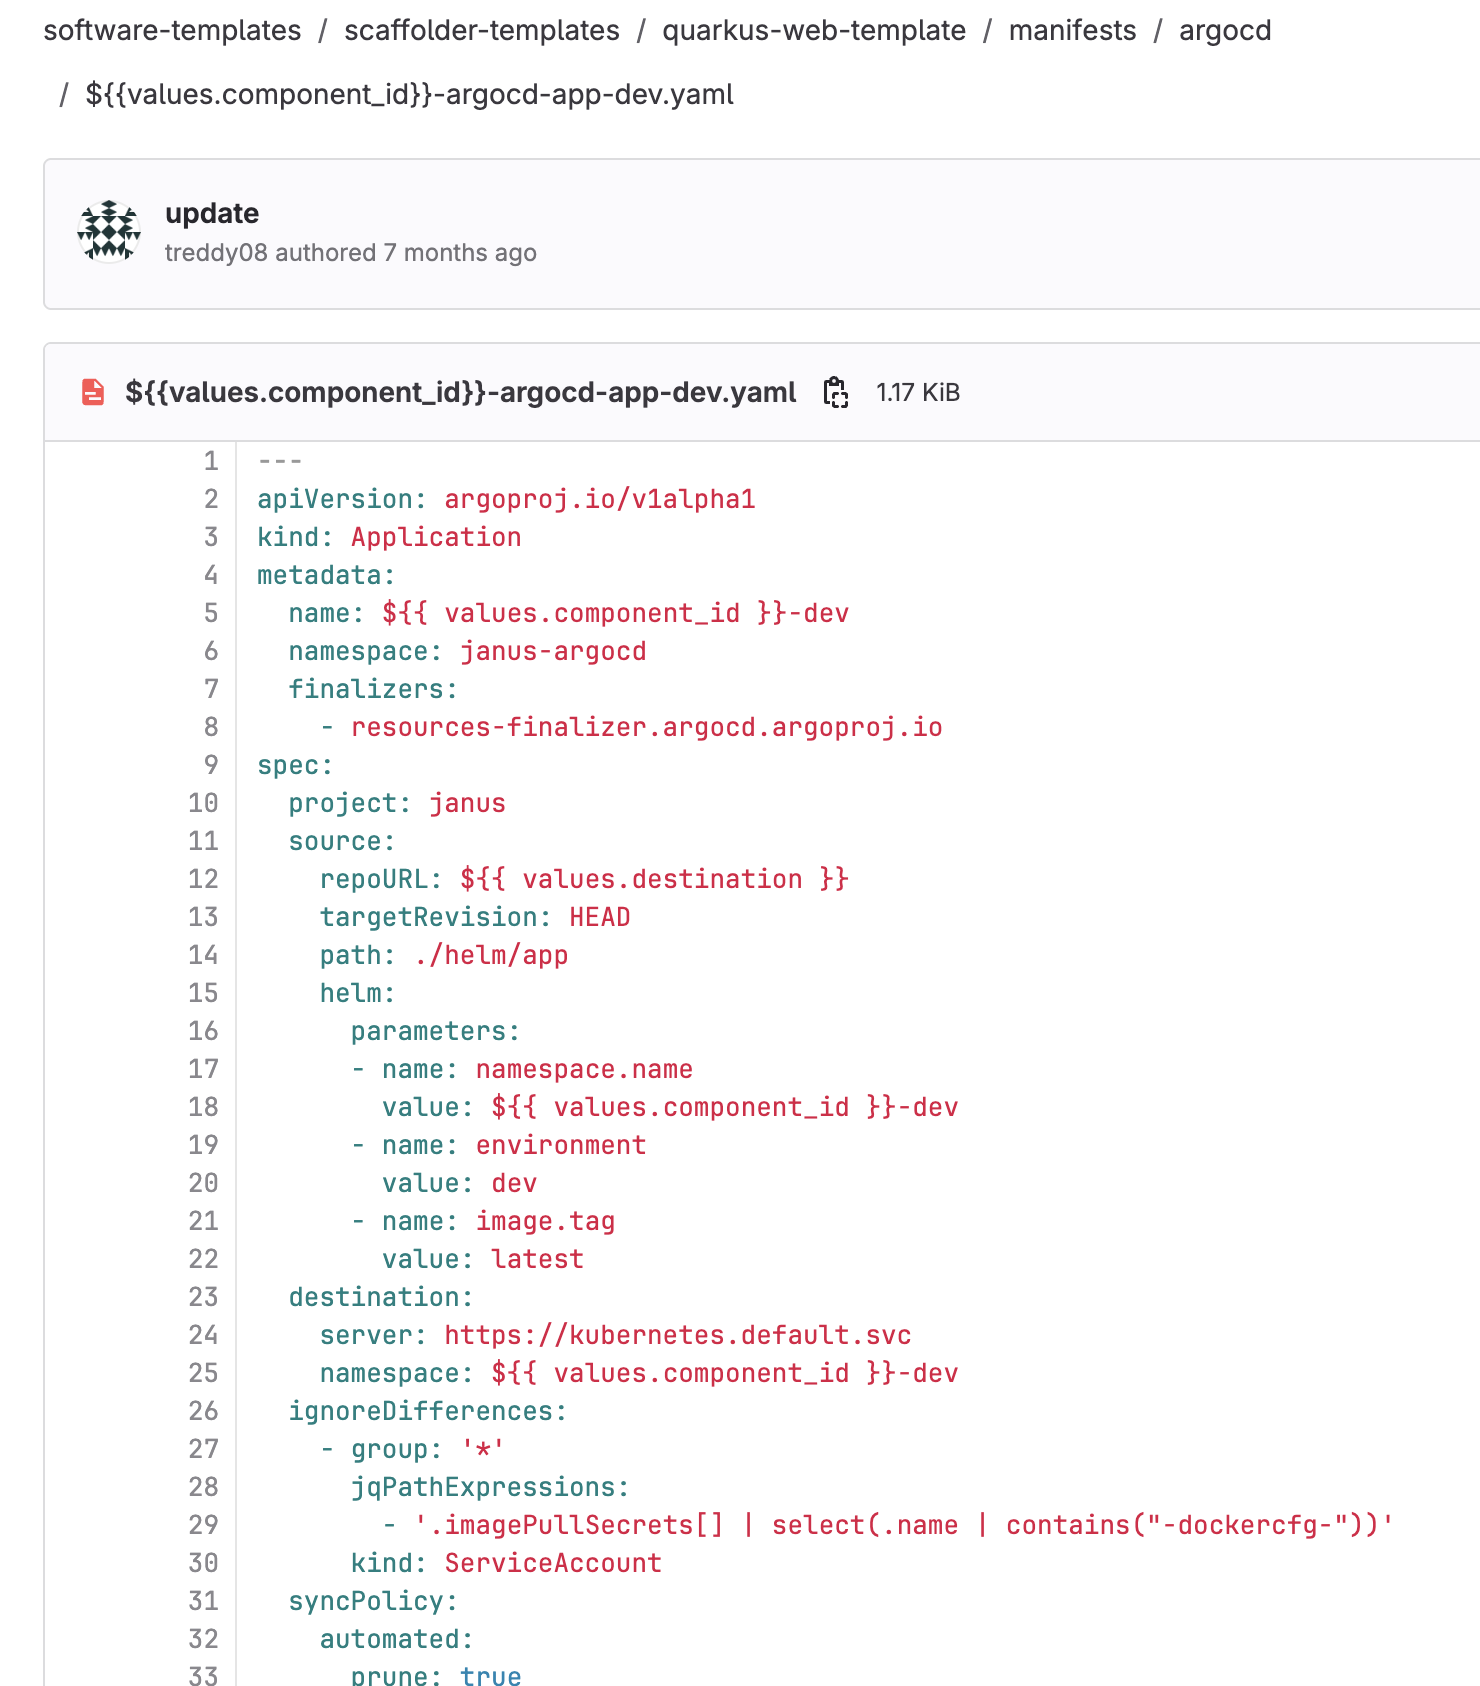
Go into
manifests/argocddirectory to view Argo CD resources (CD).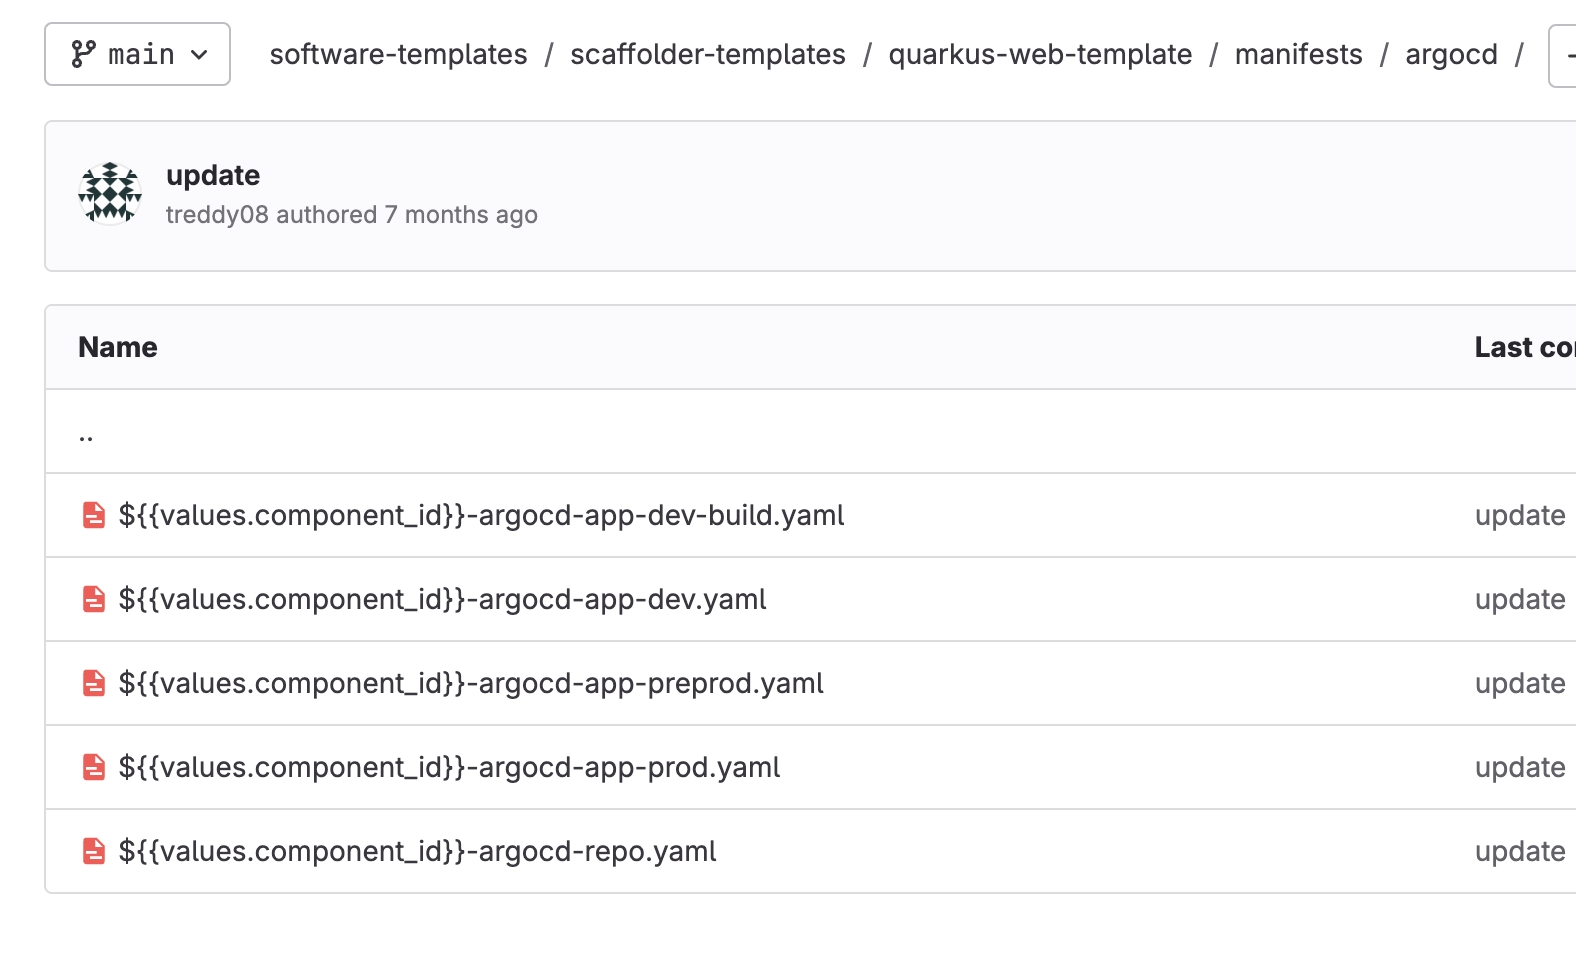
-
Go into
manifests/helm/app/templatesto view Kubernetes resources for application deployment (such as deployment, service, route, etc.)
Create Application from Software Template
-
Back to Developer Hub web console, on the RHDH home screen, click on + Create… menu, You will be presented with a group of tiles representing all the golden path templates created for you.
-
Look for the
Quarkus Service with ArgoCD and a Tekton Pipelineand click the Choose button on the bottom right of the tile.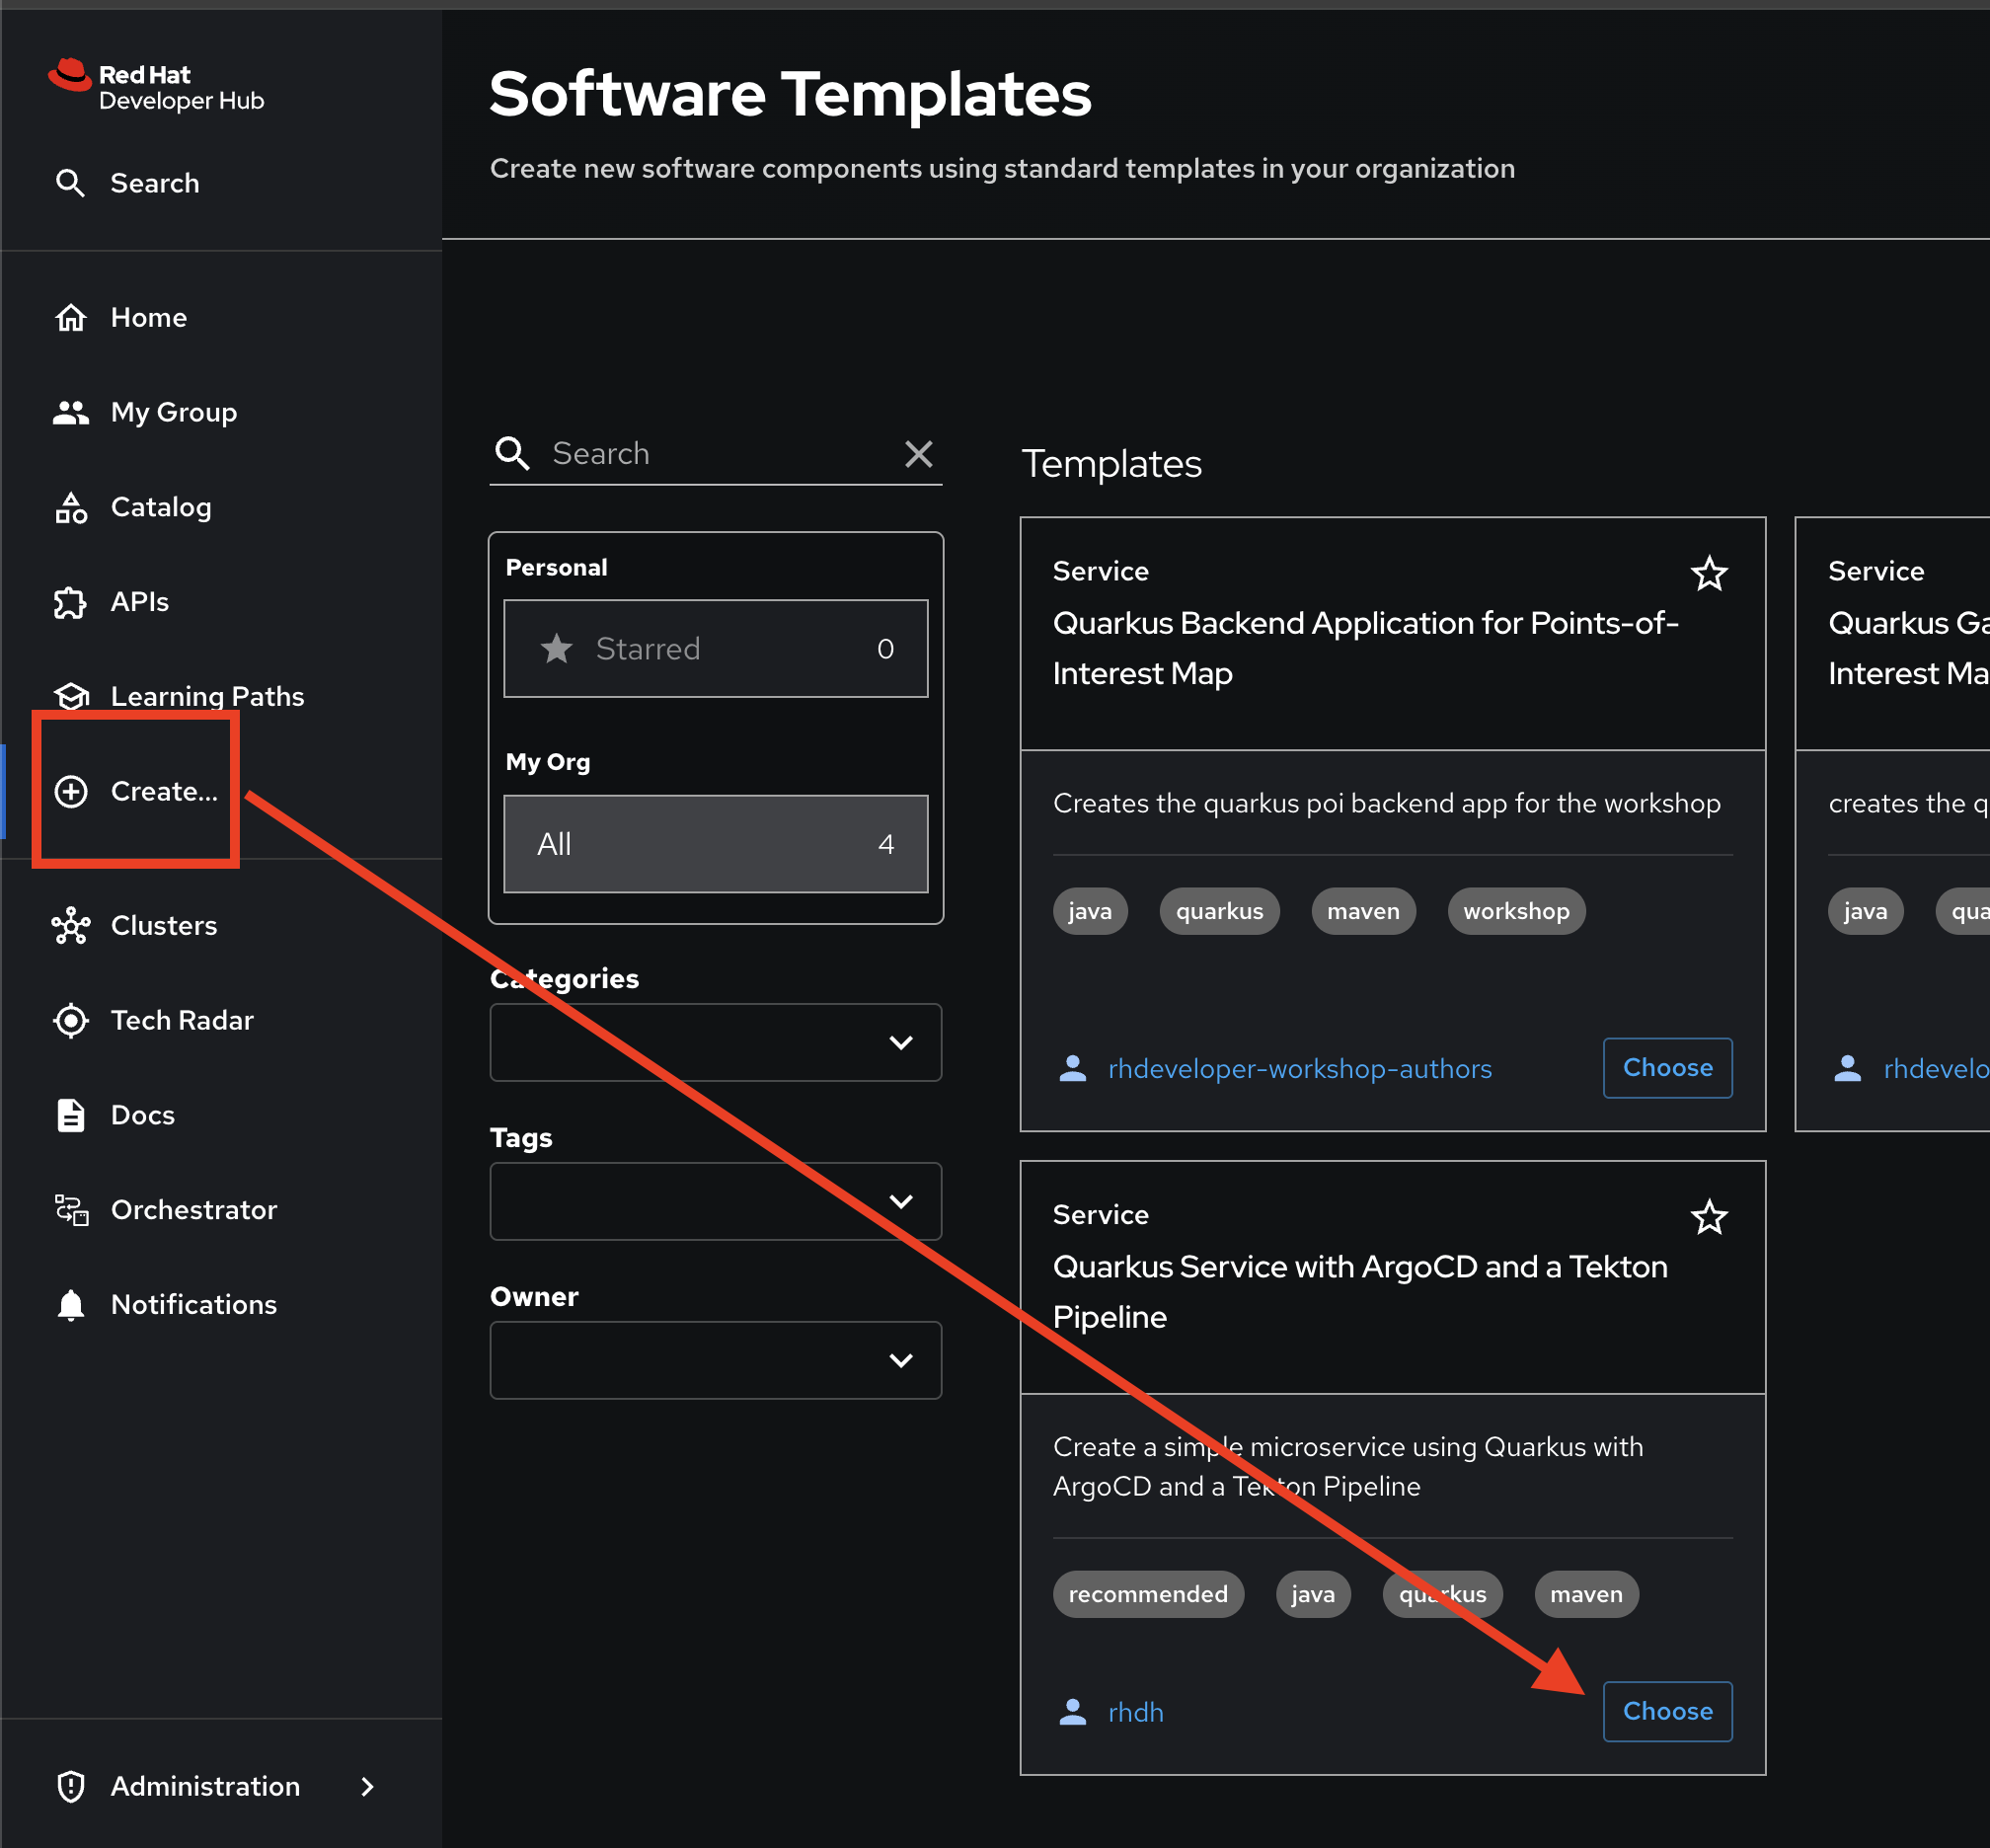
-
Once you’ve chosen the template, you will be presented with a wizard which will guide you through the creation of your software component. As seen in the GitLab project, the fields presented to you are configured in your golden path template and will be used to create the various artifacts of your software component.
-
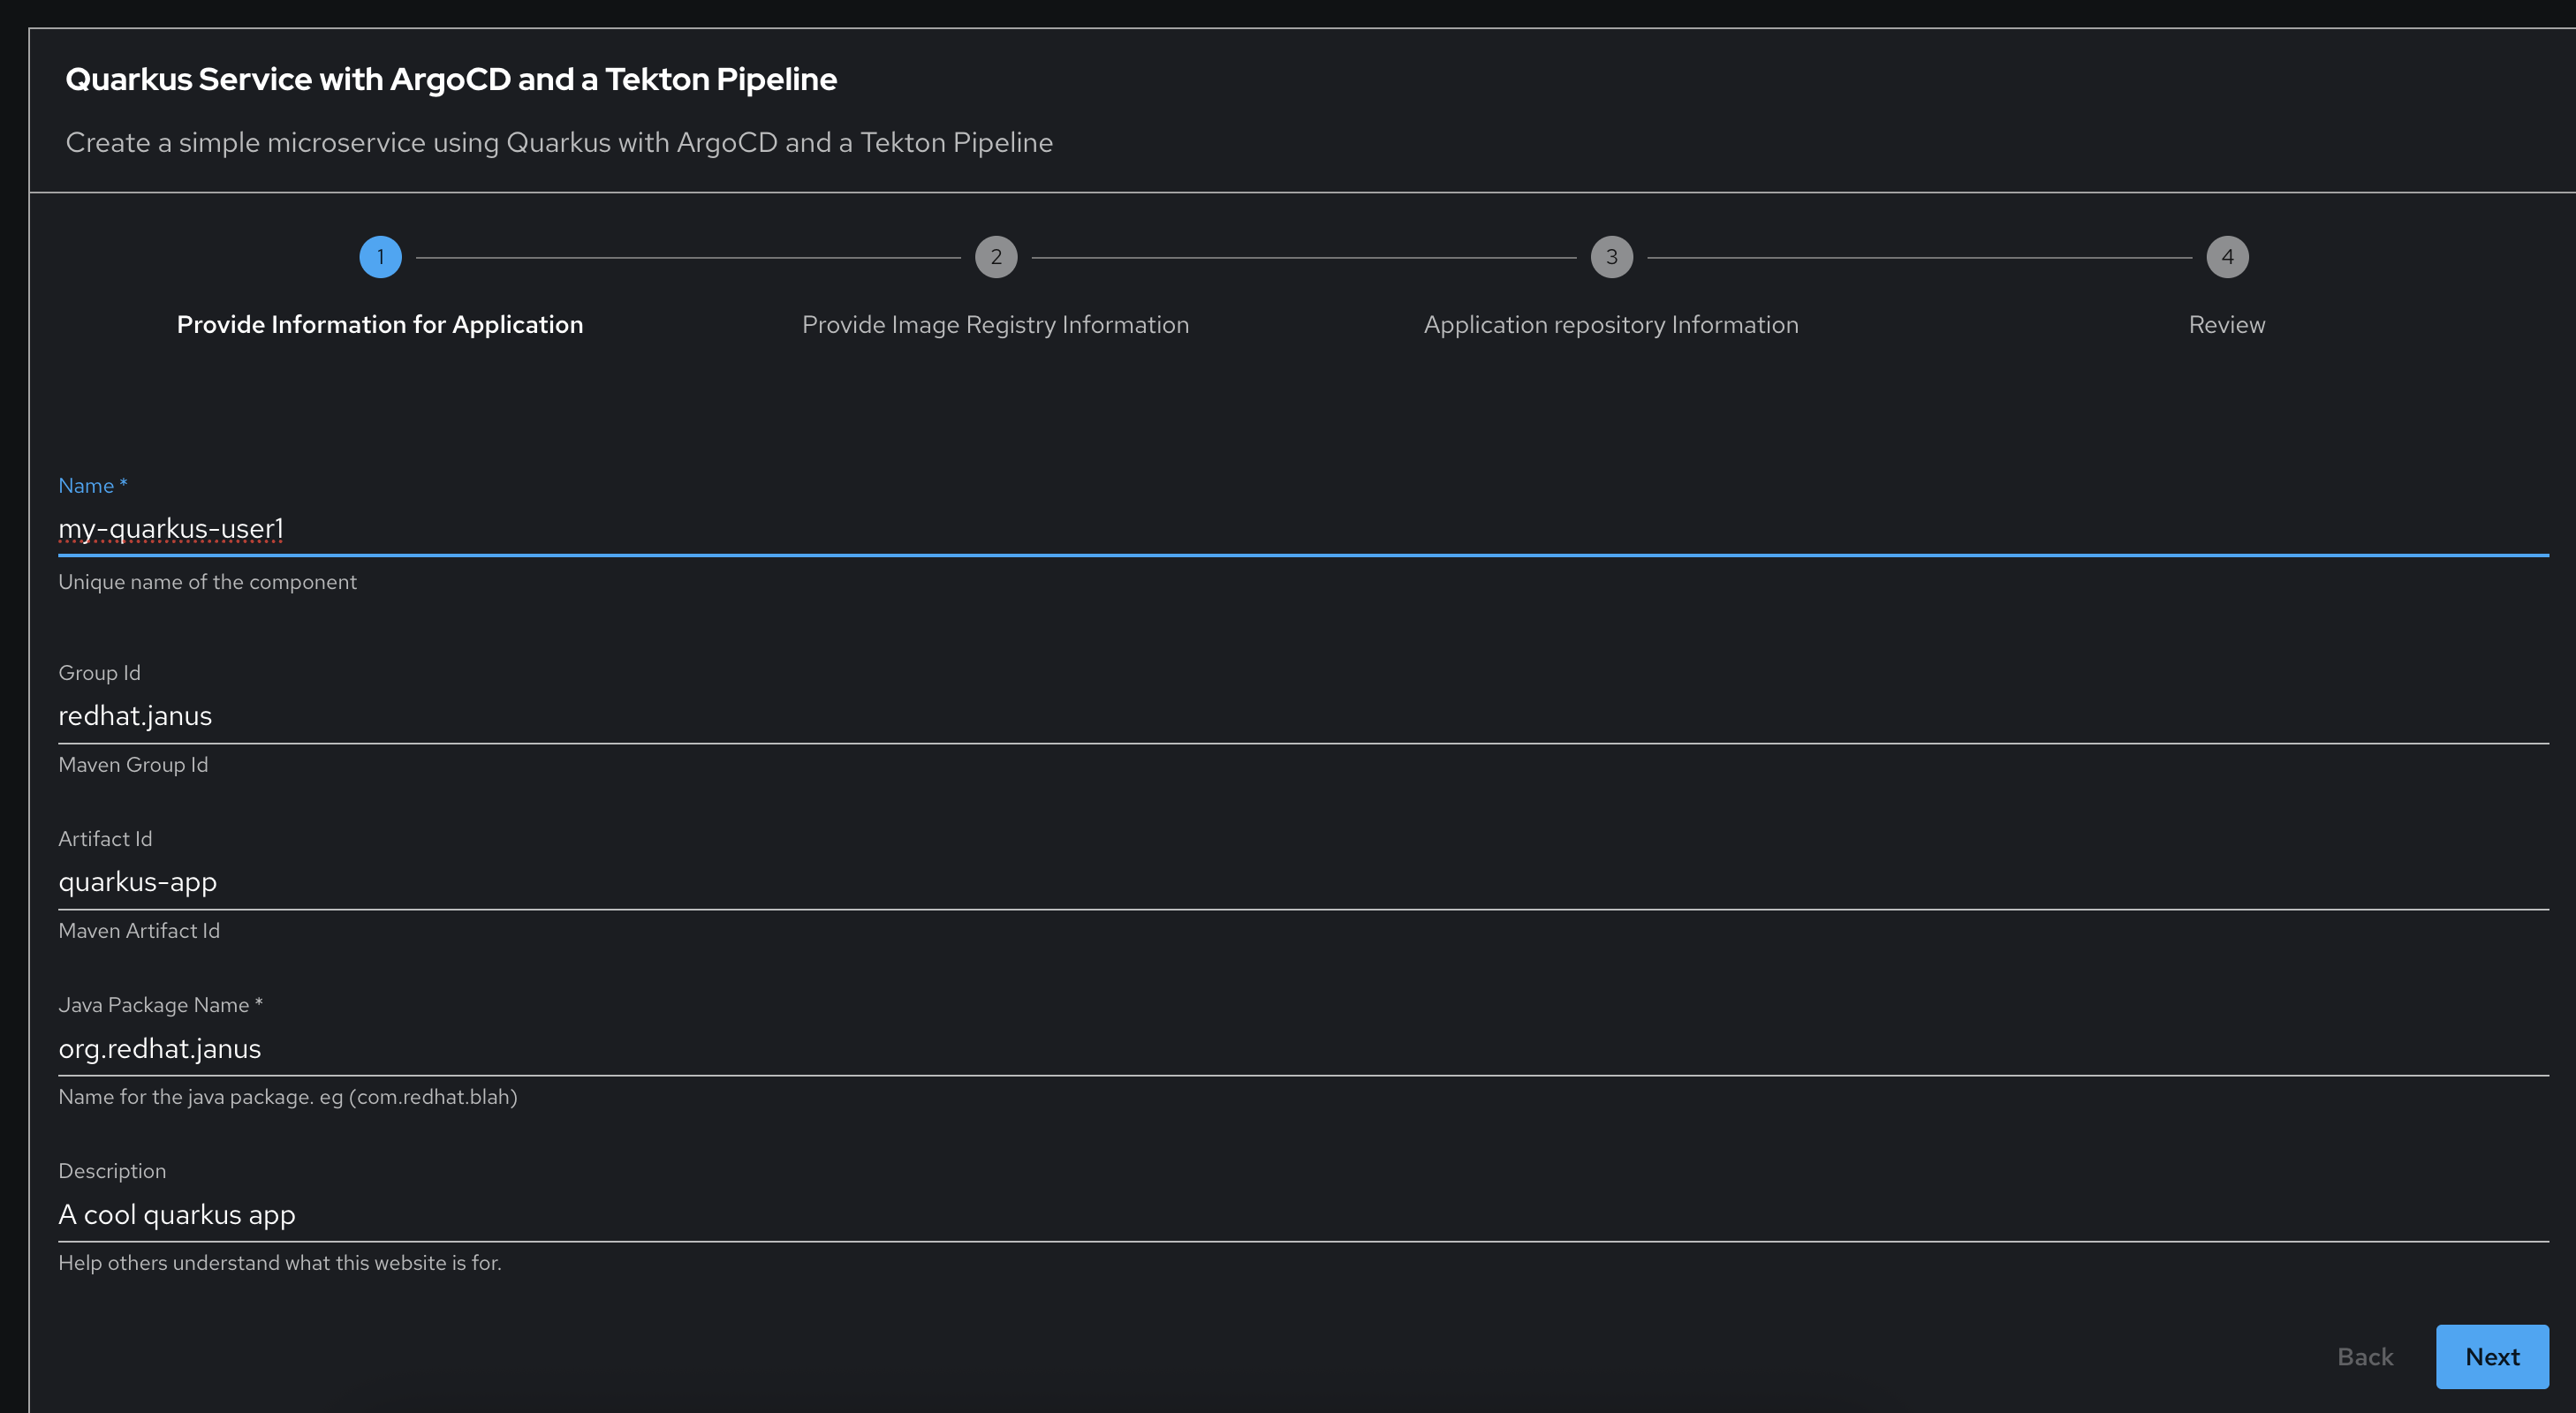
The first part of the template requires you to complete the metadata required for the application. You will be creating a software component called
my-quarkus-userX. -
Change Name to
my-quarkus-userXwhereuserXis your username.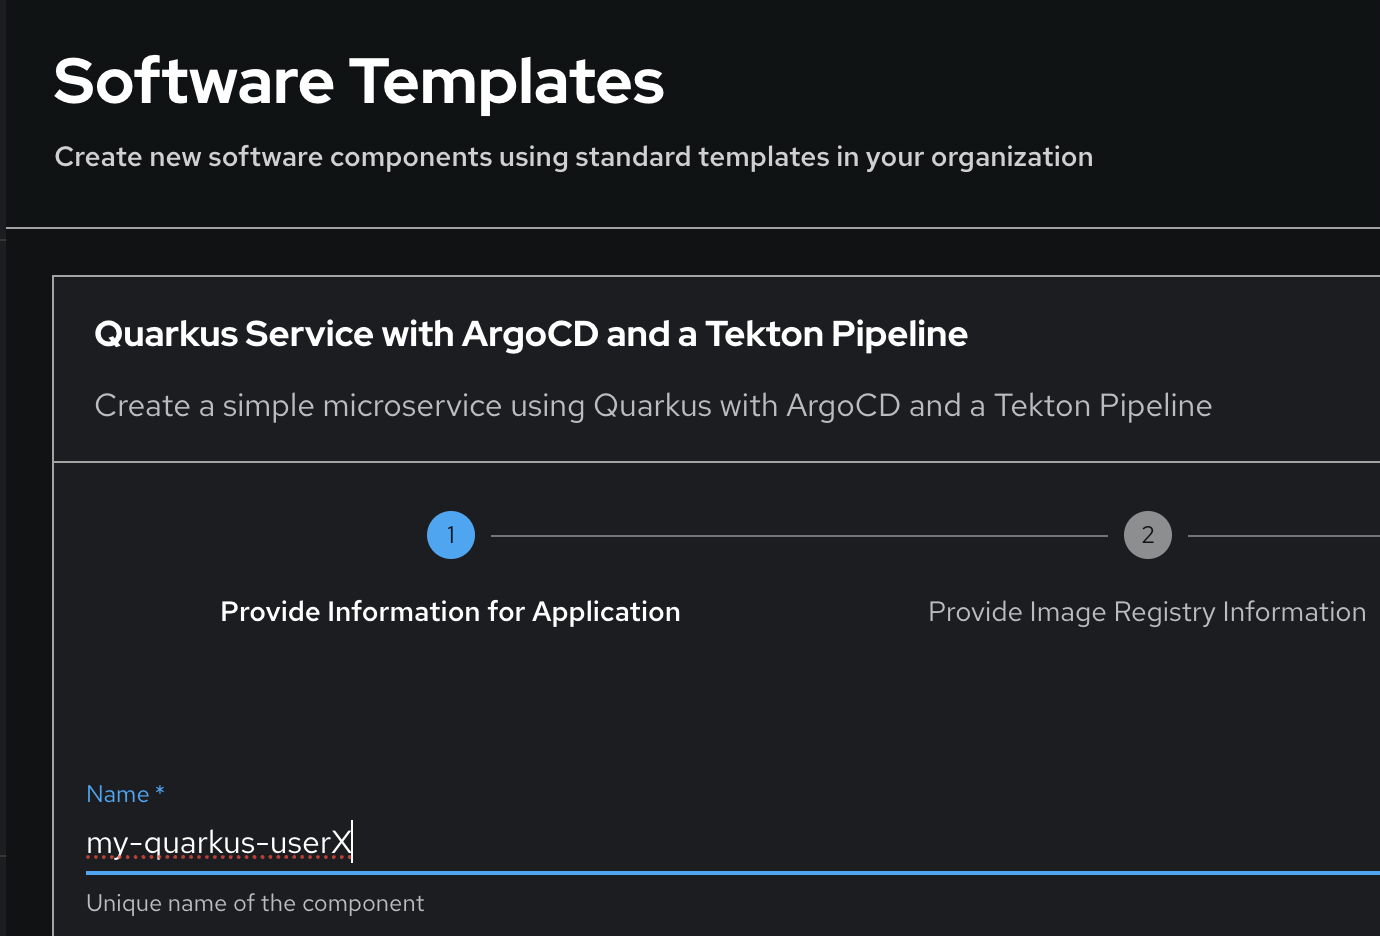
-
Leave other fields as default and click on Next button.
-
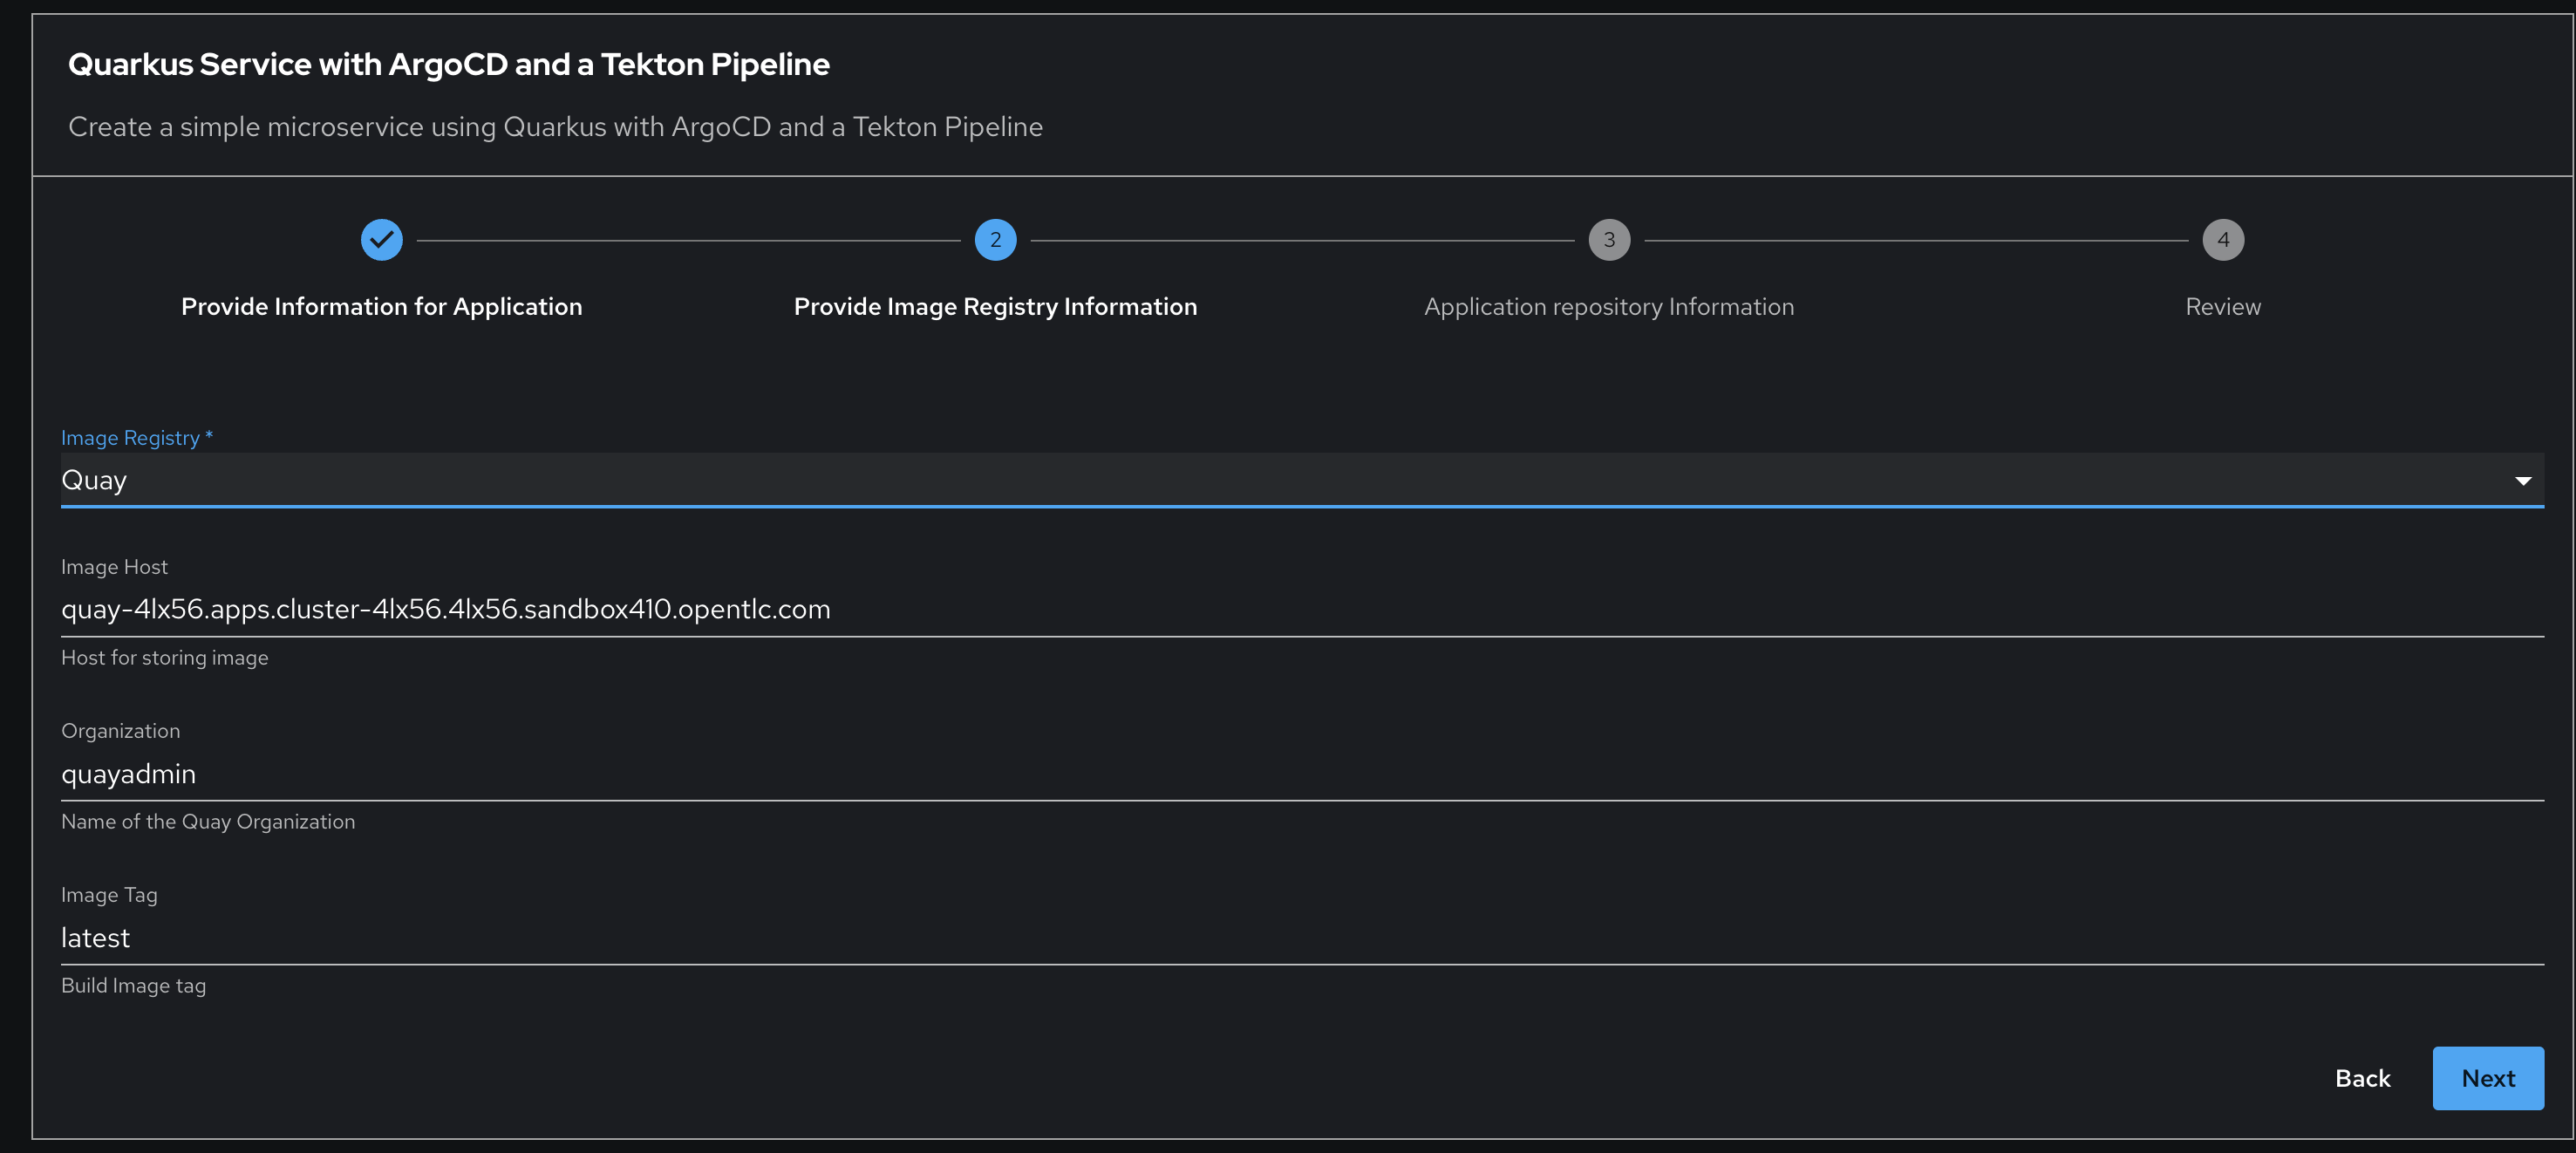
You will then be asked to provide image registry information to store your container images. We will be using our self hosted Quay instance for this demonstration. Select
Quayfor Image Registry. -
Once you’ve selected
Quay, you will be shown your Quay server host, the organization your container image repositories will be stored in as well as the tag to use for your base image.Leave all fields as default and click on Next button.
-
You will now be presented with the target repository details where your generated software components will be installed.
Note that there will be two artifacts generated i.e. your source code repository for the app and a GitOps repository to build and deploy your app.
This screen will show the Git server hosting your repositories and the GitLab group that will contain these repositories.
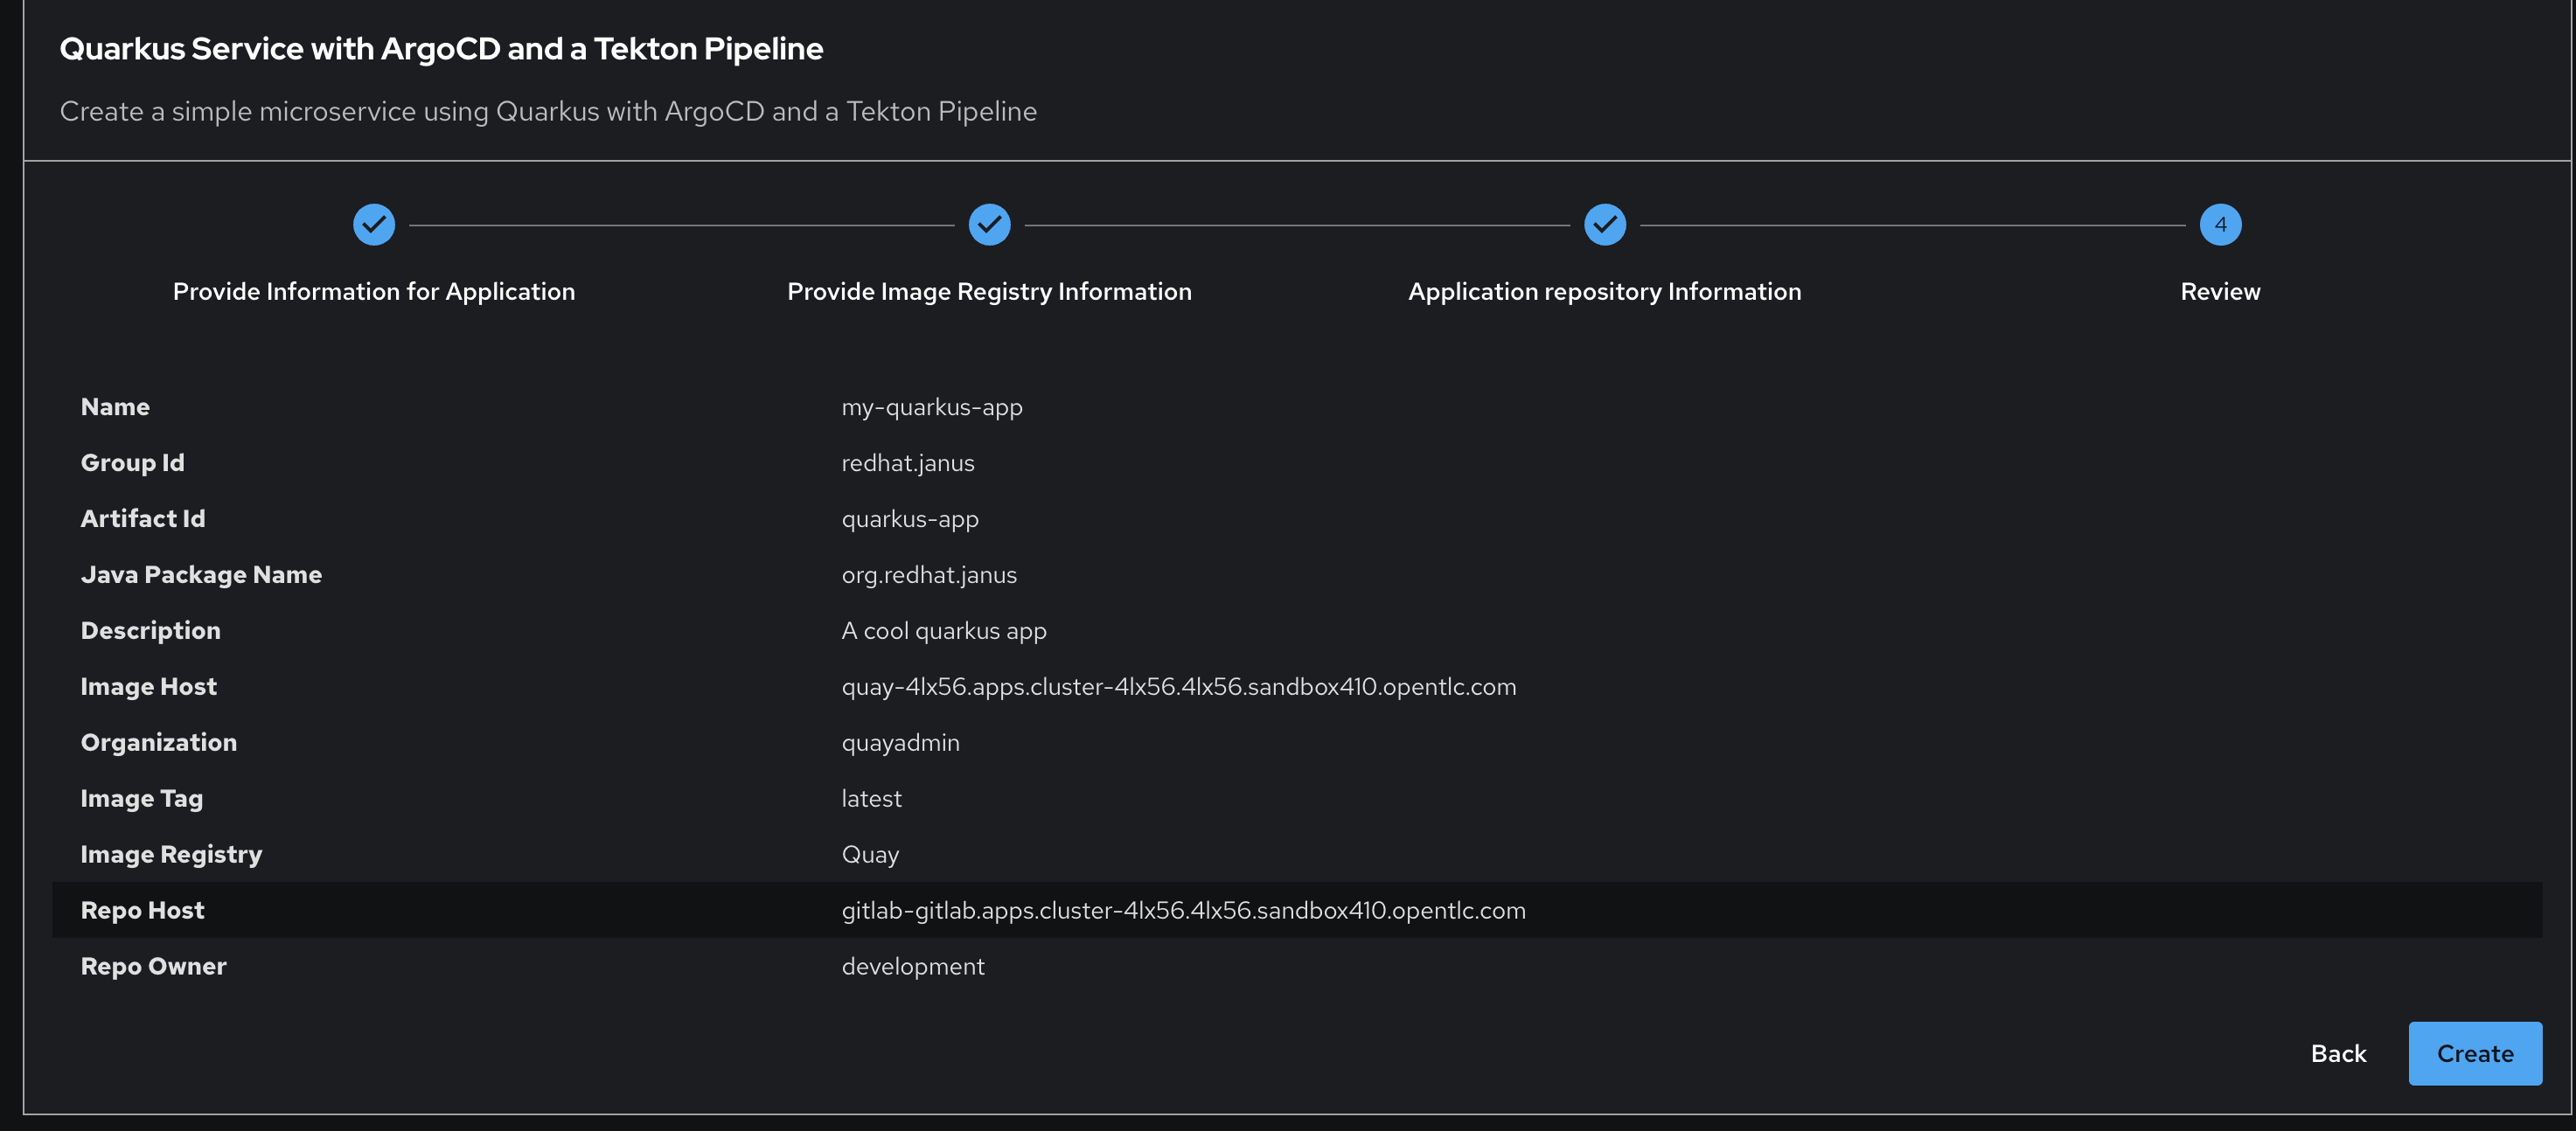
Leave all fields as default and click on Review button.

-
You will be presented with a summary of your template replacement values used to create your software component. Click on Create button to create your software component.
-
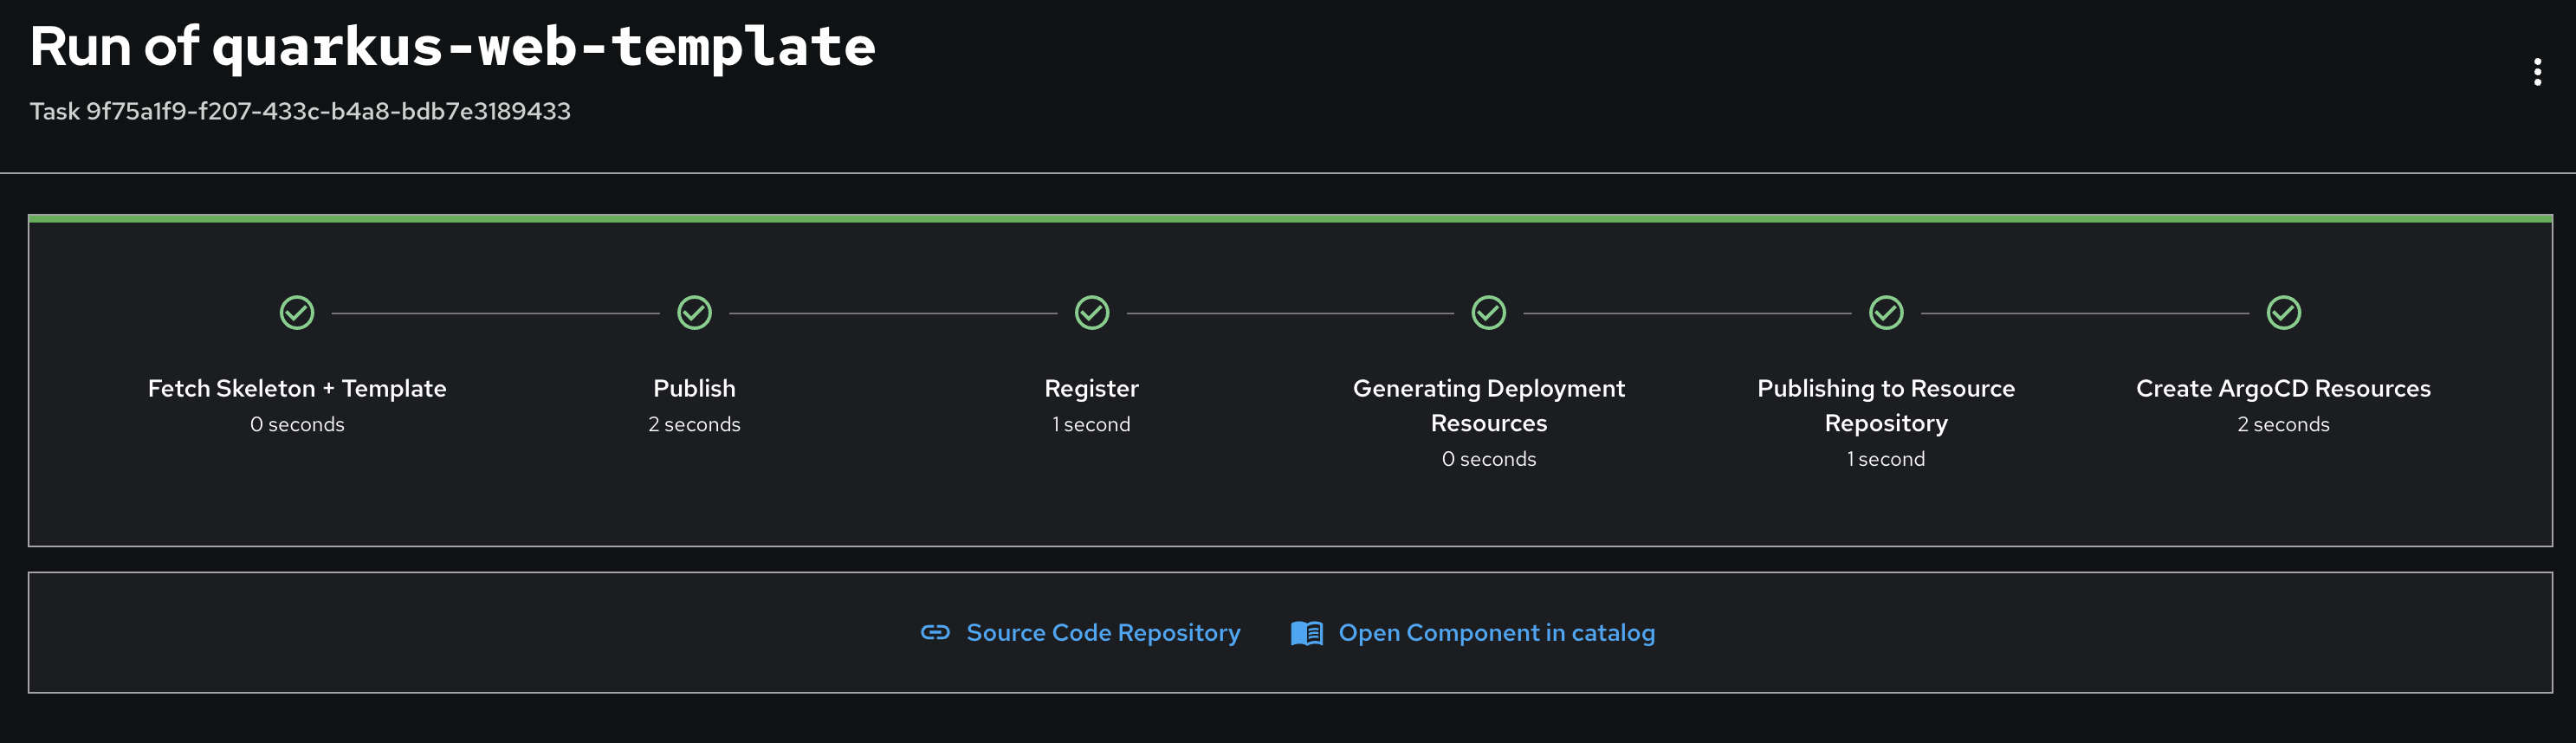
Now that your software component is created, let’s take a look at the artifacts generated by this action. Based on your golden path, you would have generated a RHDH component as well as a skeleton source code repository and a GitOps repository:
-
RHDH component - Your new software component is now imported into the RHDH catalog.
-
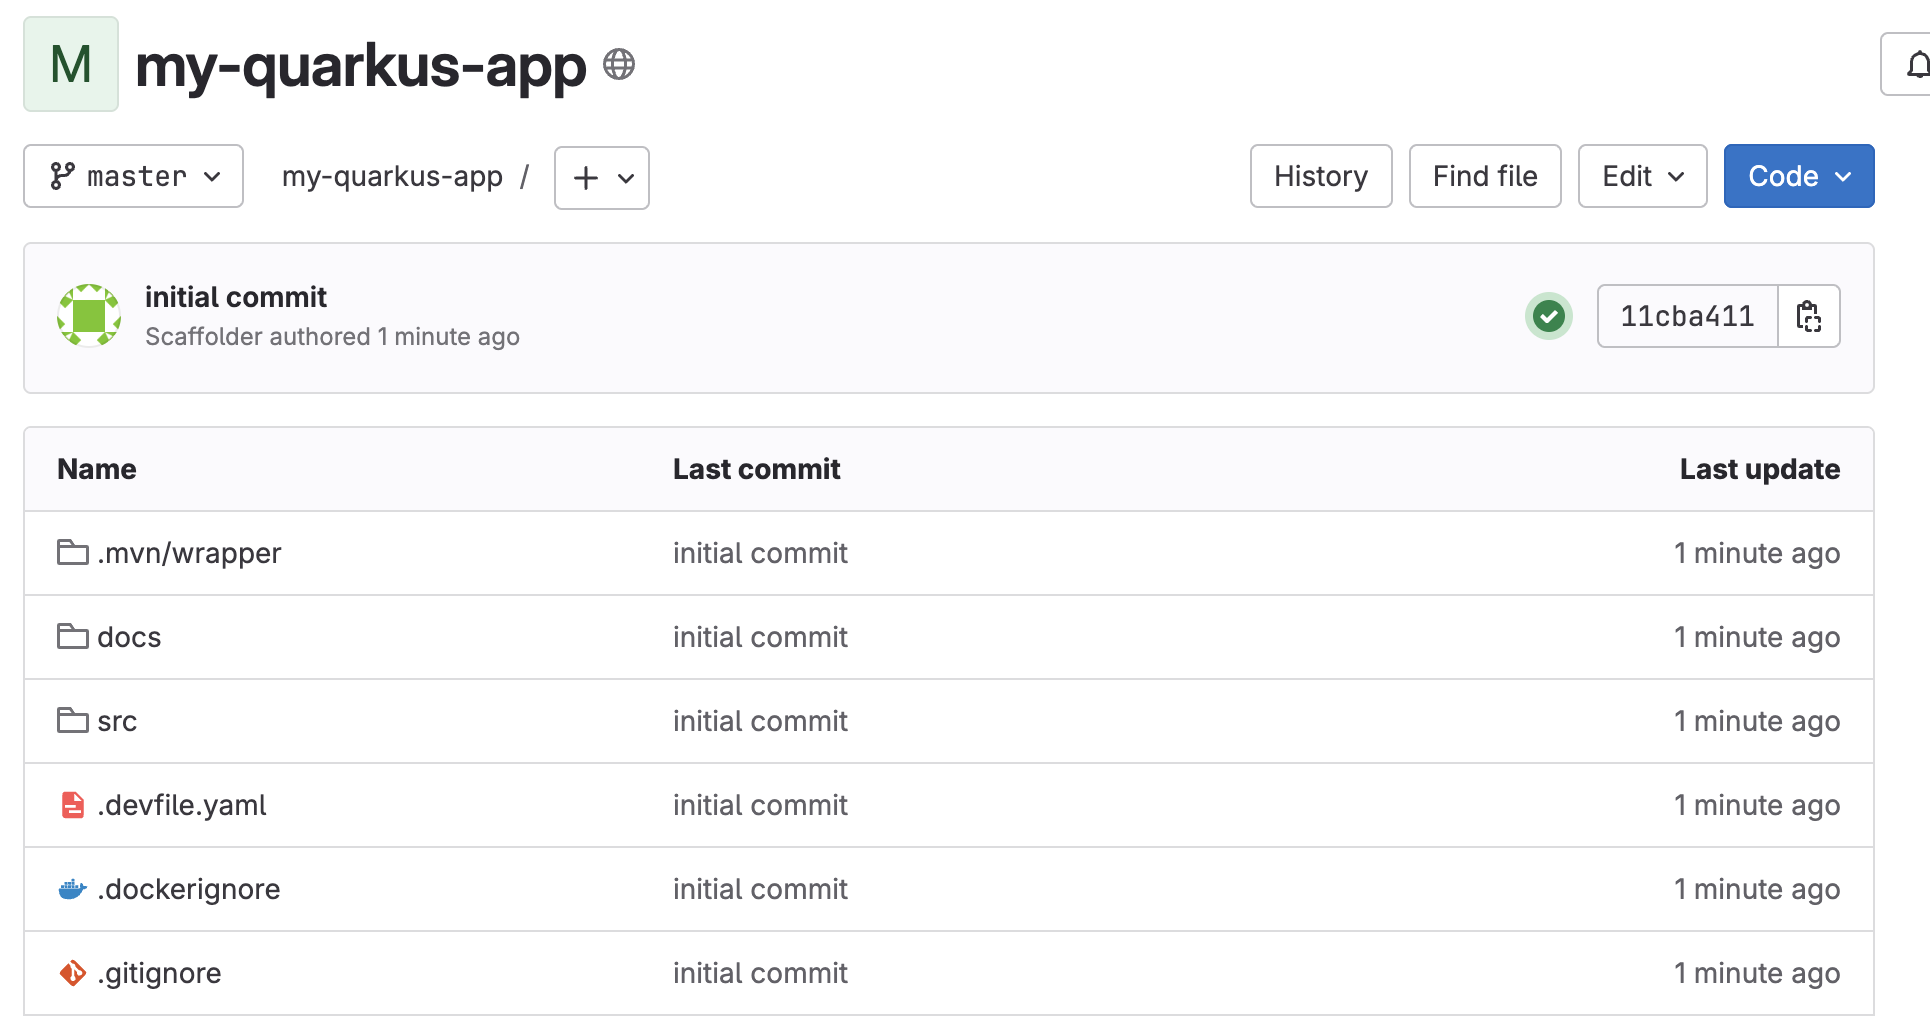
Source code repository - This is source code representing a basic quarkus application. You may expand on this project as this is just a starting point for your development life cycle.
-
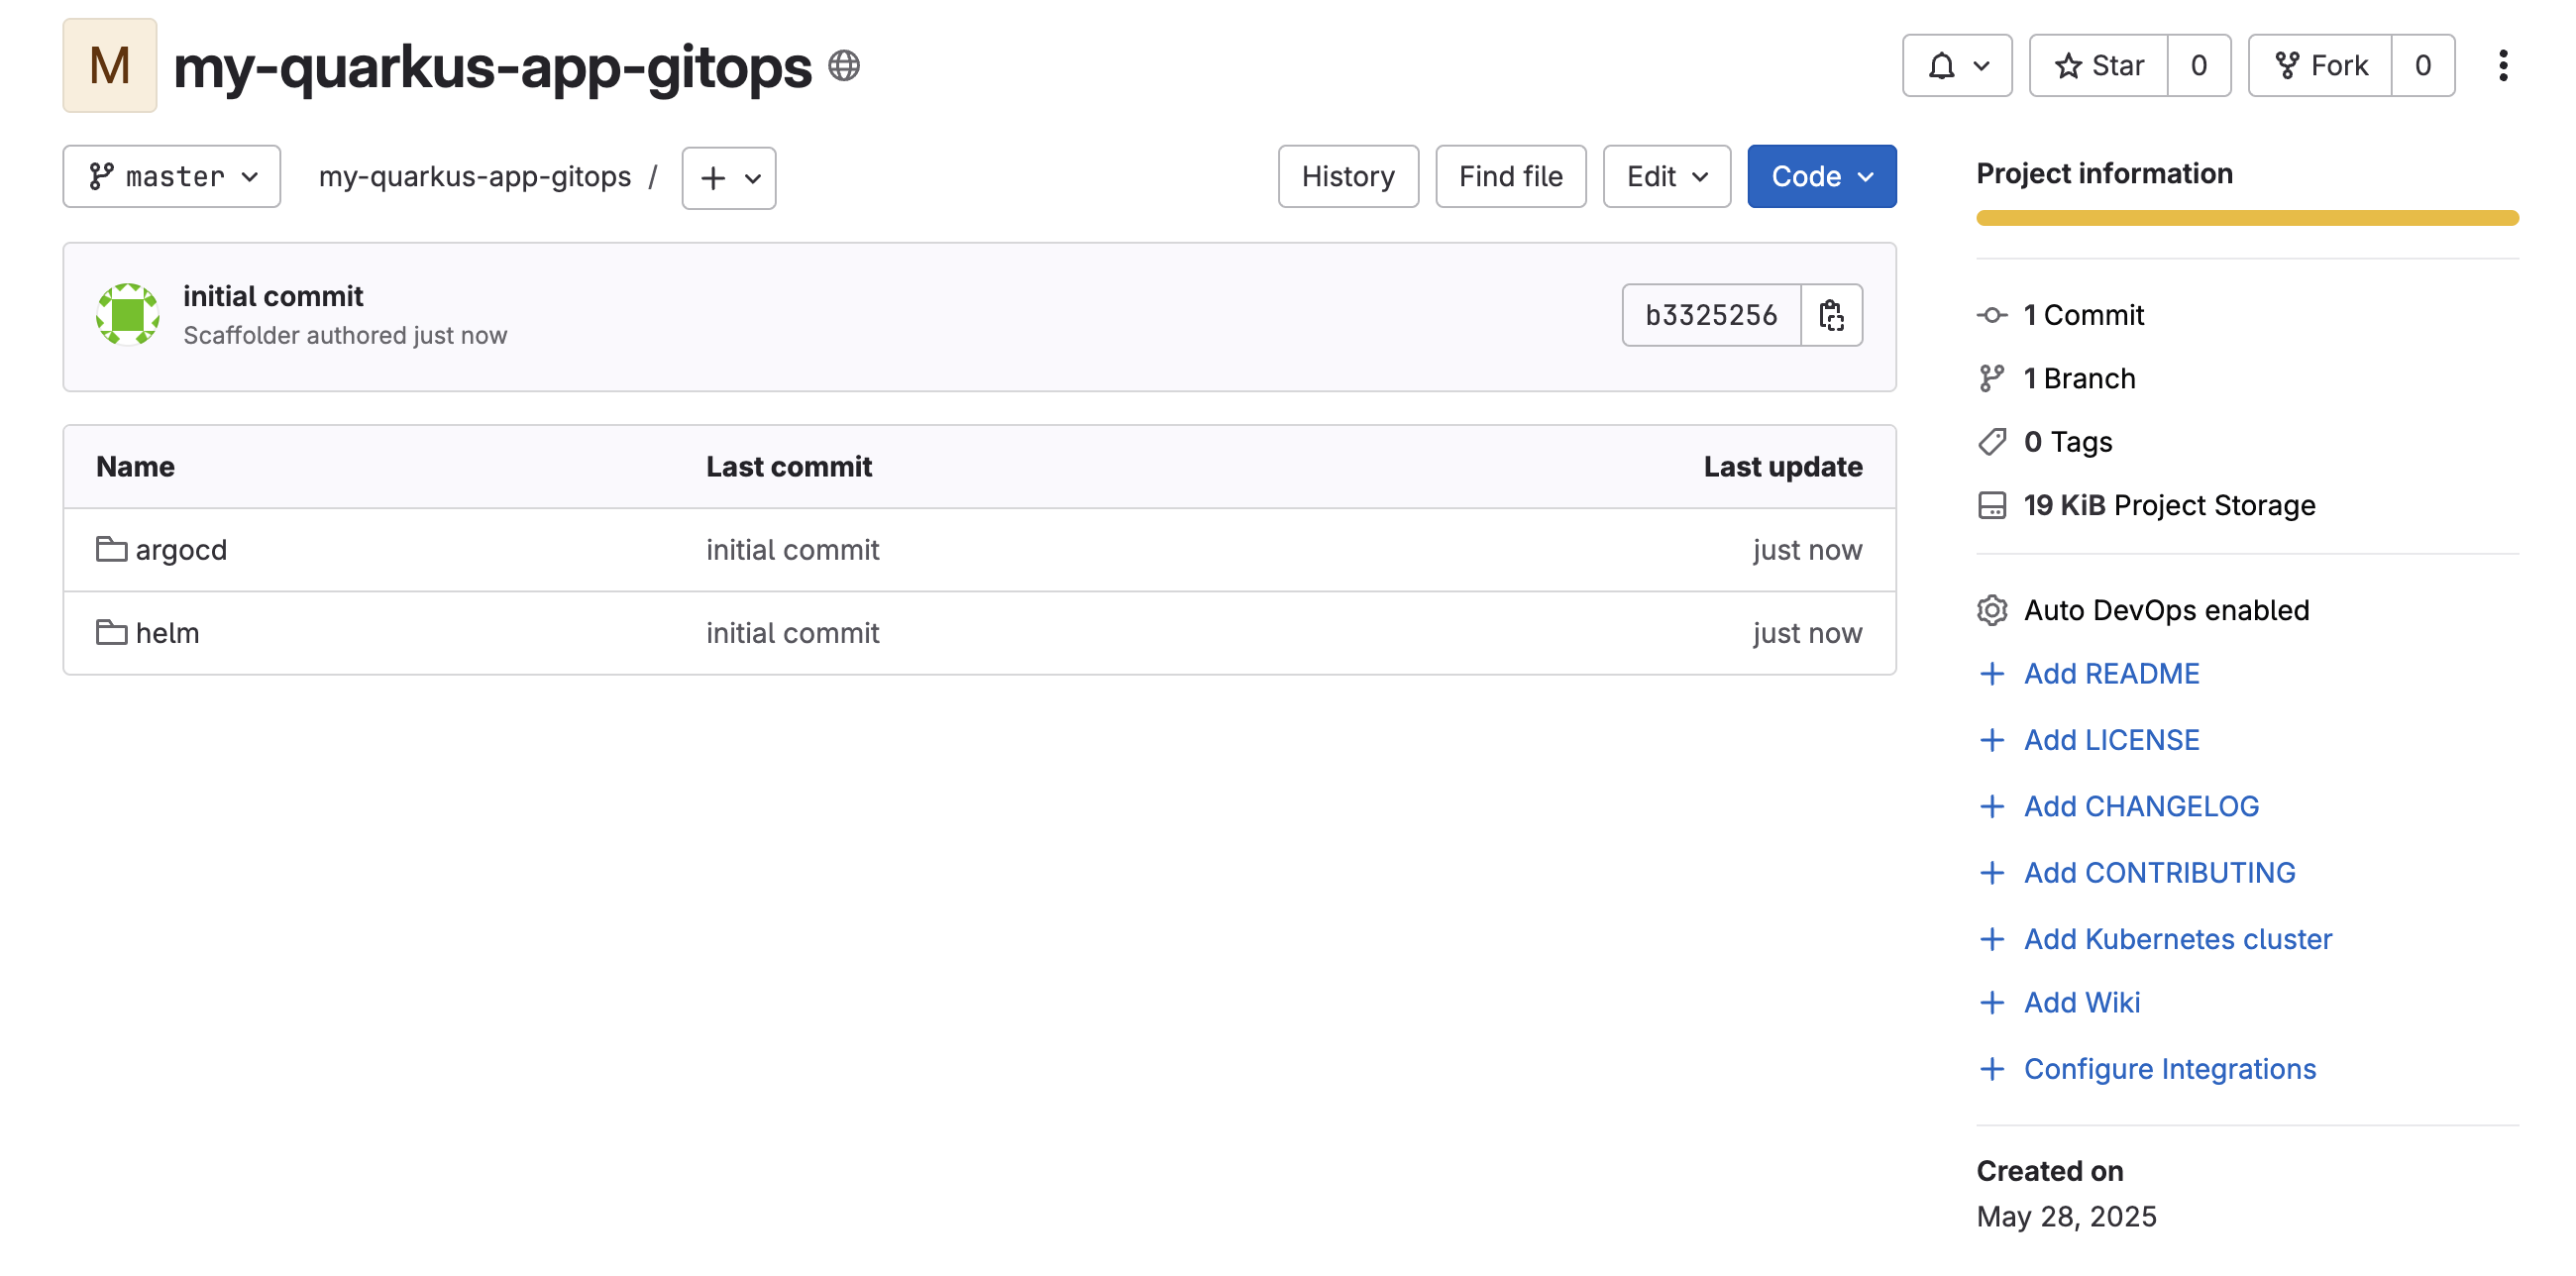
Gitops Repository - This is a repository containing artifacts such as Pipelines, Tasks and Kubernetes resources used to set up CI/CD processes for your application.
-
-
On the Run of quarkus-web-template wizard screen click on Source Code Repository link to view source code in GitLab.
-
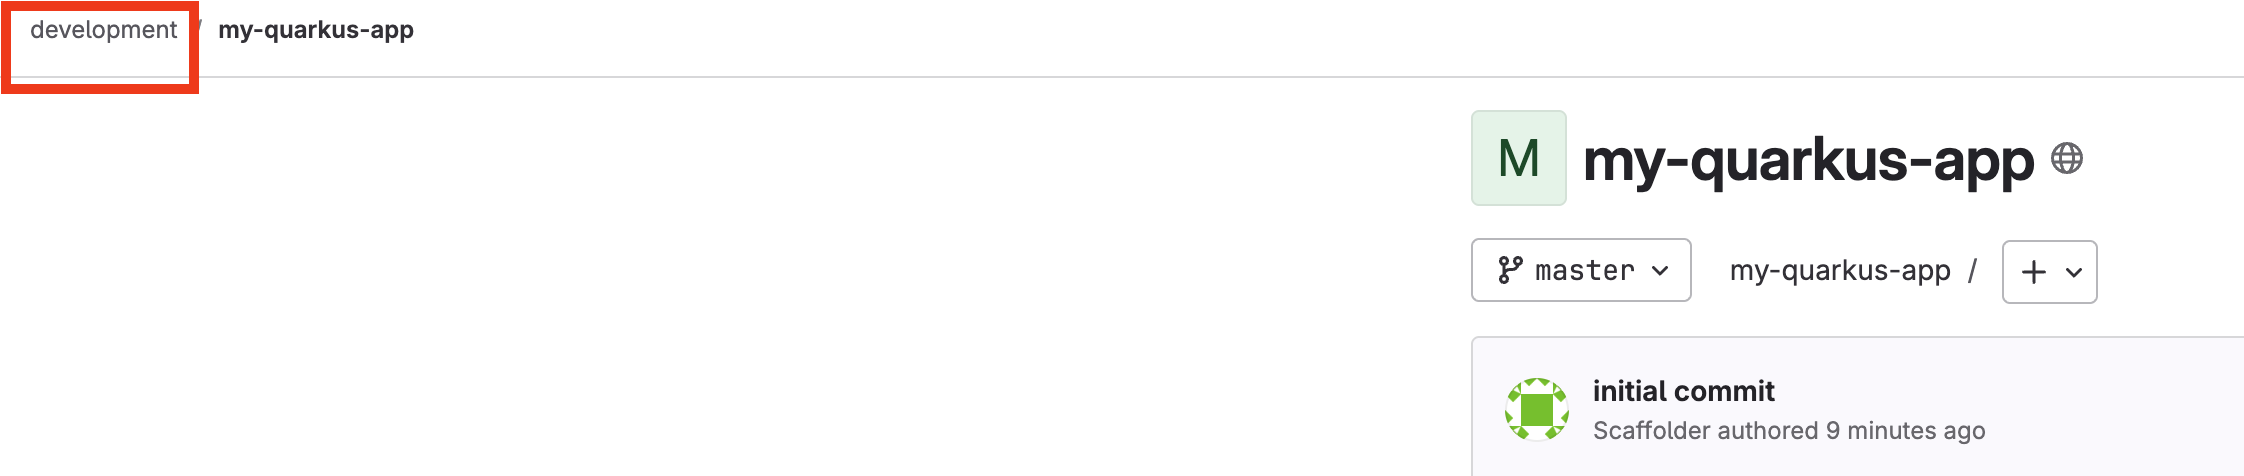
Click on developement link to go back to top level.
-
Select
my-quarkus-userX-gitopsproject to view all artifacts for applcation deployment with GitOps.
-
Go back to RHDH web console, in the Run of quarkus-web-template wizard screen click on Open Component in catalog link.
If you have navigated away from this page, select Catalog on the left menu and select my-quarkus-userXin the Component drop-down list.
-
A new window will open displaying your new component:

-
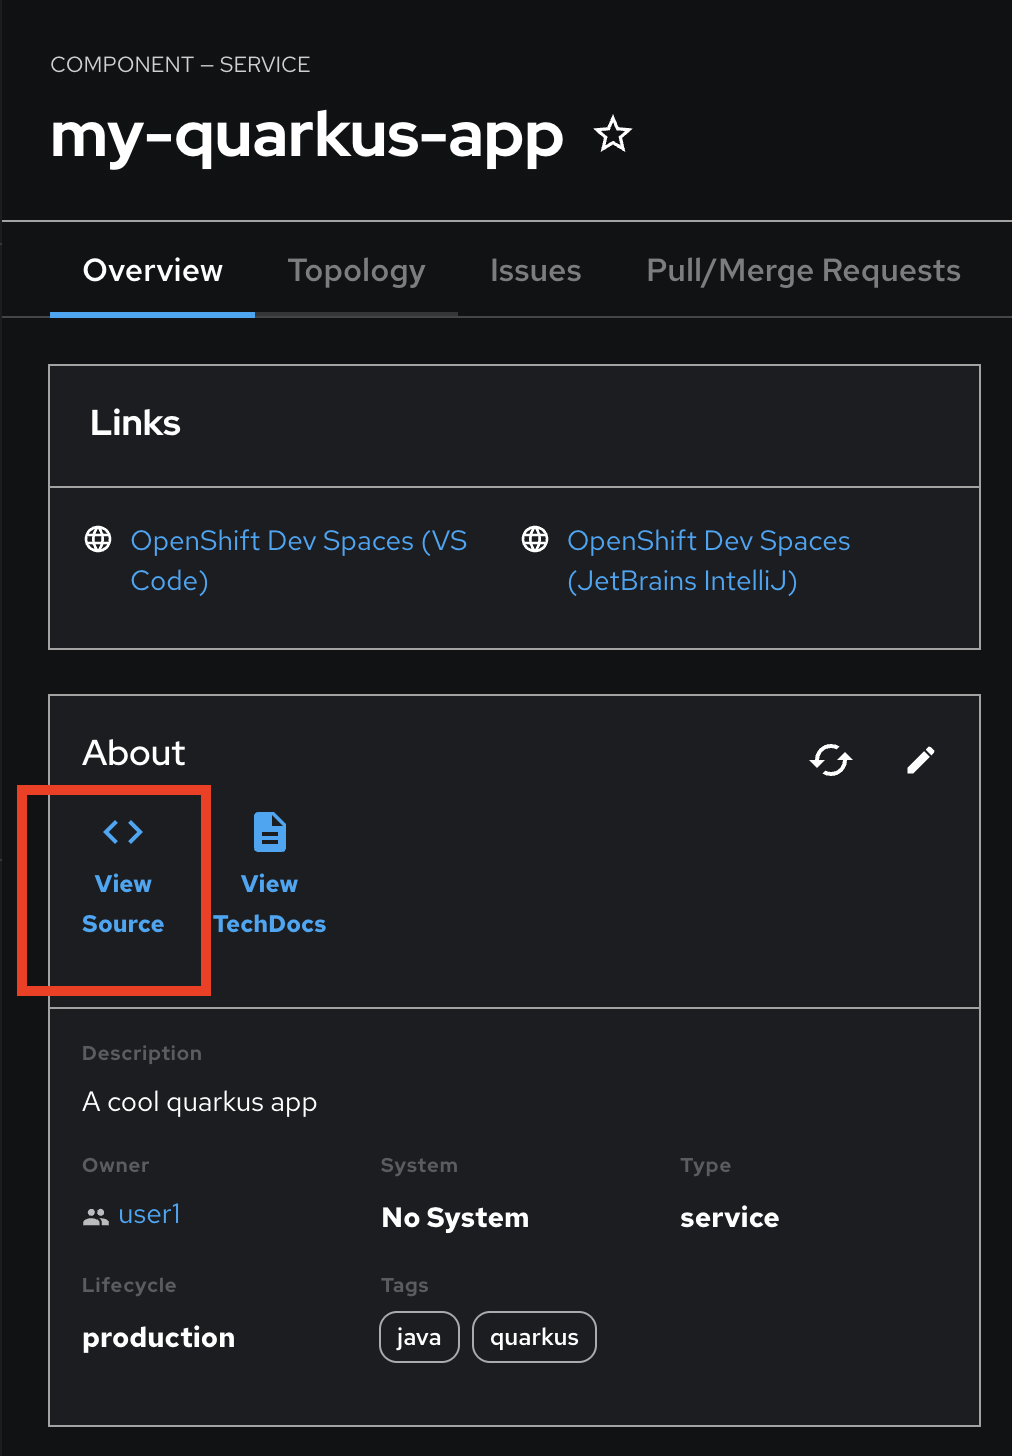
Links
-
OpenShift Dev Spaces (VS Code)- Will open VS Code and import your app source code for editing. -
OpenShift Dev Spaces (JetBrains IntelliJ)- Will open JetBrains IntelliJ and import your app source code for editing.
-
-
About
-
View Source- Opens up your app source code in GitLab -
View TechDocs- Display any documentation you have generated for your source code (docs directory)
-
-
Merge request statistics - provides information regarding your GitLab merge requests
-
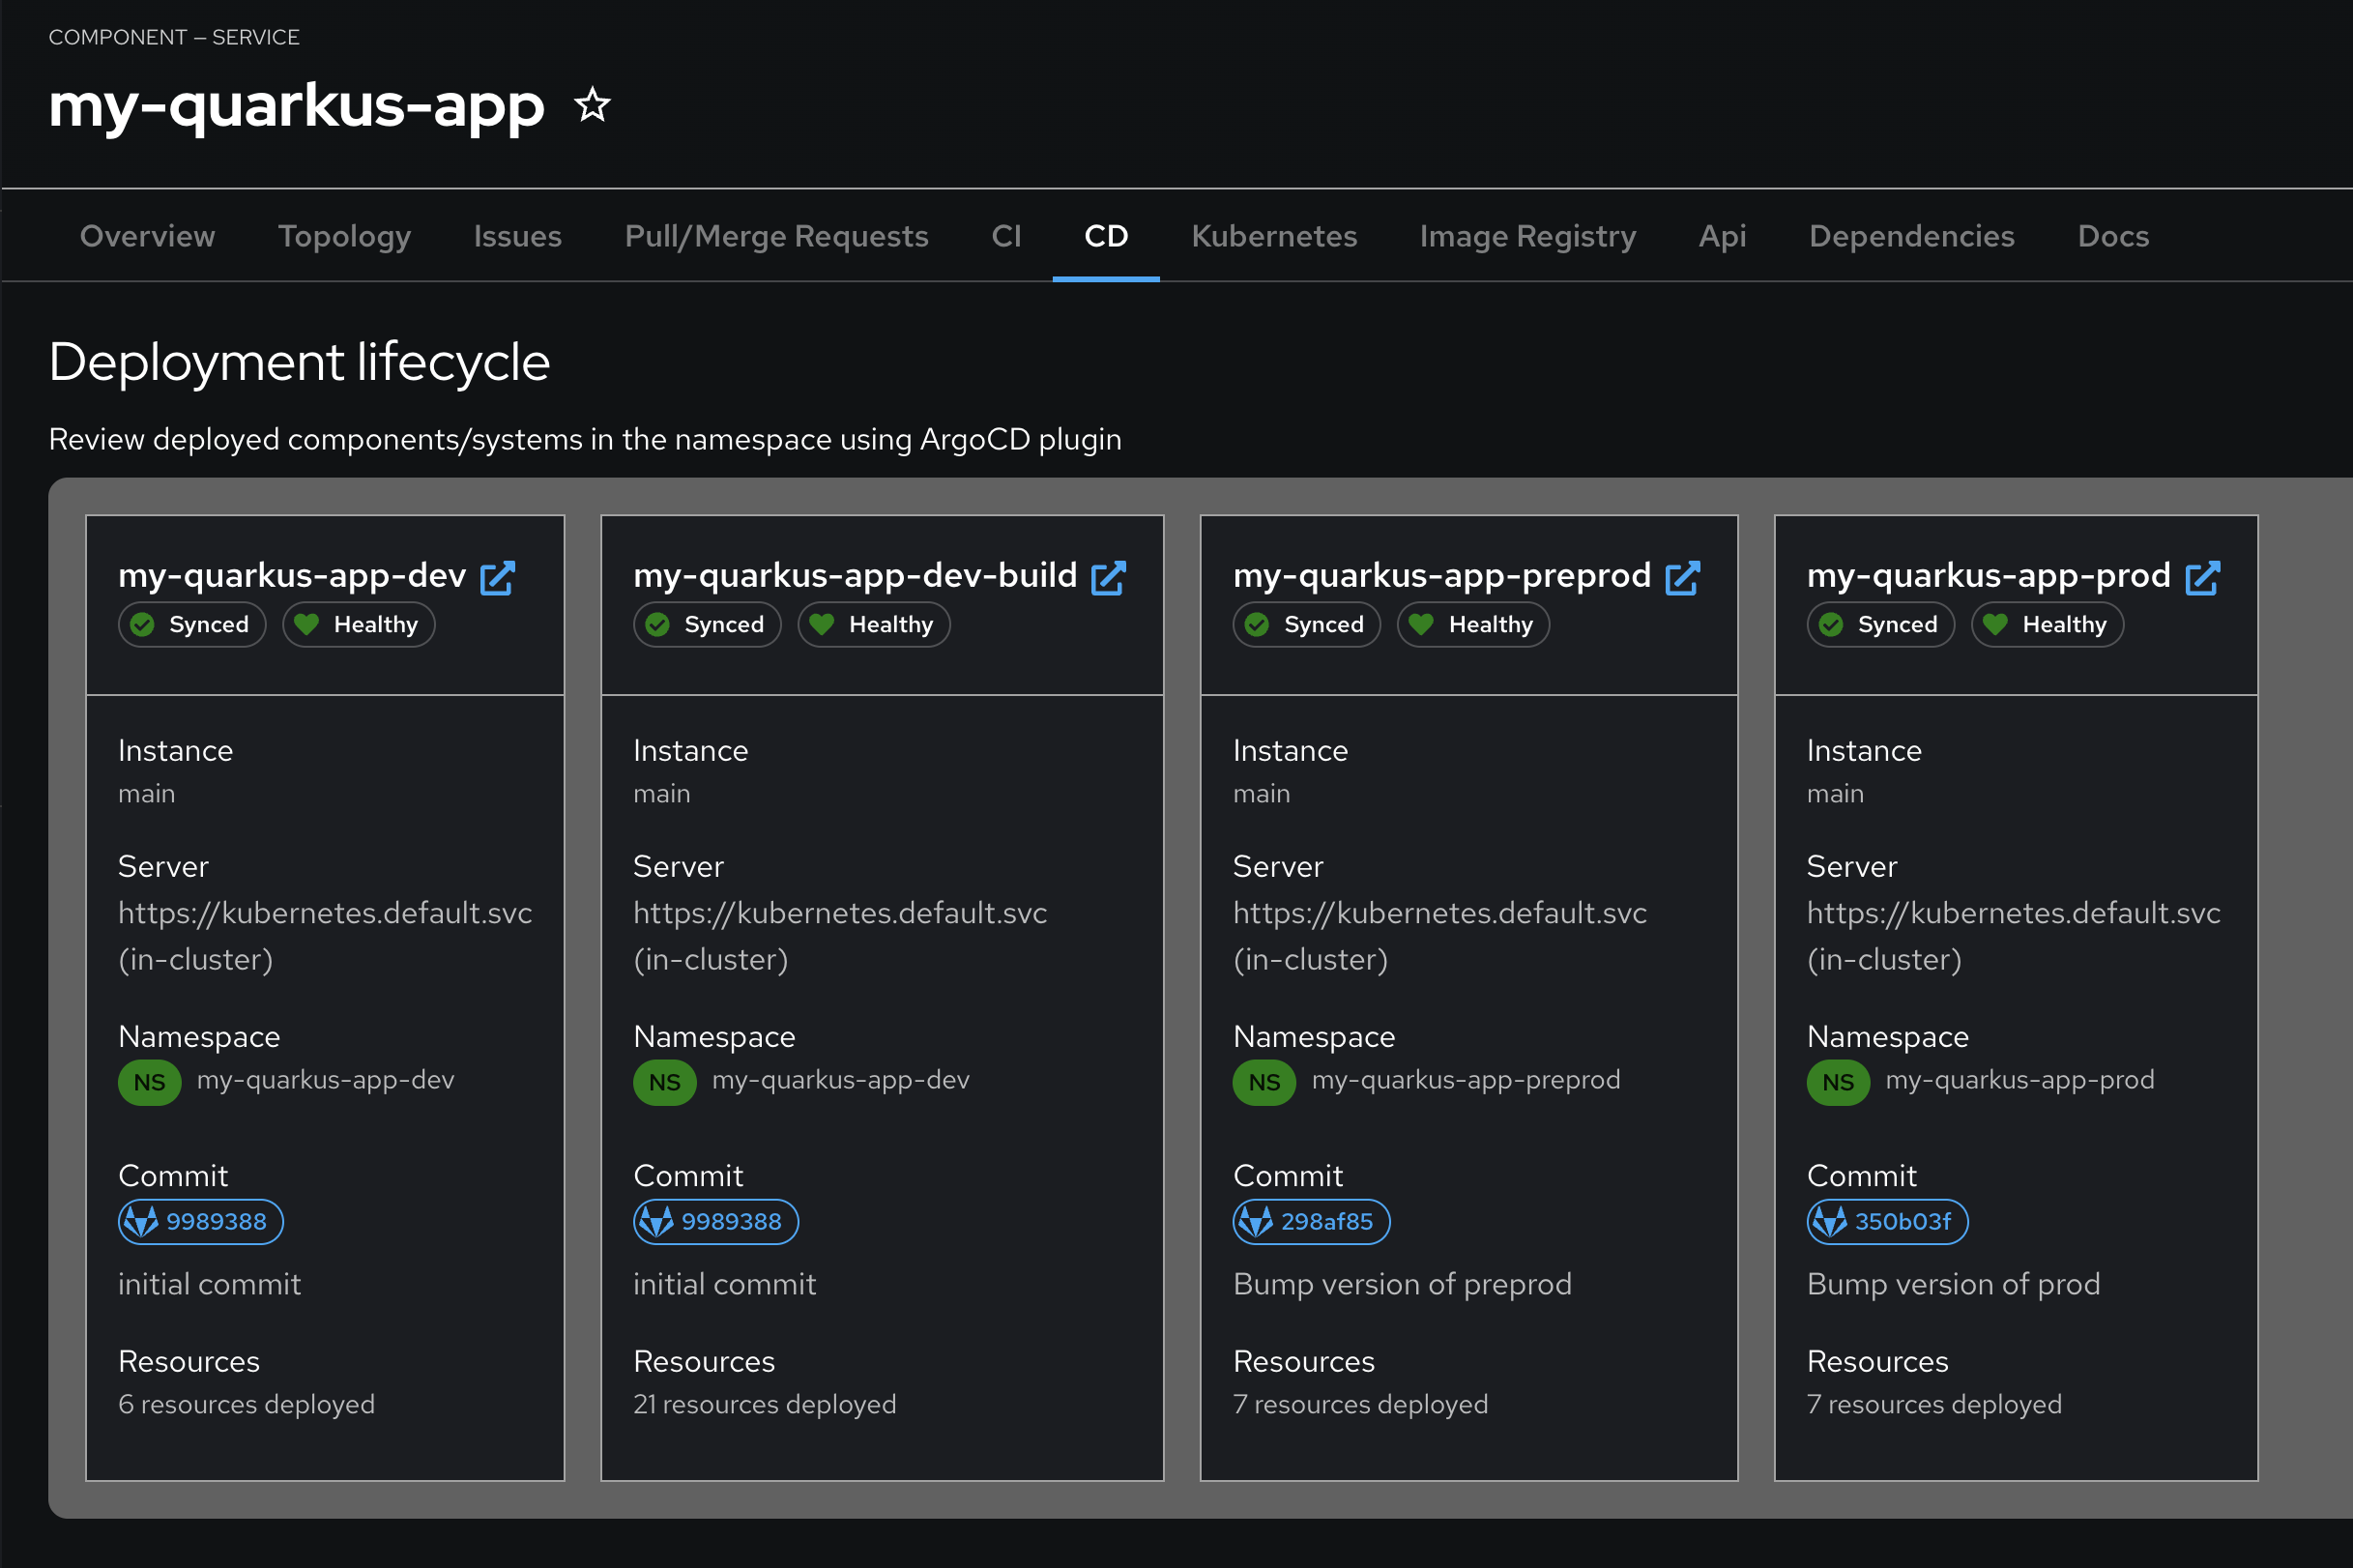
ArgoCD overview
-
This view shows your current status of your
Argo CDdev application. It would eventually progress to a degraded state as your deployment cannot find your new quarkus app image.
-
A description of the menu items at the top will be provided later on.
-
Start Development with Red Hat Developer Hub
-
To get the build process running, we first need to open up our source code in IDE. In RHDH, from your
my-quarkus-userXcomponent, click the OpenShift Dev Spaces (VS Code) link.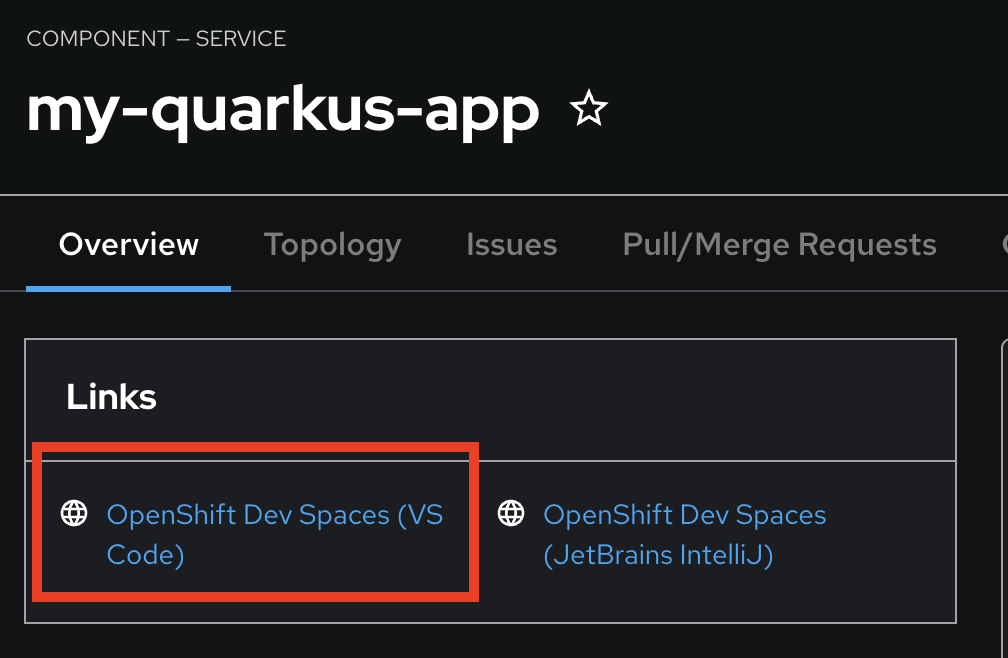
-
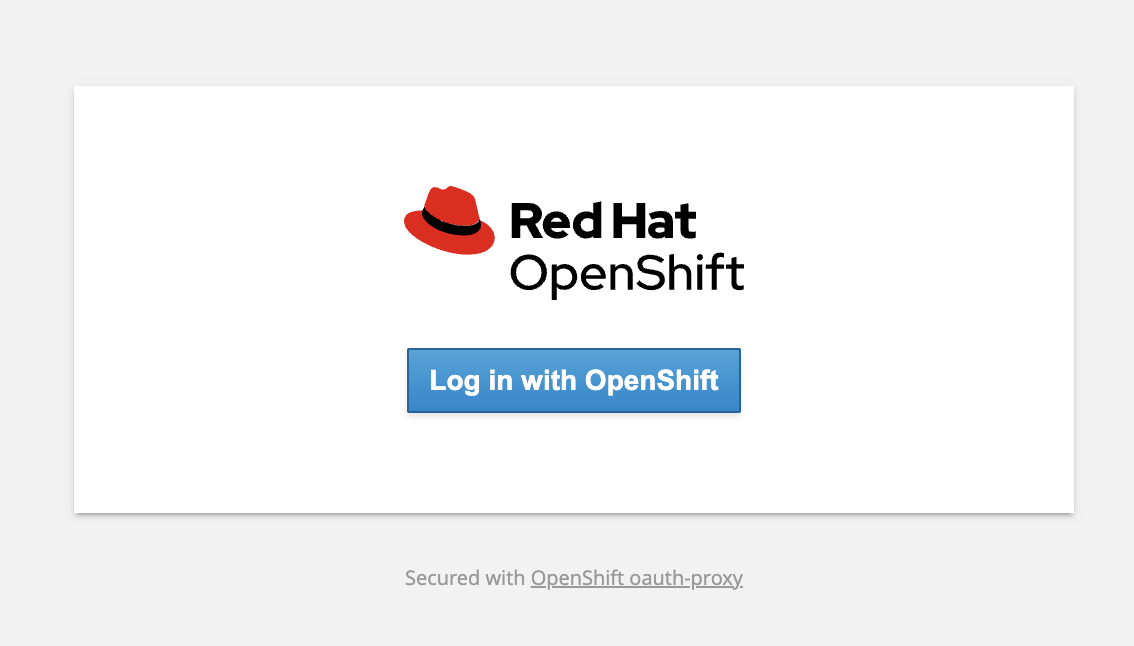
A new window will open where you will be asked to login to OpenShift. Click Login with OpenShift.
-
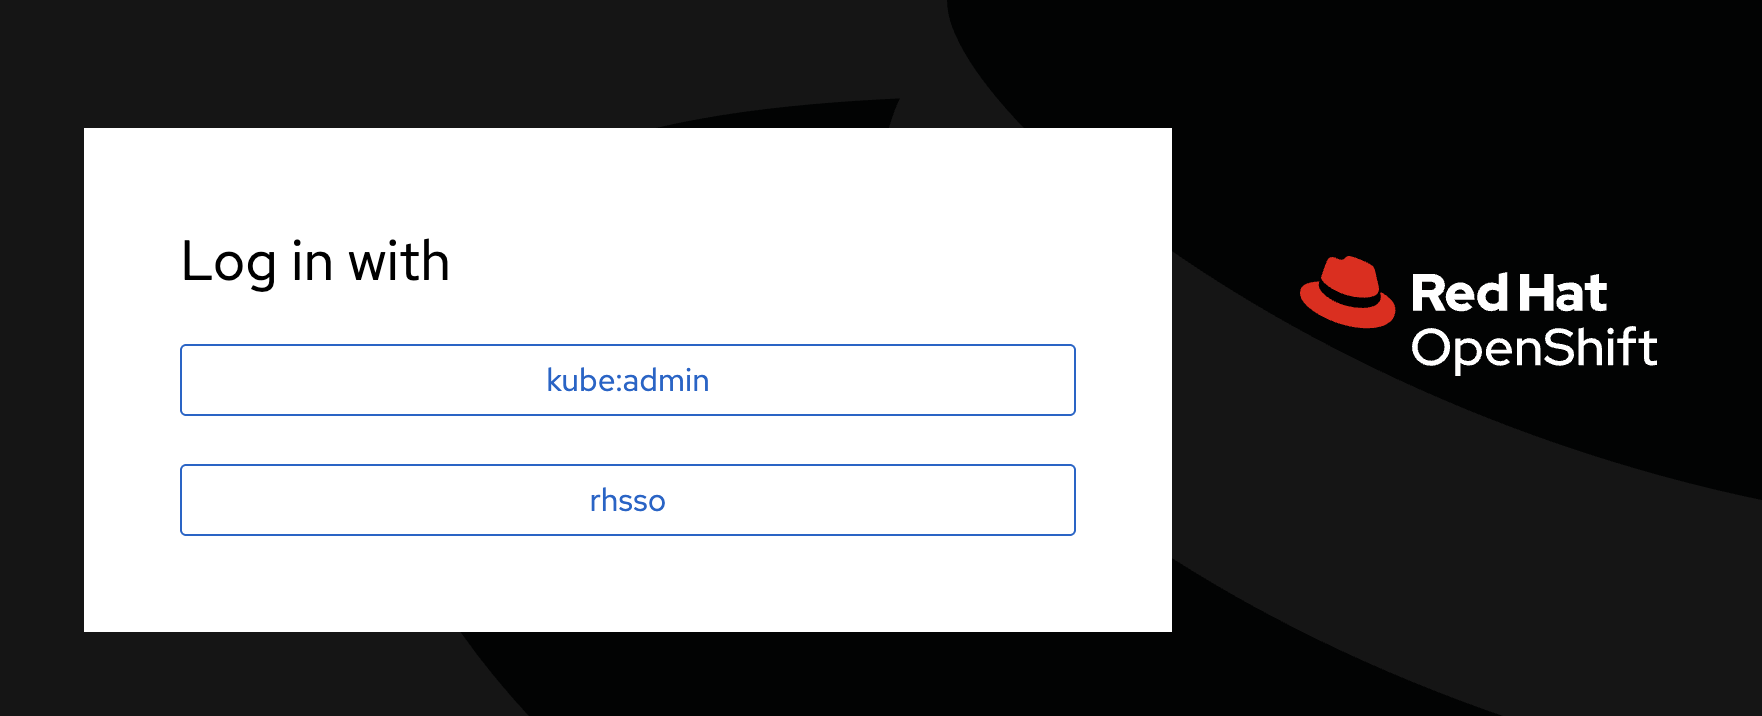
Click rhsso button.
-
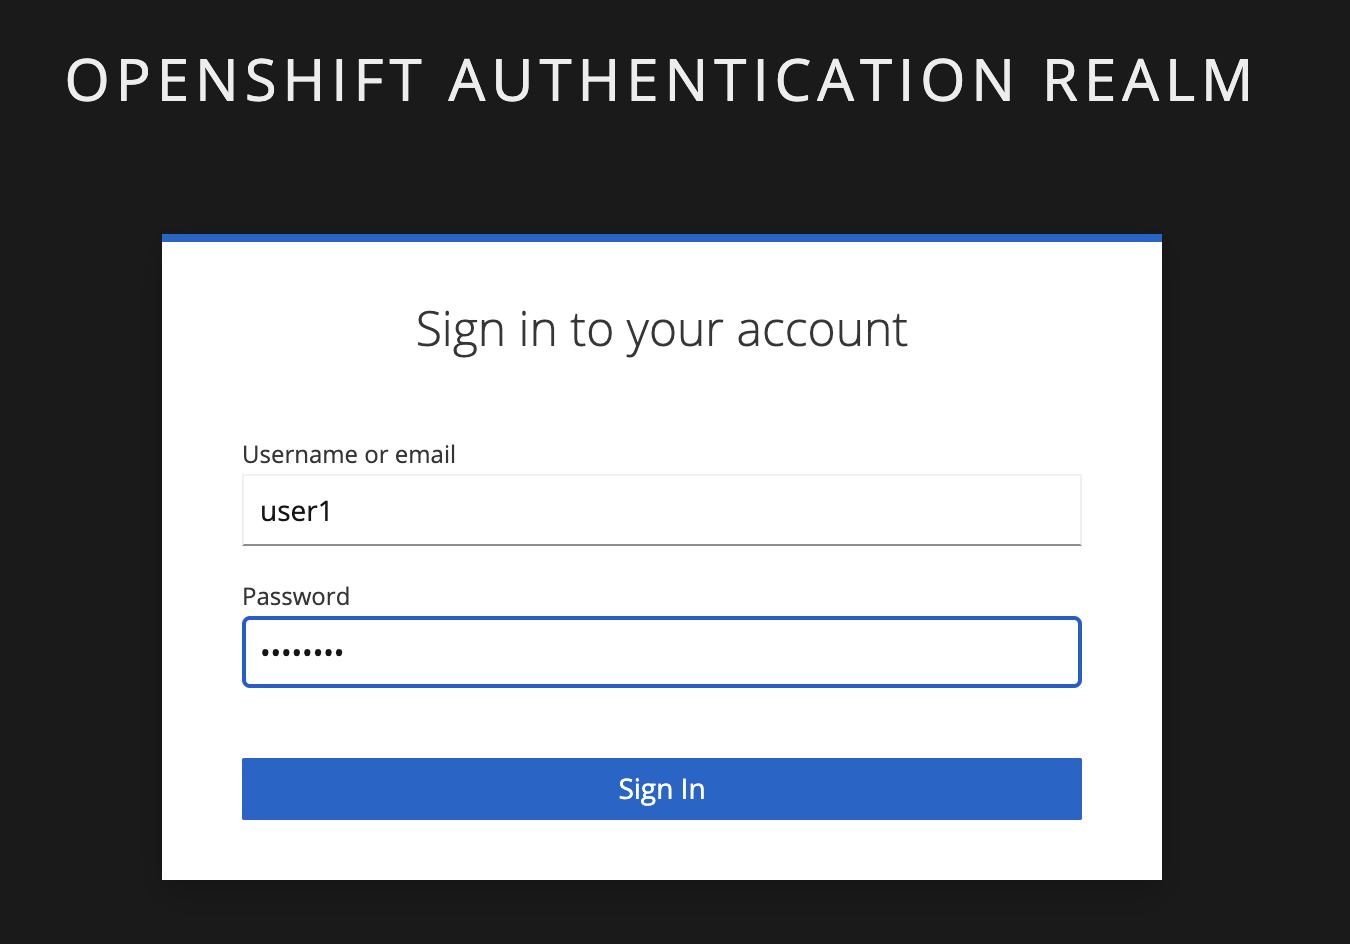
Enter your credentials provided to you for Dev Spaces on the info page of your CI then click Sign In.
-
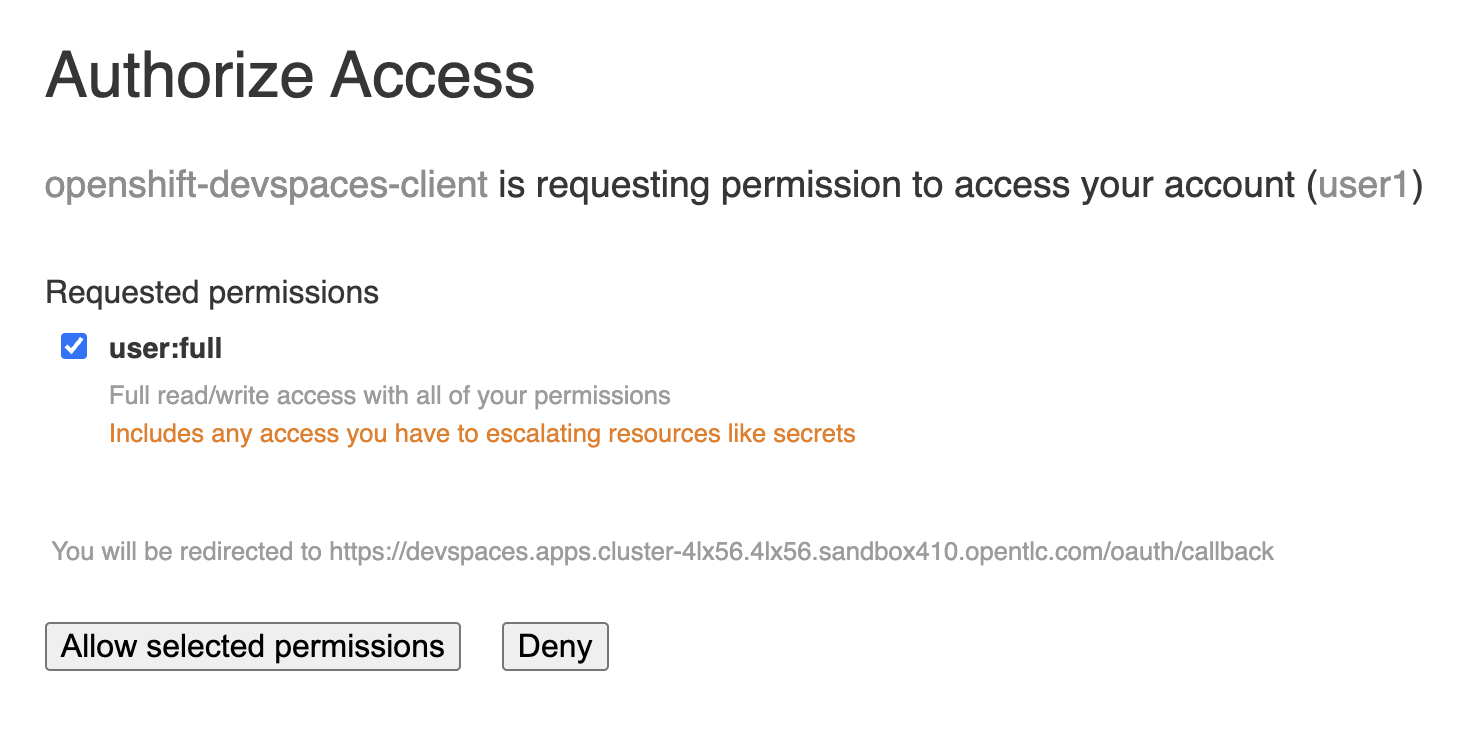
Click Allow selected permissions button.
-
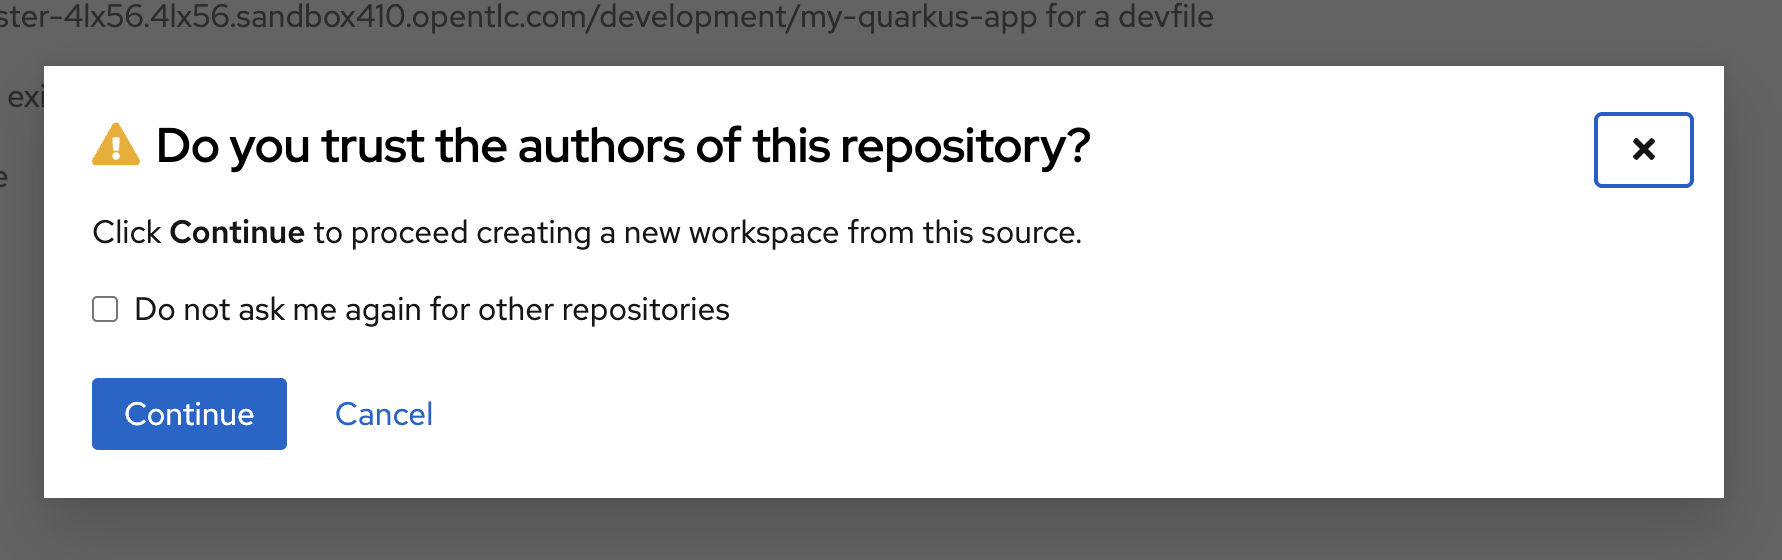
Click Continue to confirm that the repository is trusted.
-
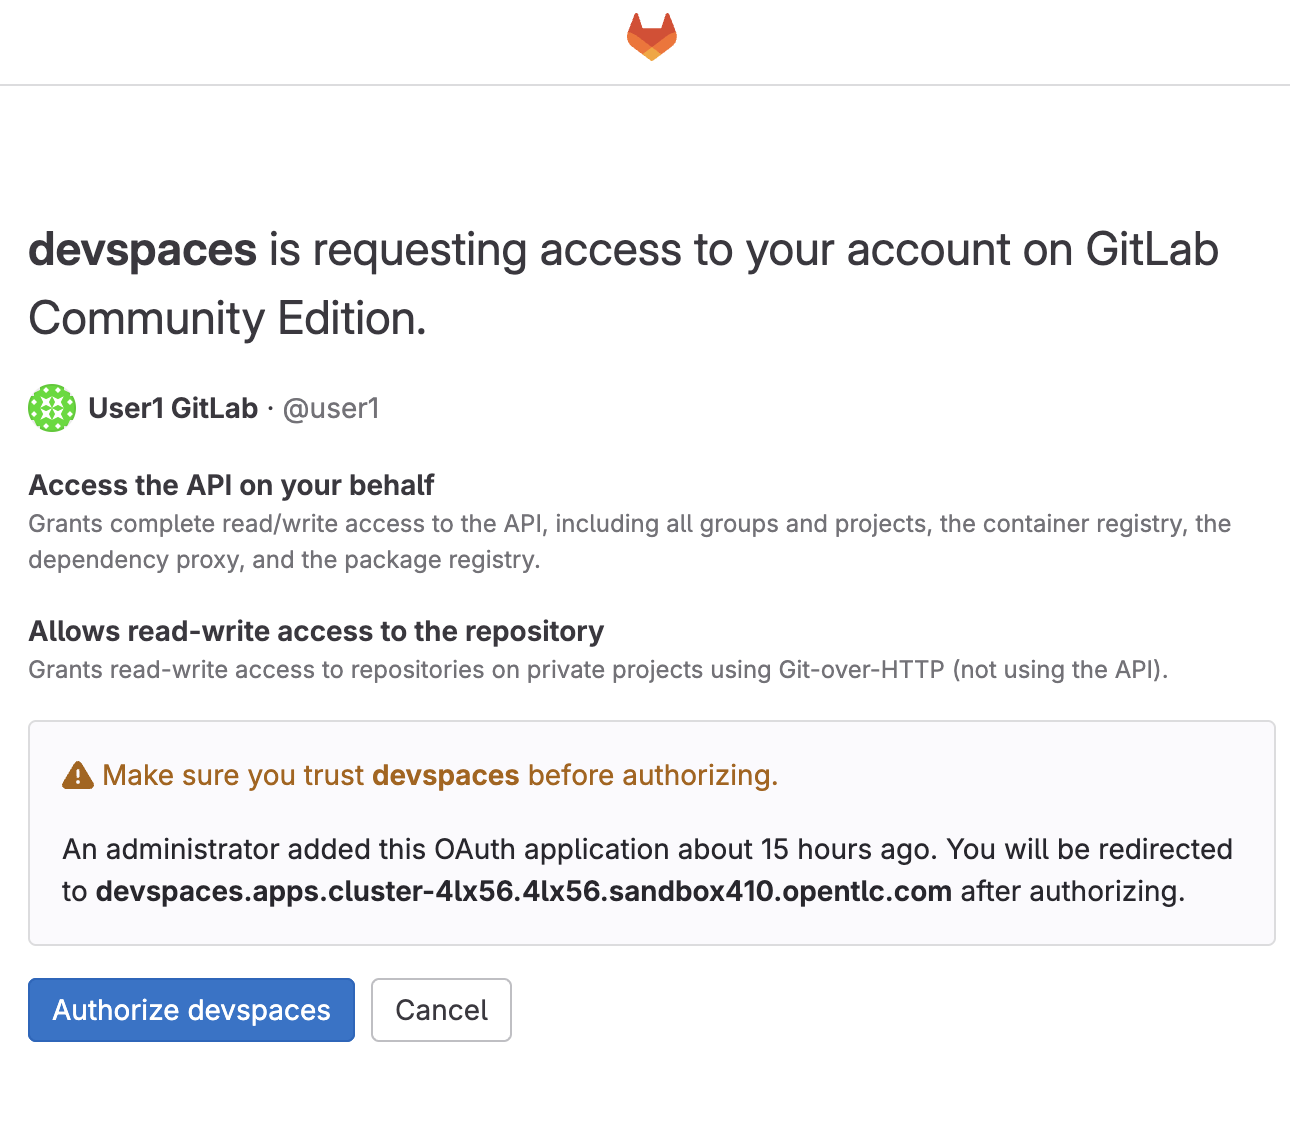
Click Authorize devspaces to grant Dev Spaces access to your account on GitLab Community Edition.
-
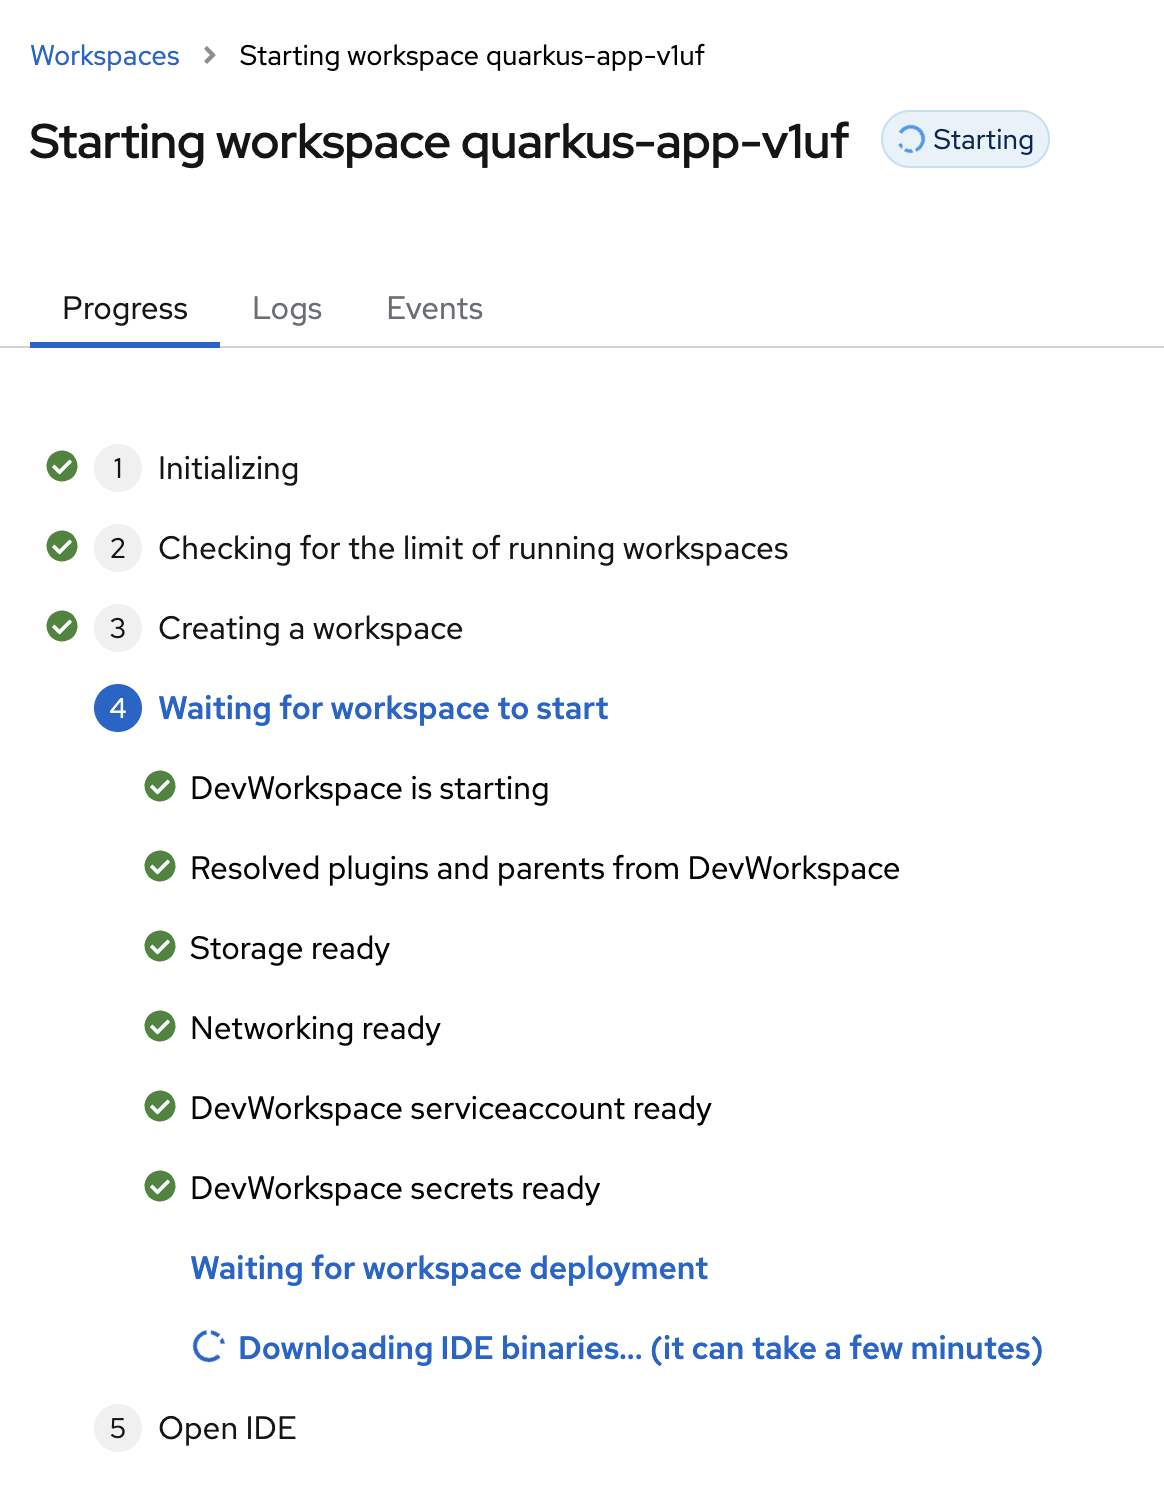
You will then be redirected back to Dev Spaces to complete the loading of your workspace.
-
Wait until your workspace is ready and you see the VS Code IDE with the
my-quarkus-userXproject loaded. Click on Yes, I trust the authors the button to trust the project author..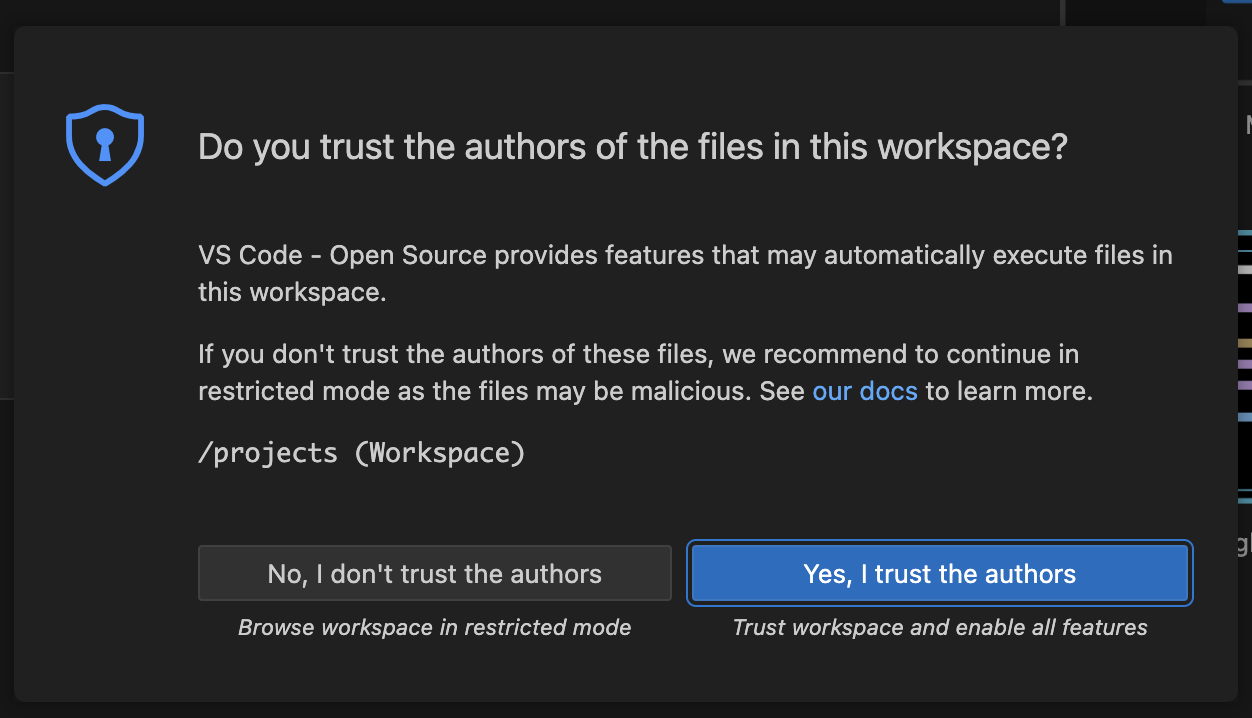
-
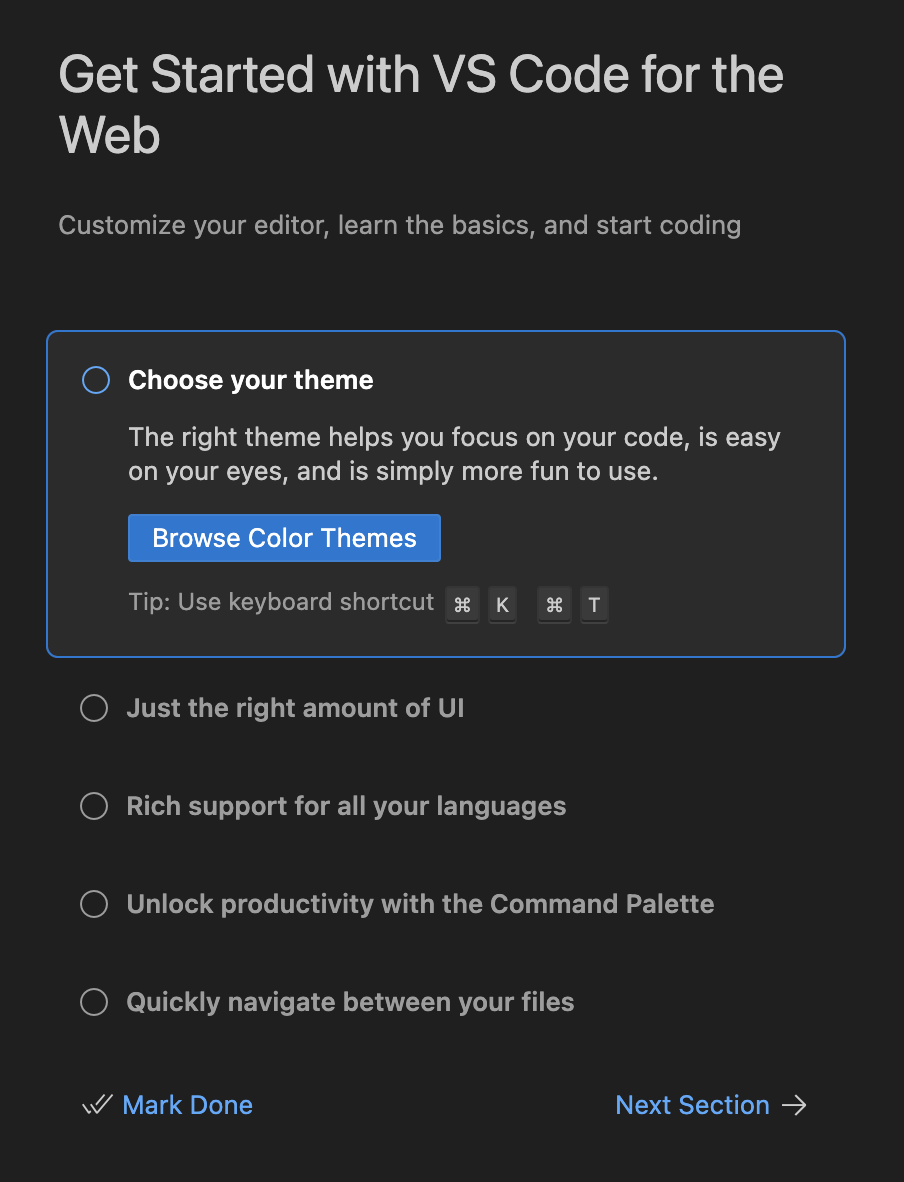
Click on Mark Done to start using VS Code.
-
In your
my-quarkus-userXproject, review code such asBackendResource.javafile.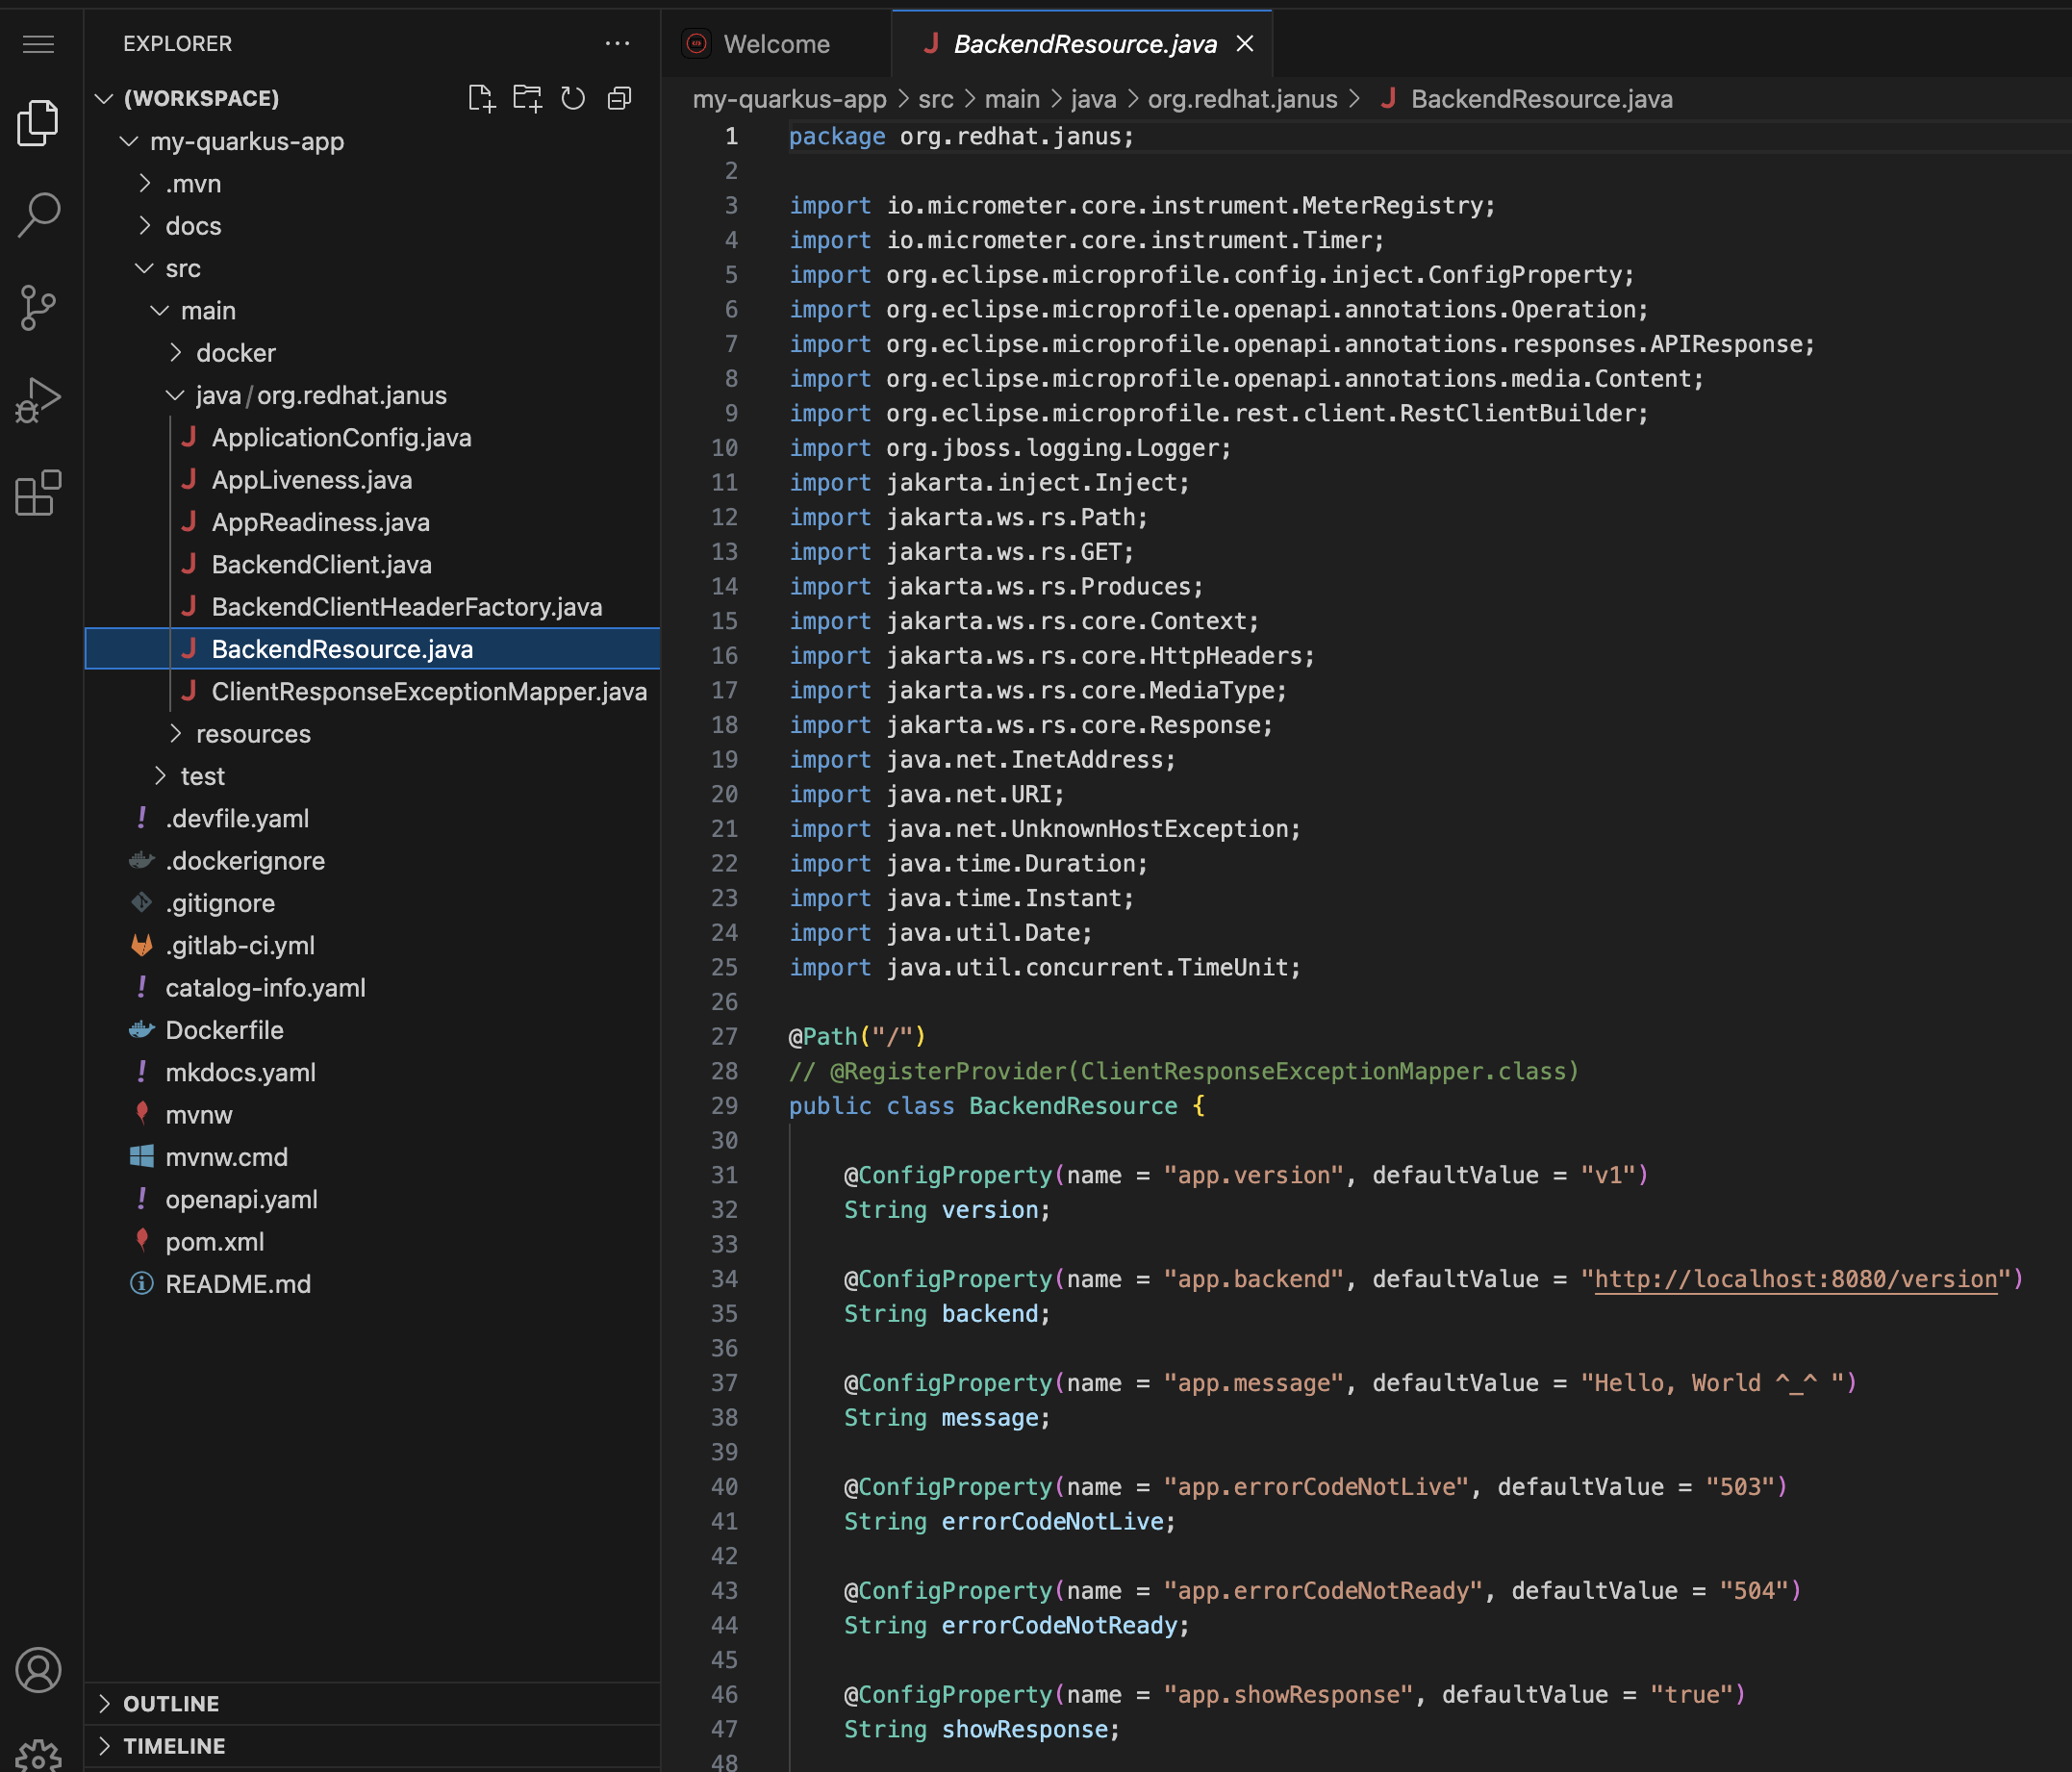
-
In your
my-quarkus-userXproject expand the docs folder and click on theindex.mdfile. Add a new line at the end of the file that saysDeveloper Day 2025.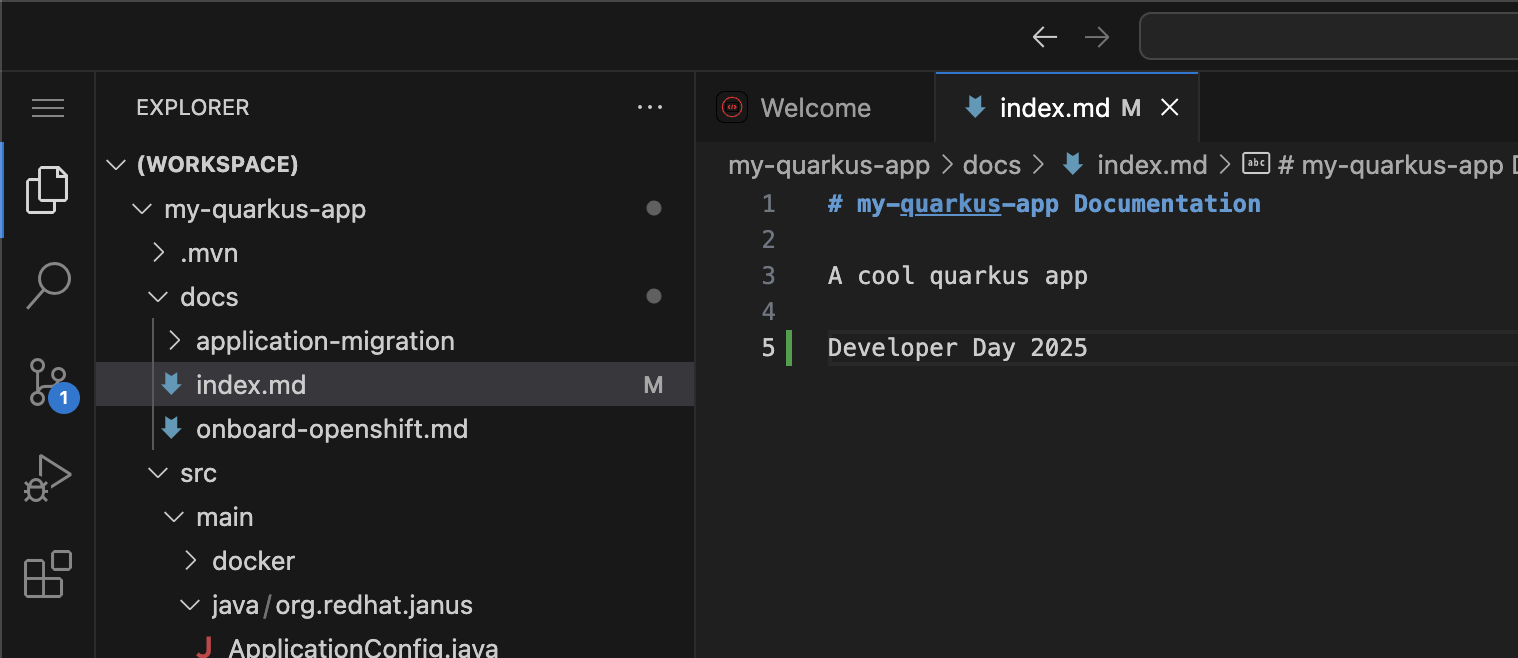
-
Go to Source Control, Stage your commit by clicking the + sign next to the
index.mdfile. Then commit your changes by entering a comment and clicking the Commit button.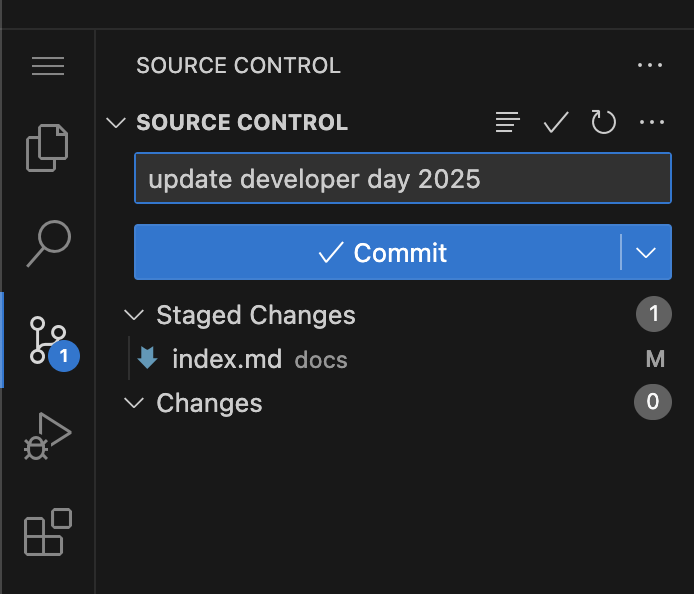
-
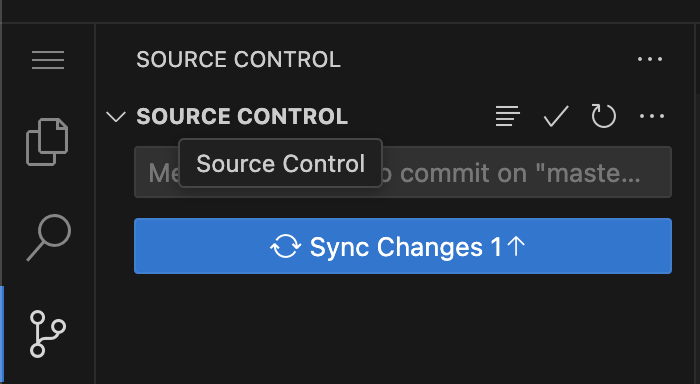
Finally, sync your changes to the repository by clicking the Sync Changes button.
-
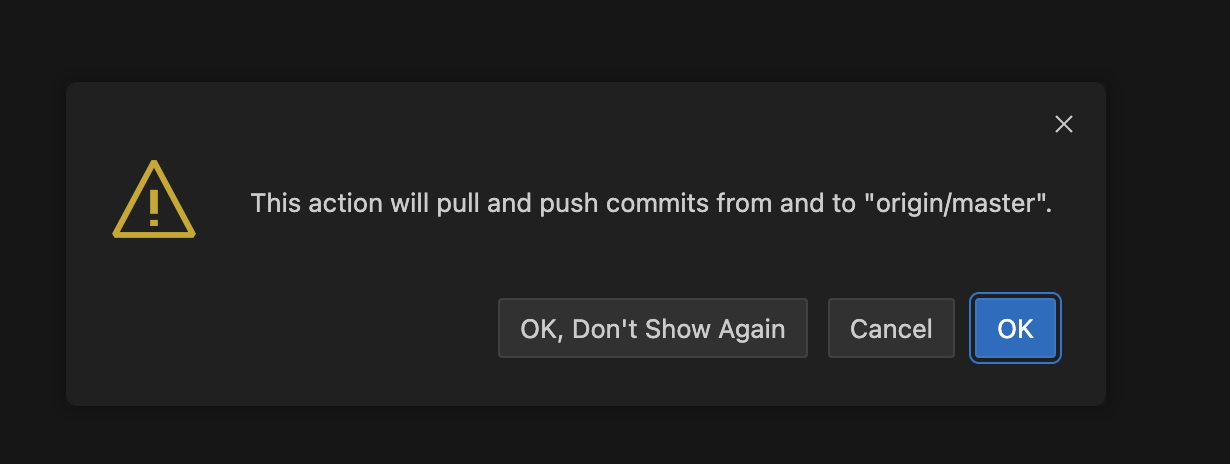
Click OK to comfirm push changes.
-
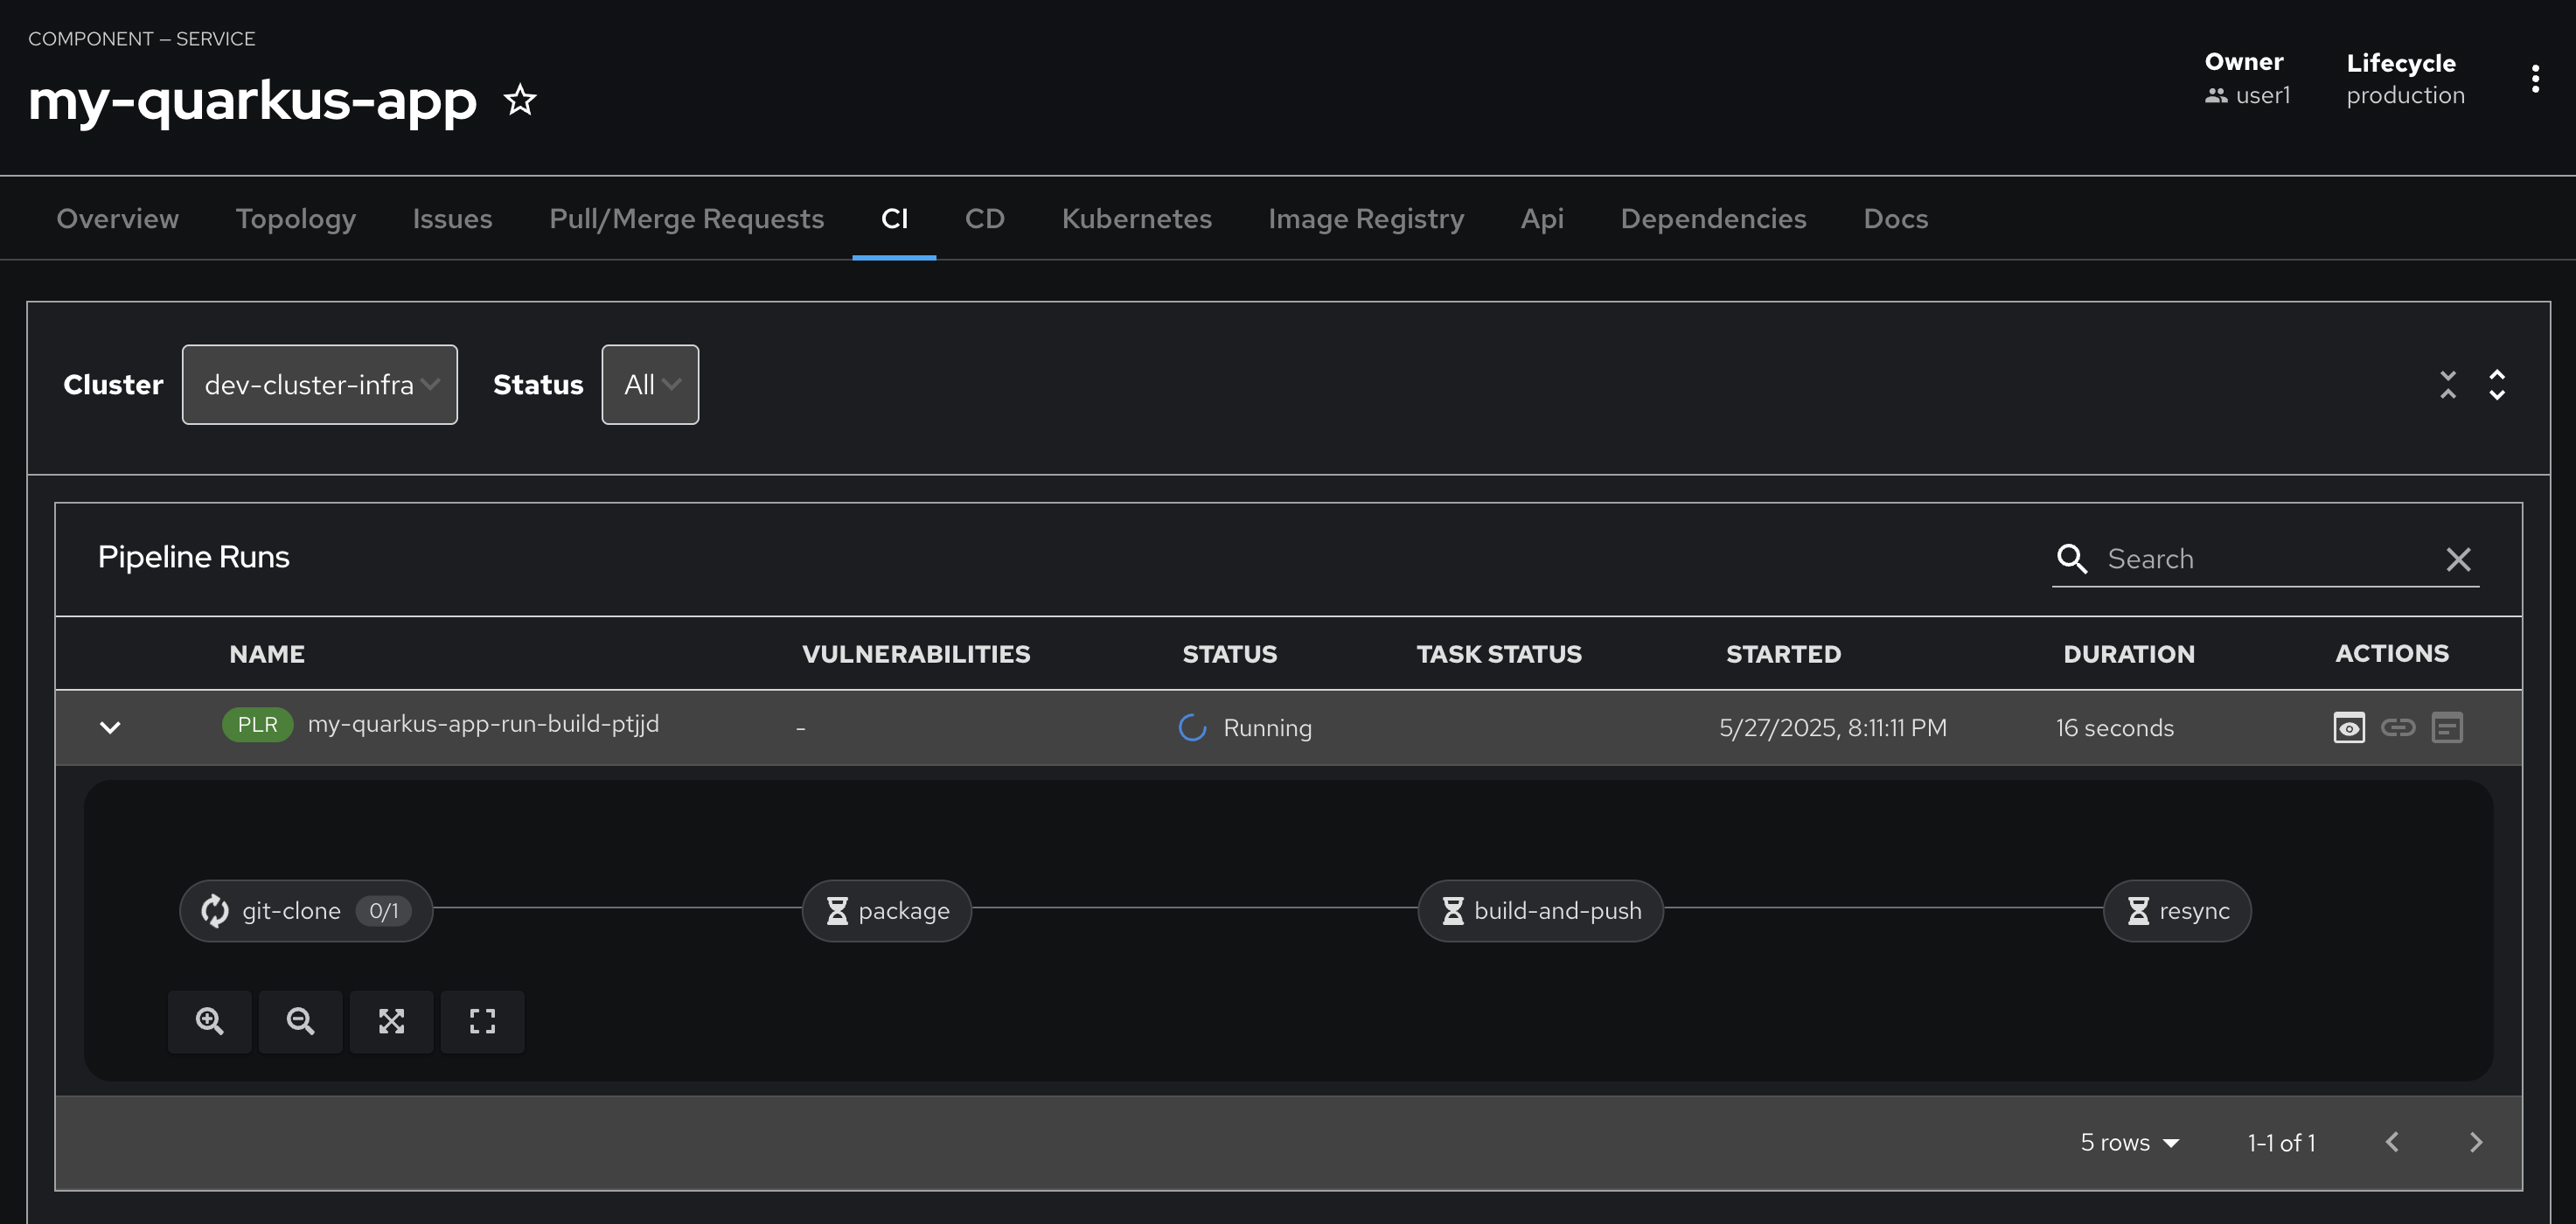
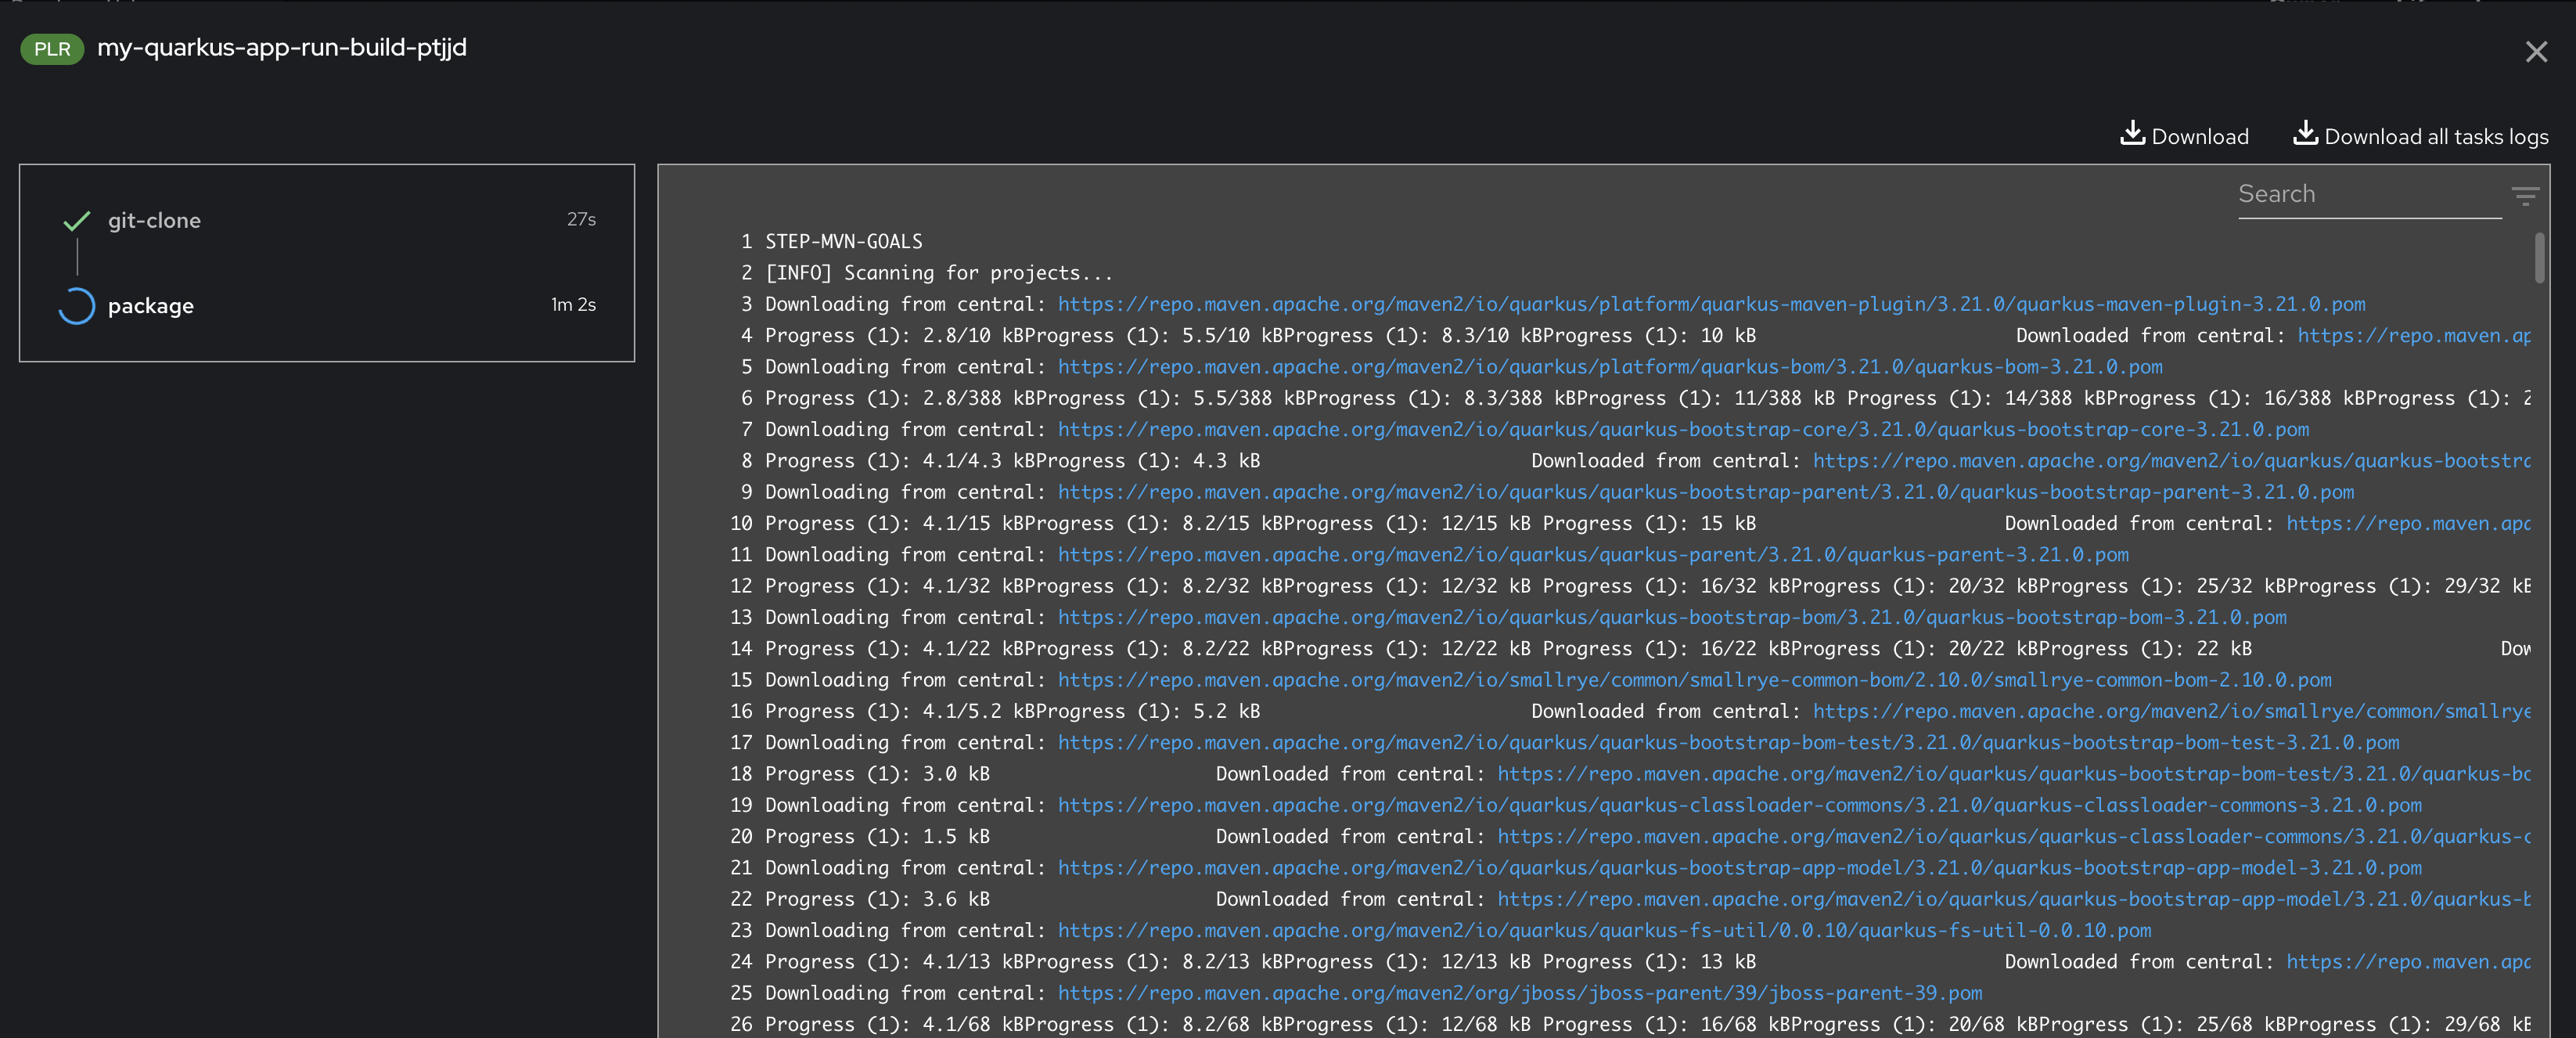
Committing and syncing your changes to your source code repository automatically kicks off your build pipeline via a webhook that was configured when creating your software component. Click CI Tab to view Pipeline Runs.
-
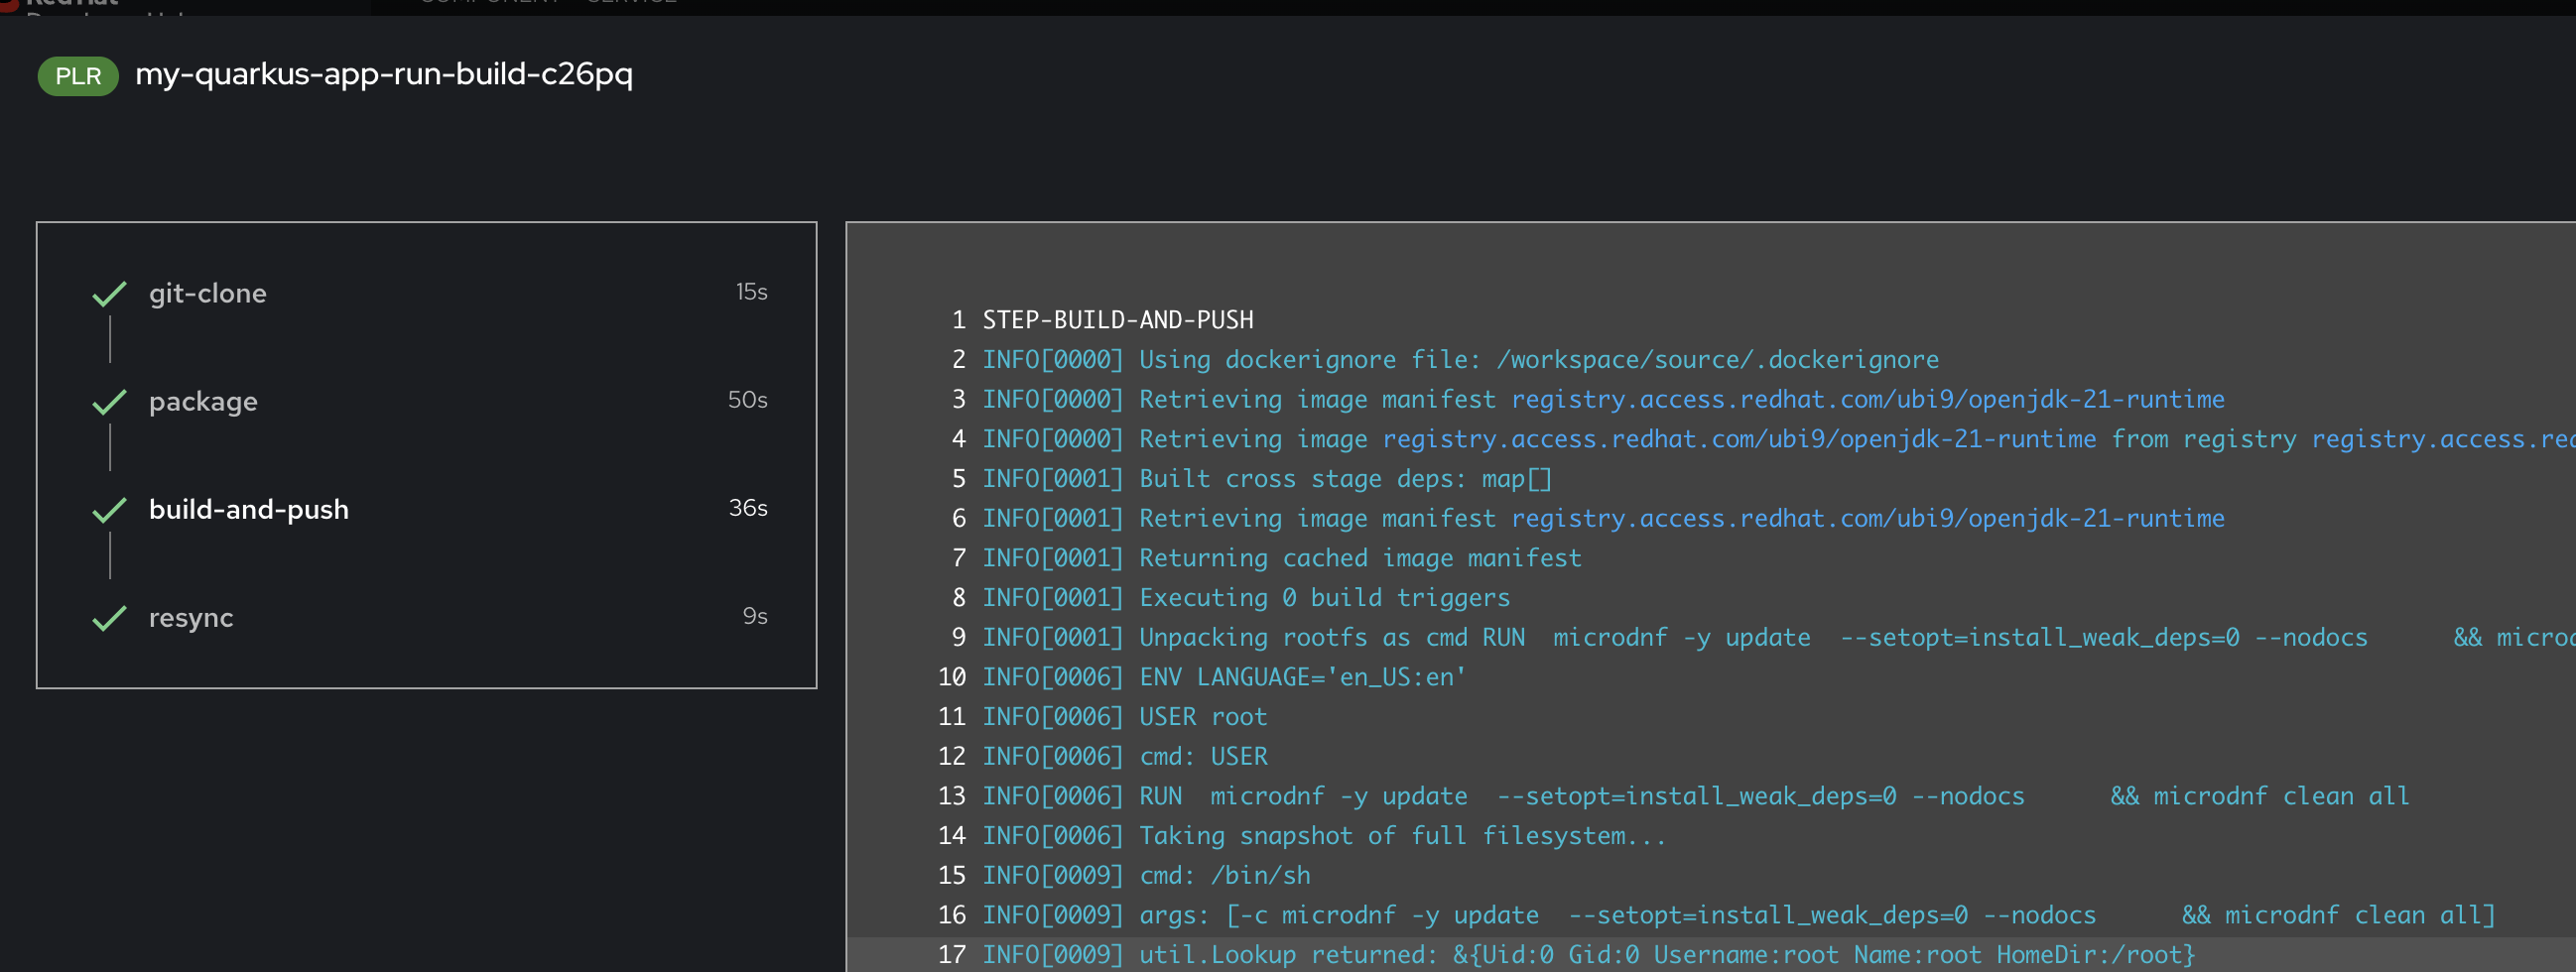
Click task in pipeline to view logs of process.
-
Wait until pipeline complete.
-
Click CD tab to view GitOps (Argo CD)
my-quarkus-userX-devSynced and Healthy.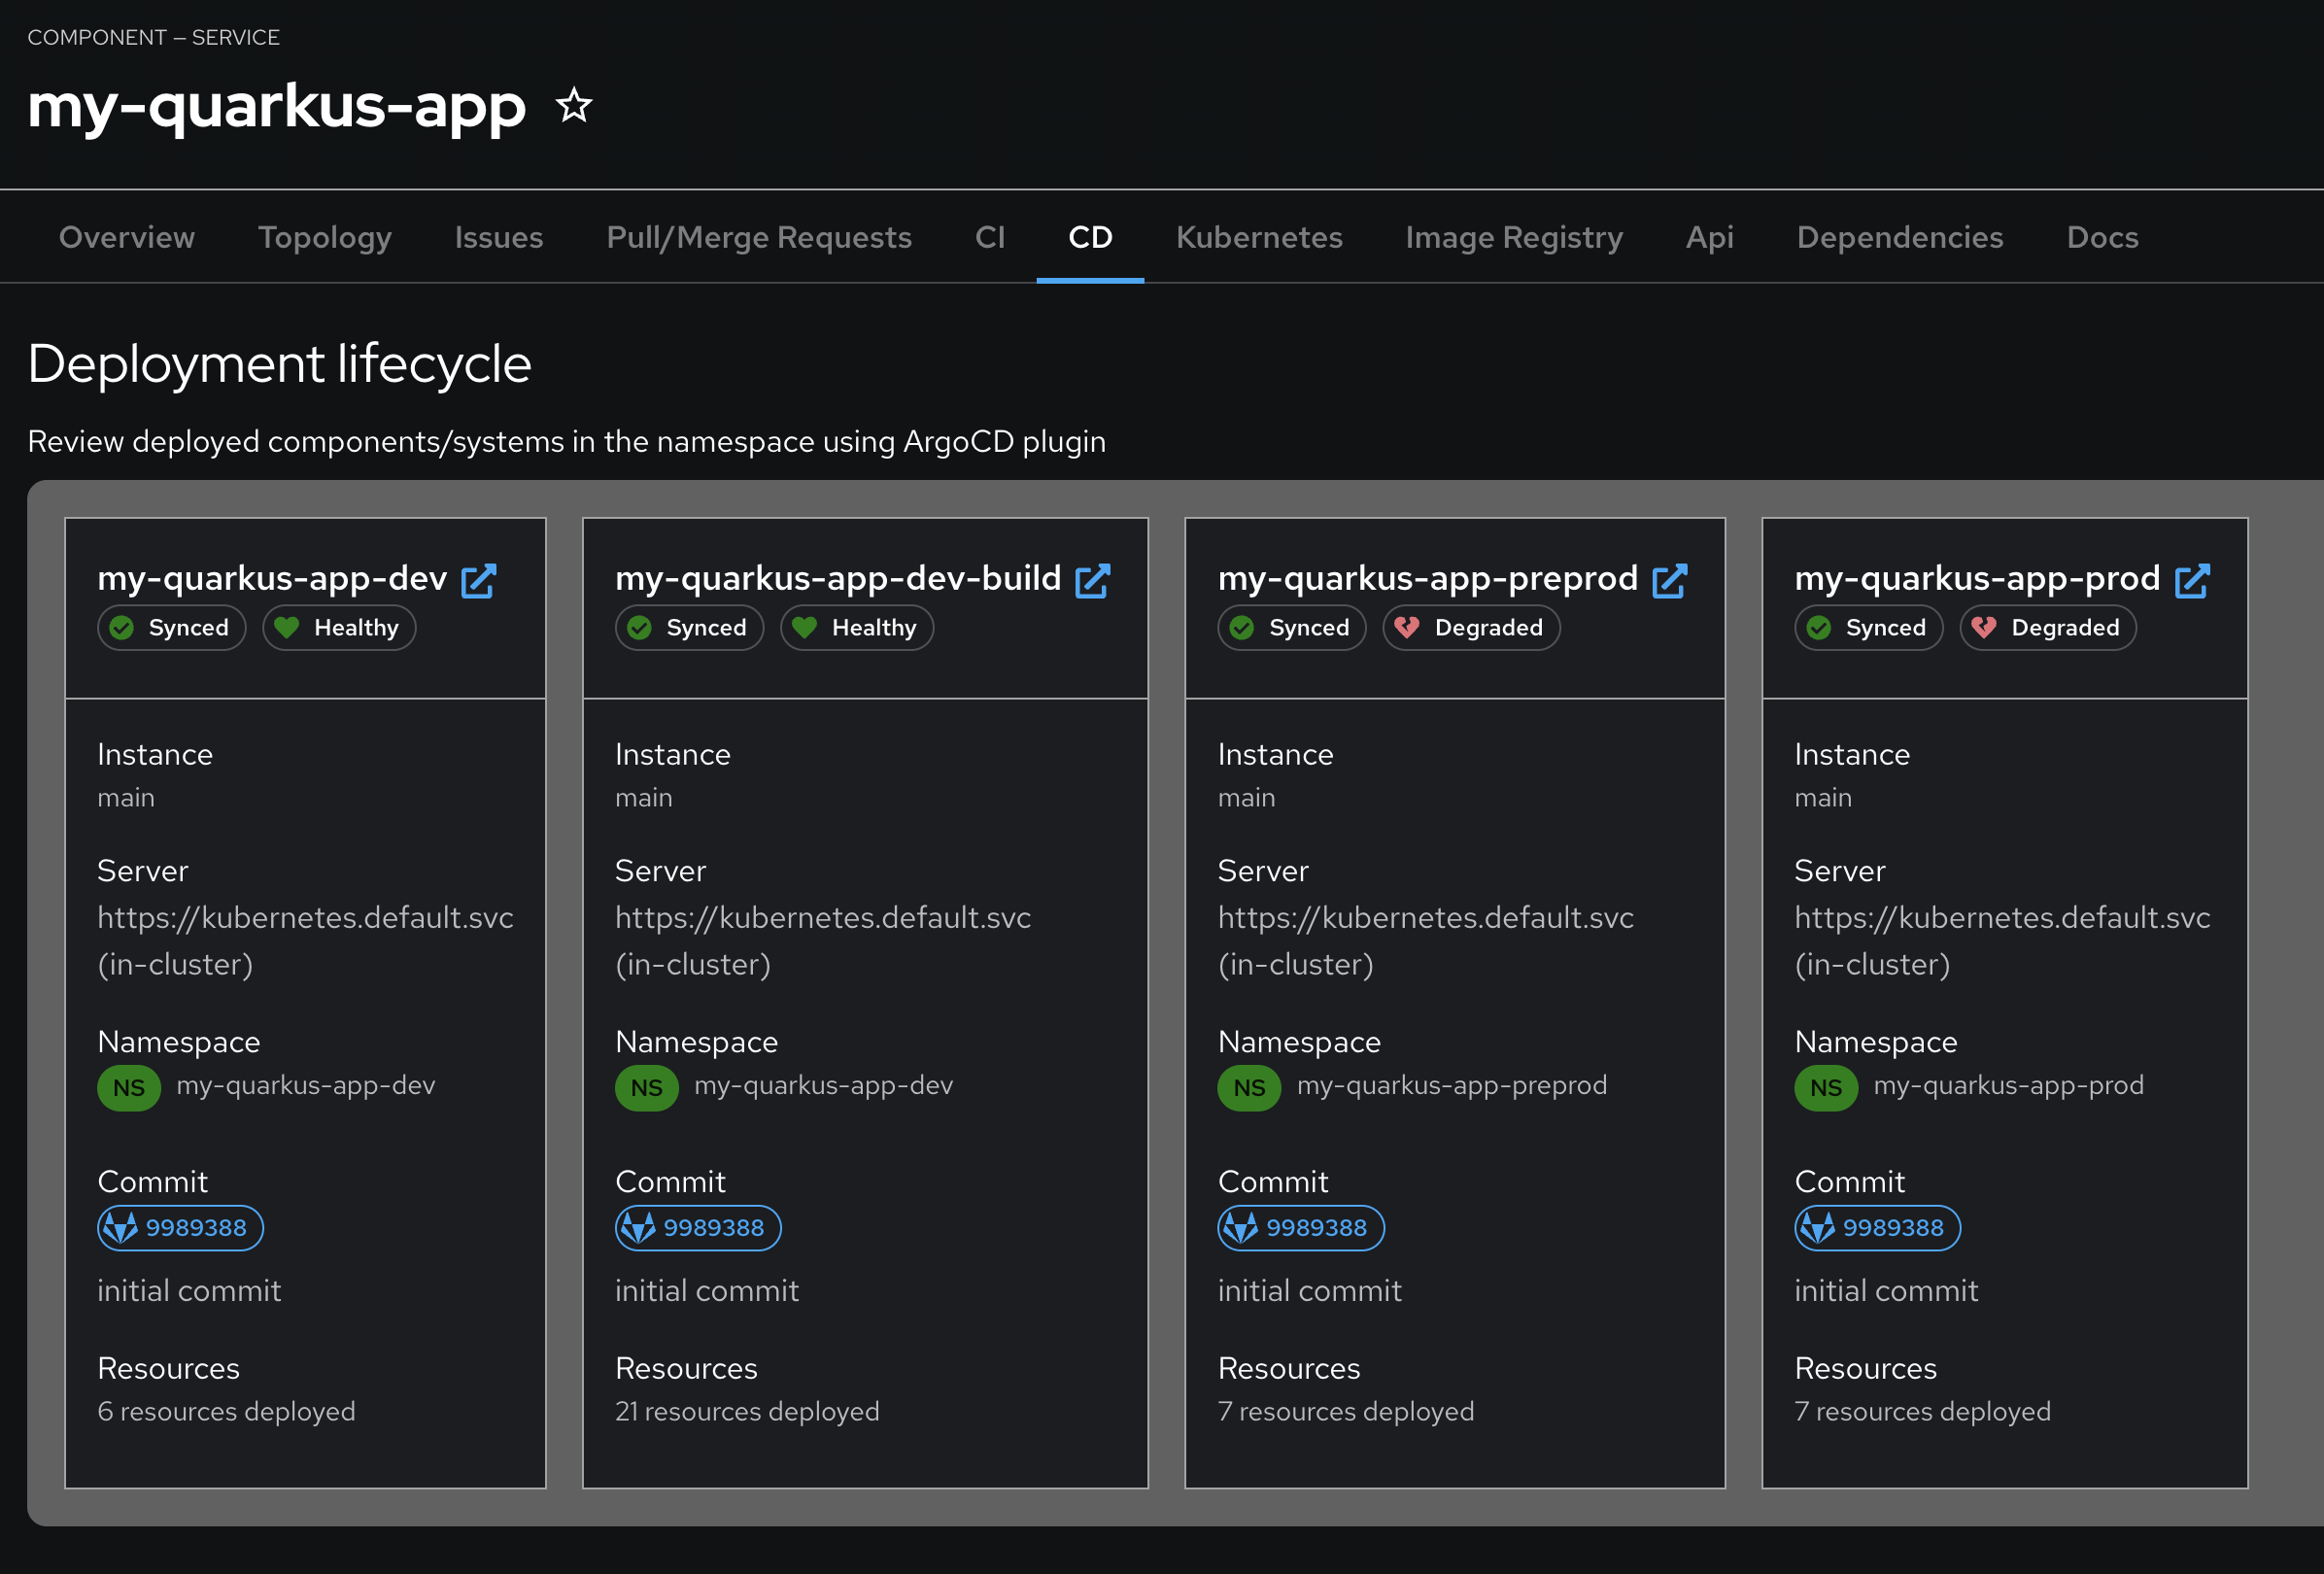
-
Click Topology tab to view
my-quarkus-userX-devdeployment.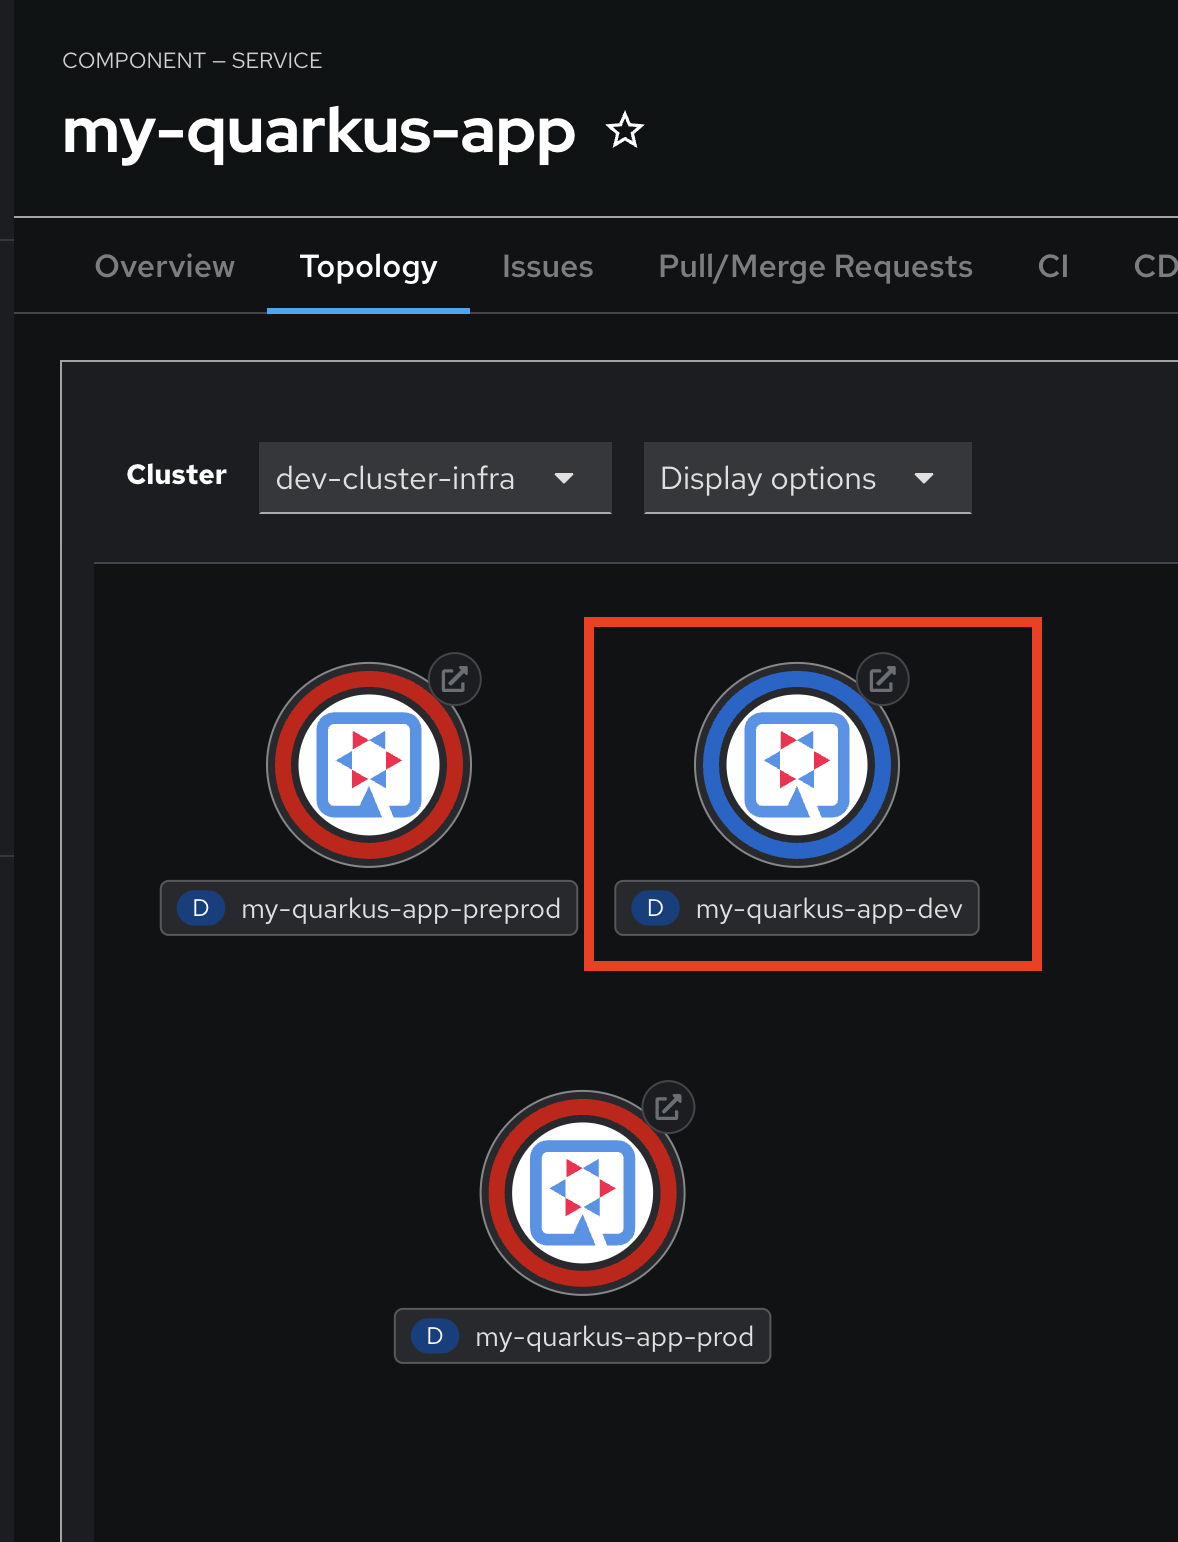
-
Open the application URL by click on the arrow icon on
my-quarkus-userX-devdeployment to check application works correctly. You should see a respose from the application.
-
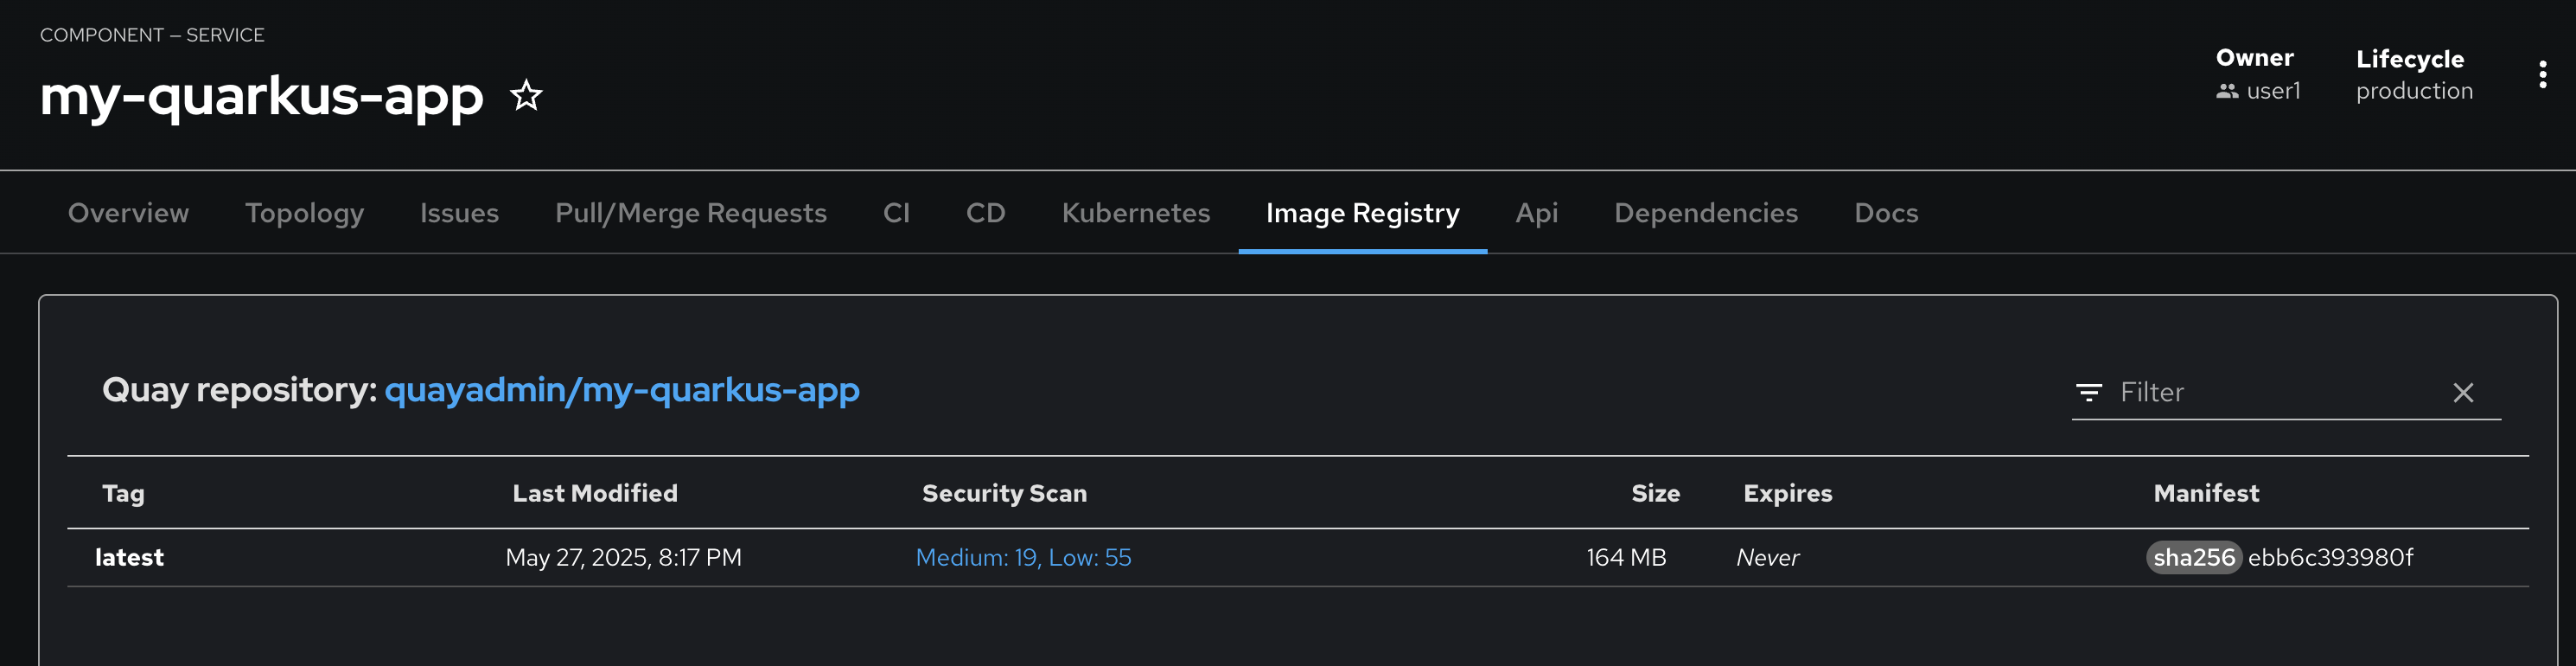
Click Image Registry tab, to view application container image on Quay.
-
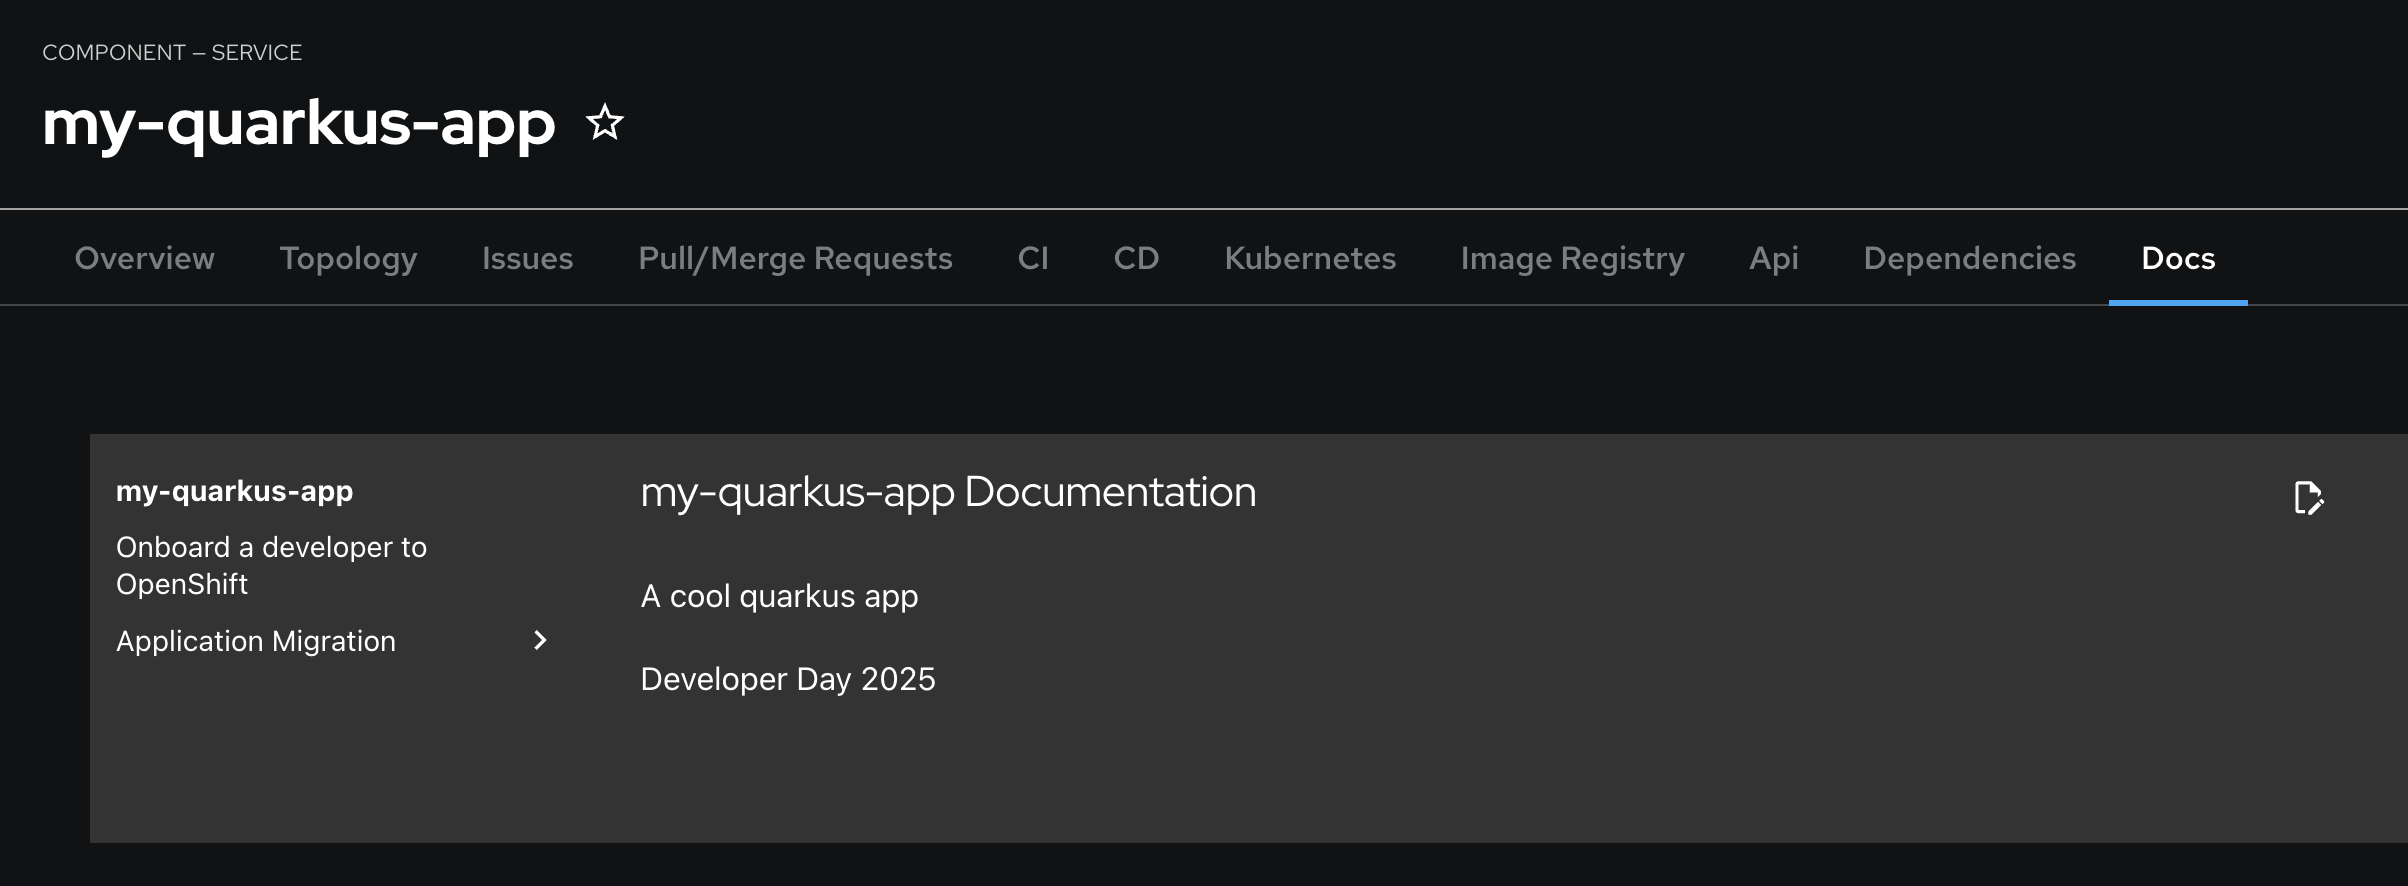
Click Docs tab, to view markdown file in the repository on GitLab.
Deploy Application
Deploy Application to Prepod
Container image deployment to preprod occurs when you tag your source in your source code repository. Tagging your source code in the GitLab repository triggers a webhook which starts your container image deployment to preprod.
-
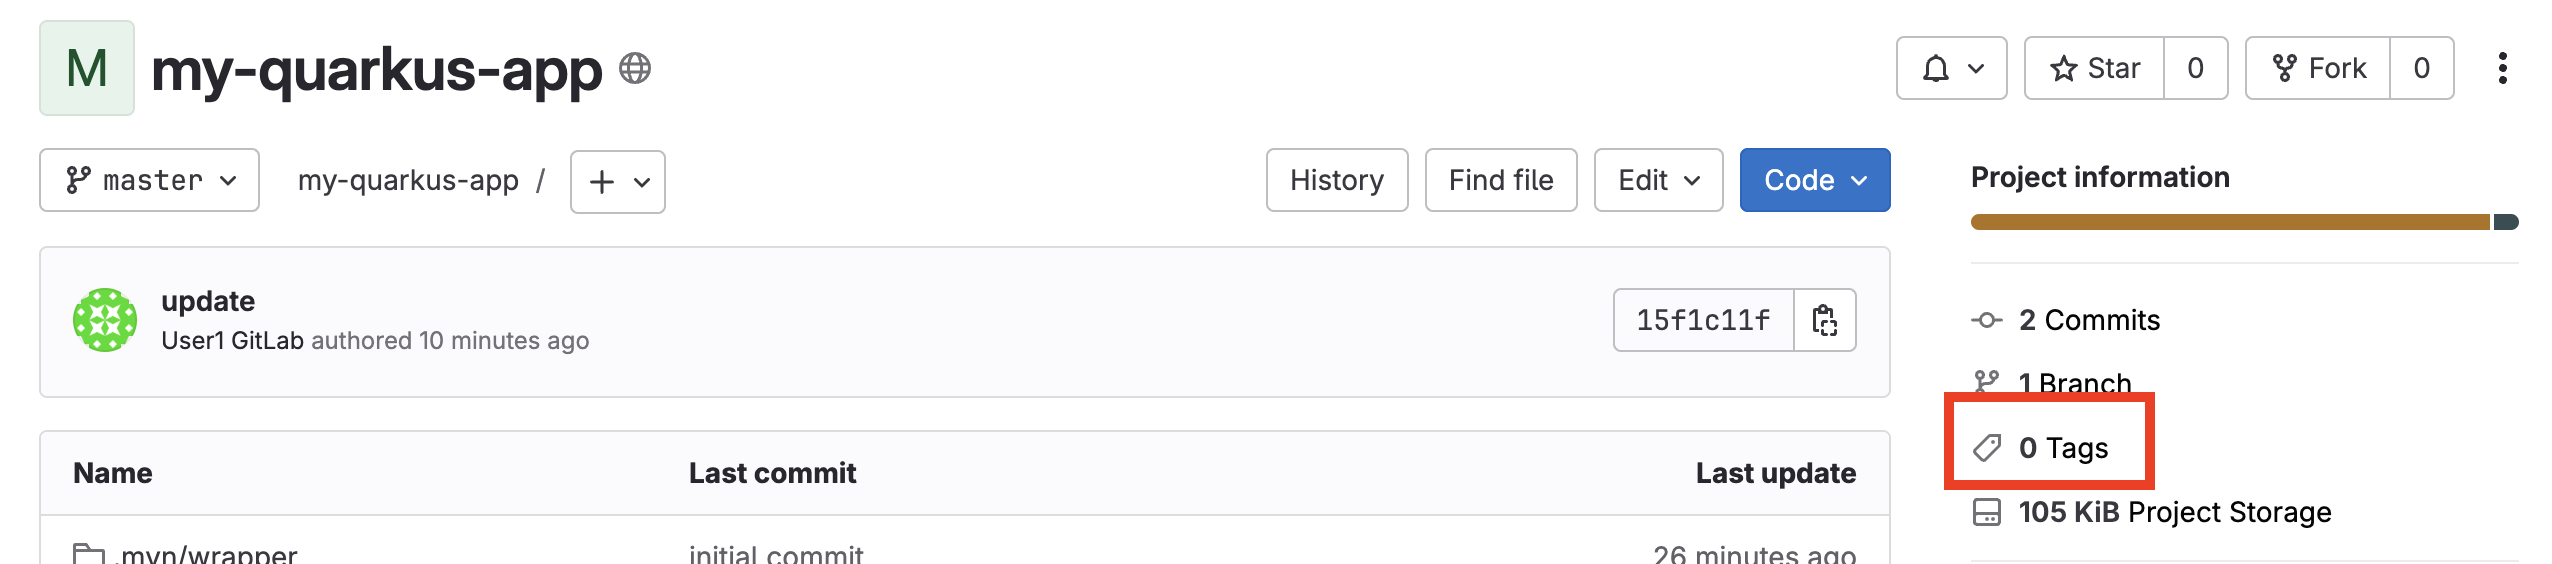
In RHDH console, go to Overview tab, then click View Source link.
-
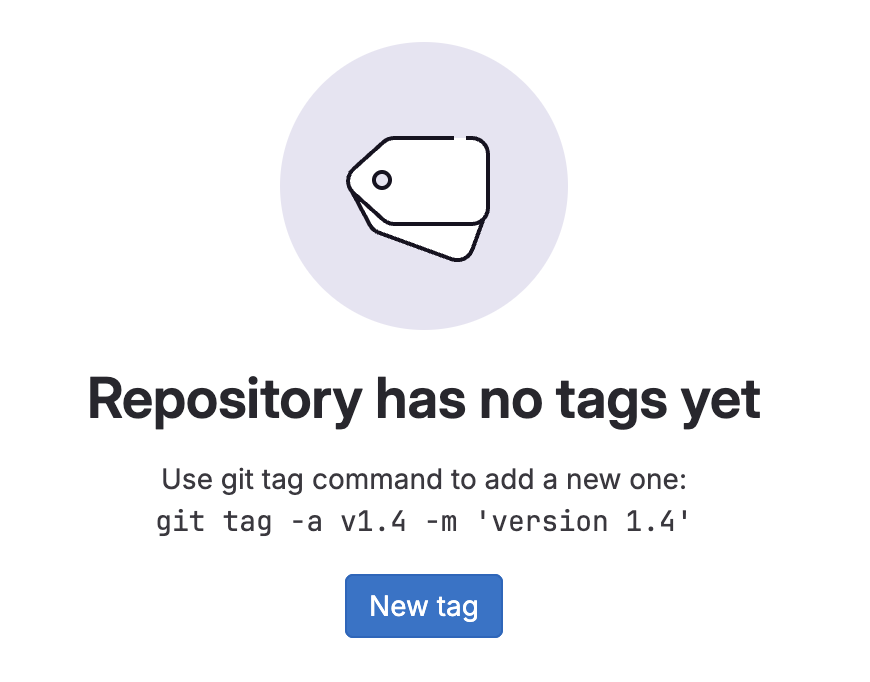
The code repository in GitLab will be opened. Click on the Tags.
-
Click New tag button.
-
Enter
v1.0to Tag name input, then click Create tag button.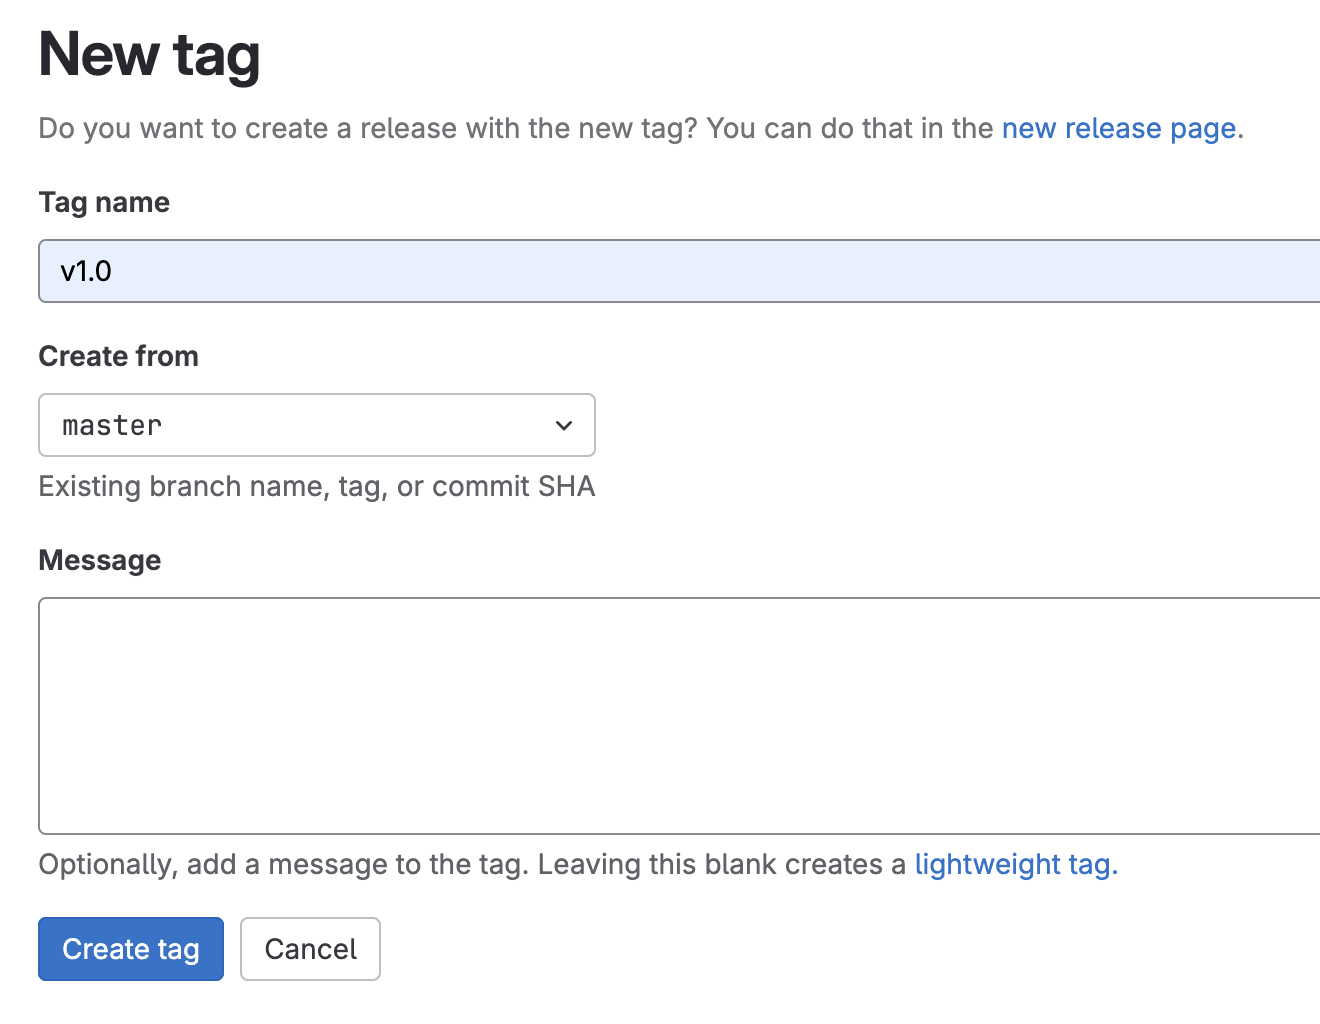
-
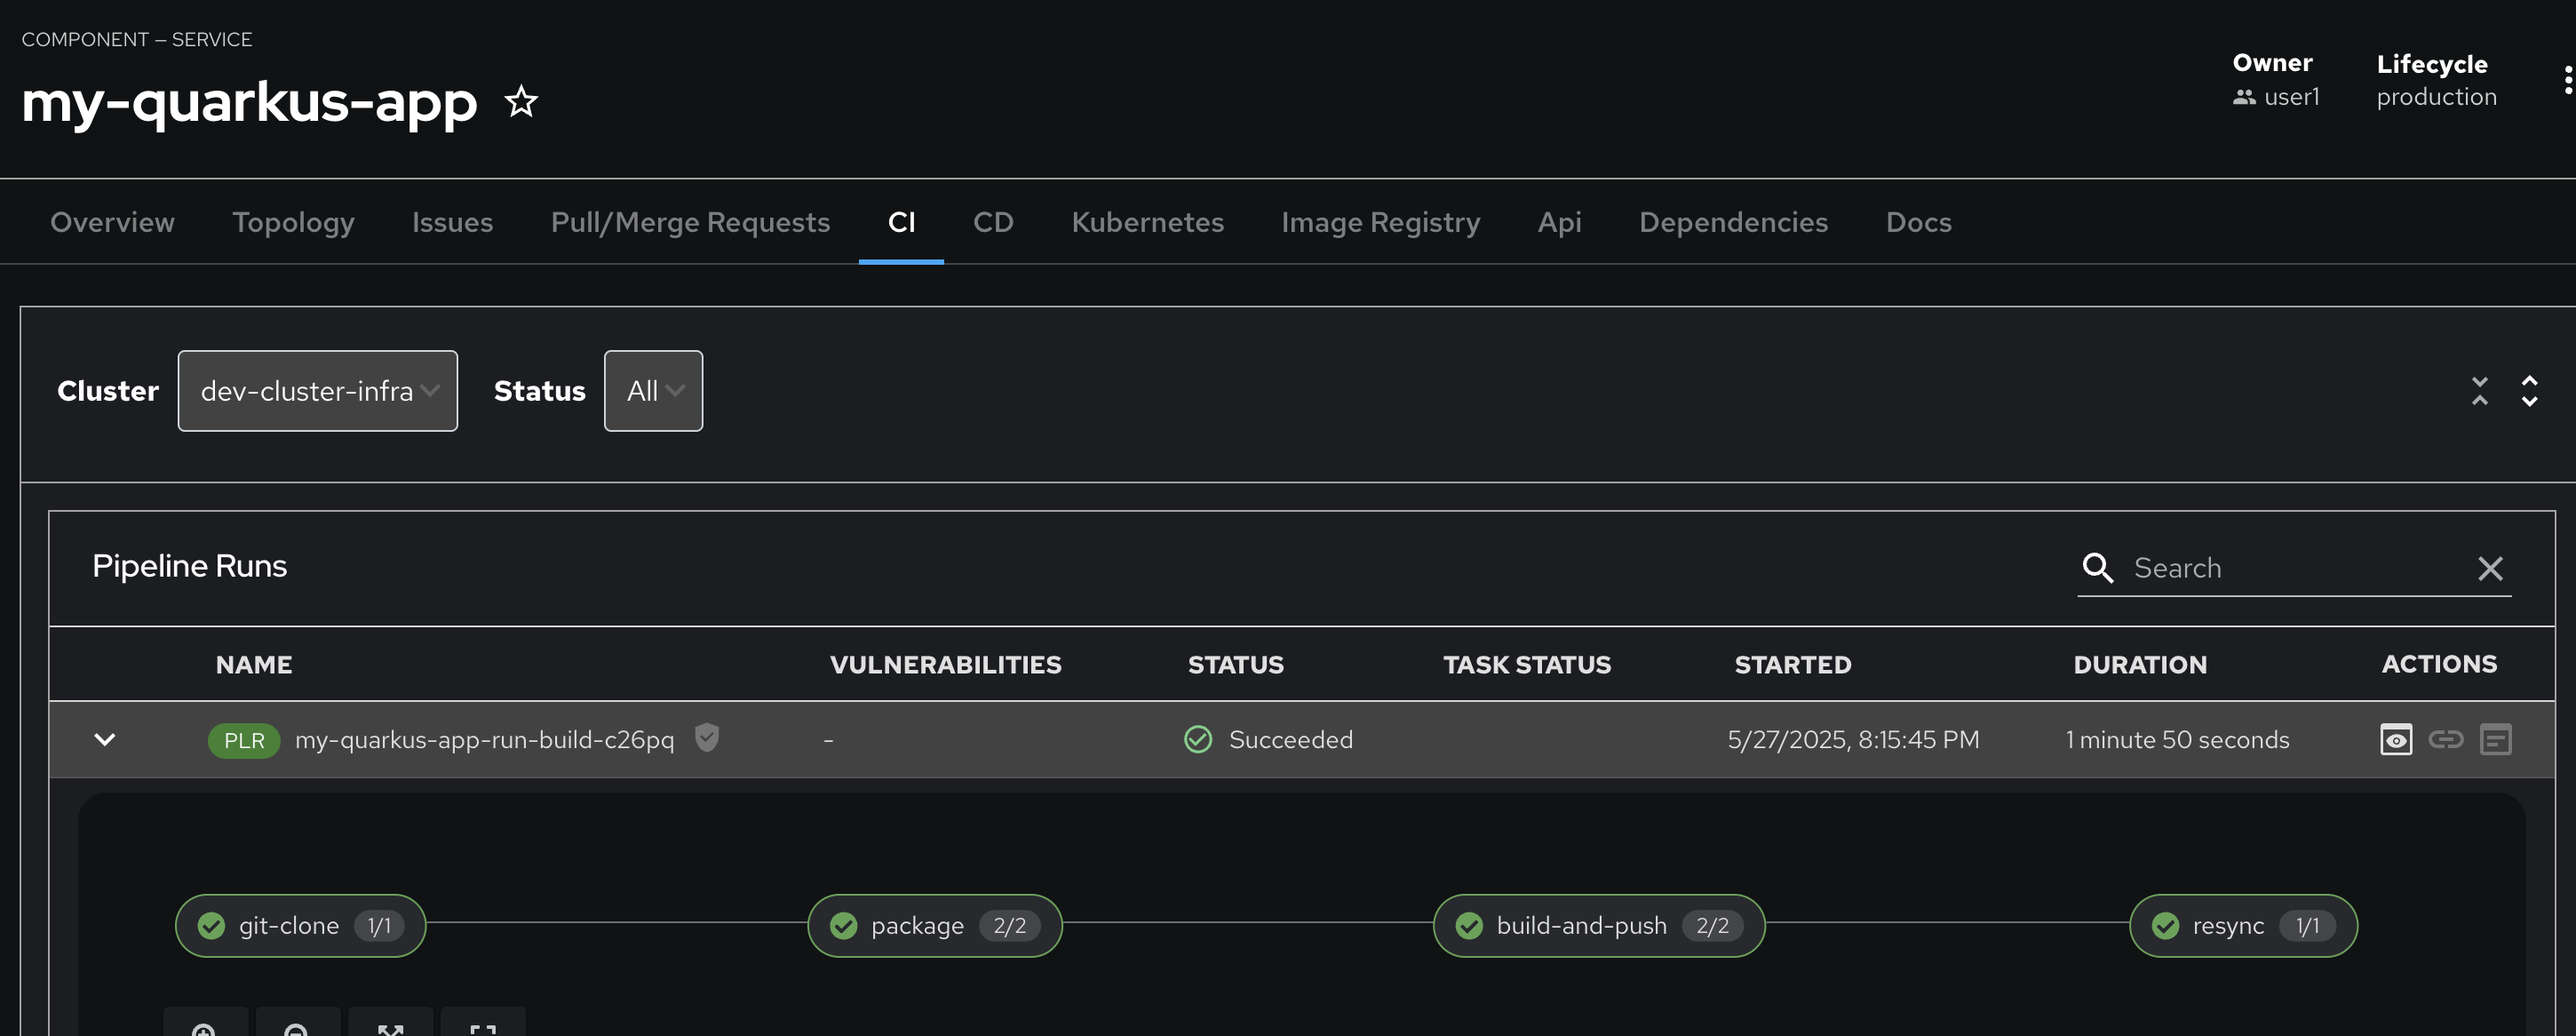
Go back to the RHDH web console, Click CI tab to view pipeline. You should see the pipline got triggered and automatically running.
-
View the Pipeline Logs.
-
After the pipline run completed, go to Topology tab, then open the
my-quarkus-userX-preprodapplication URL by click on the arrow icon of the Deployment to test the application.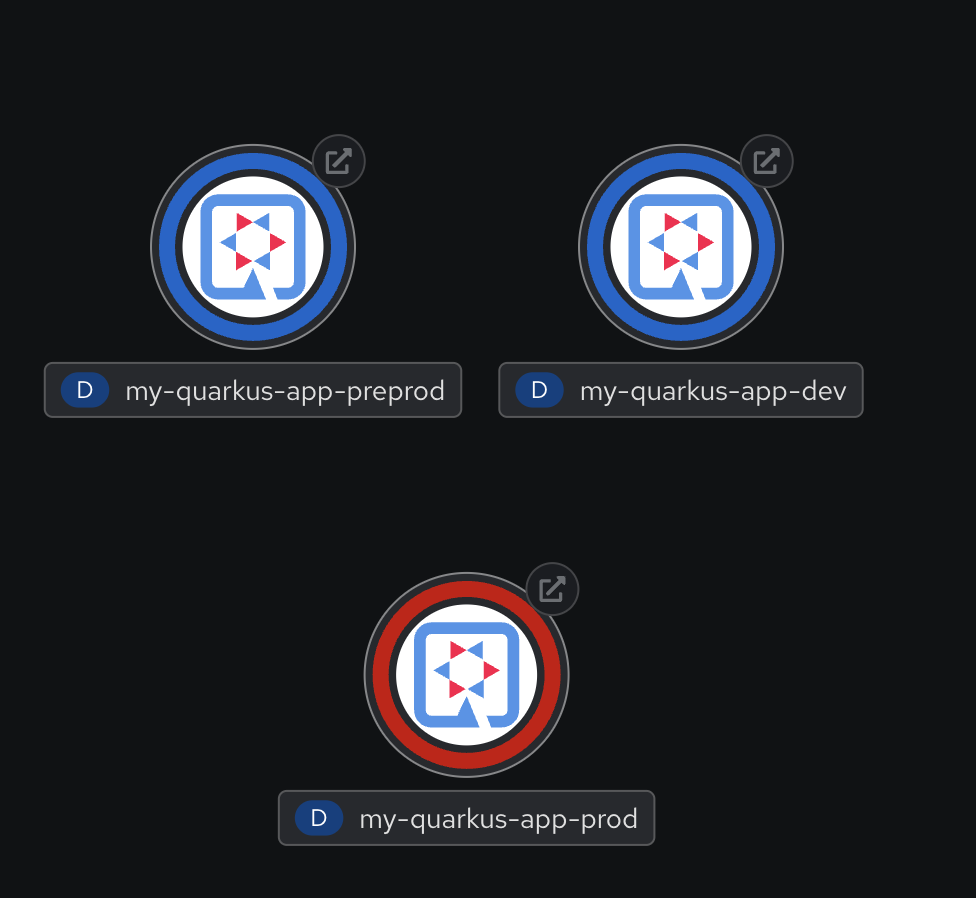
Deploy Application to Production
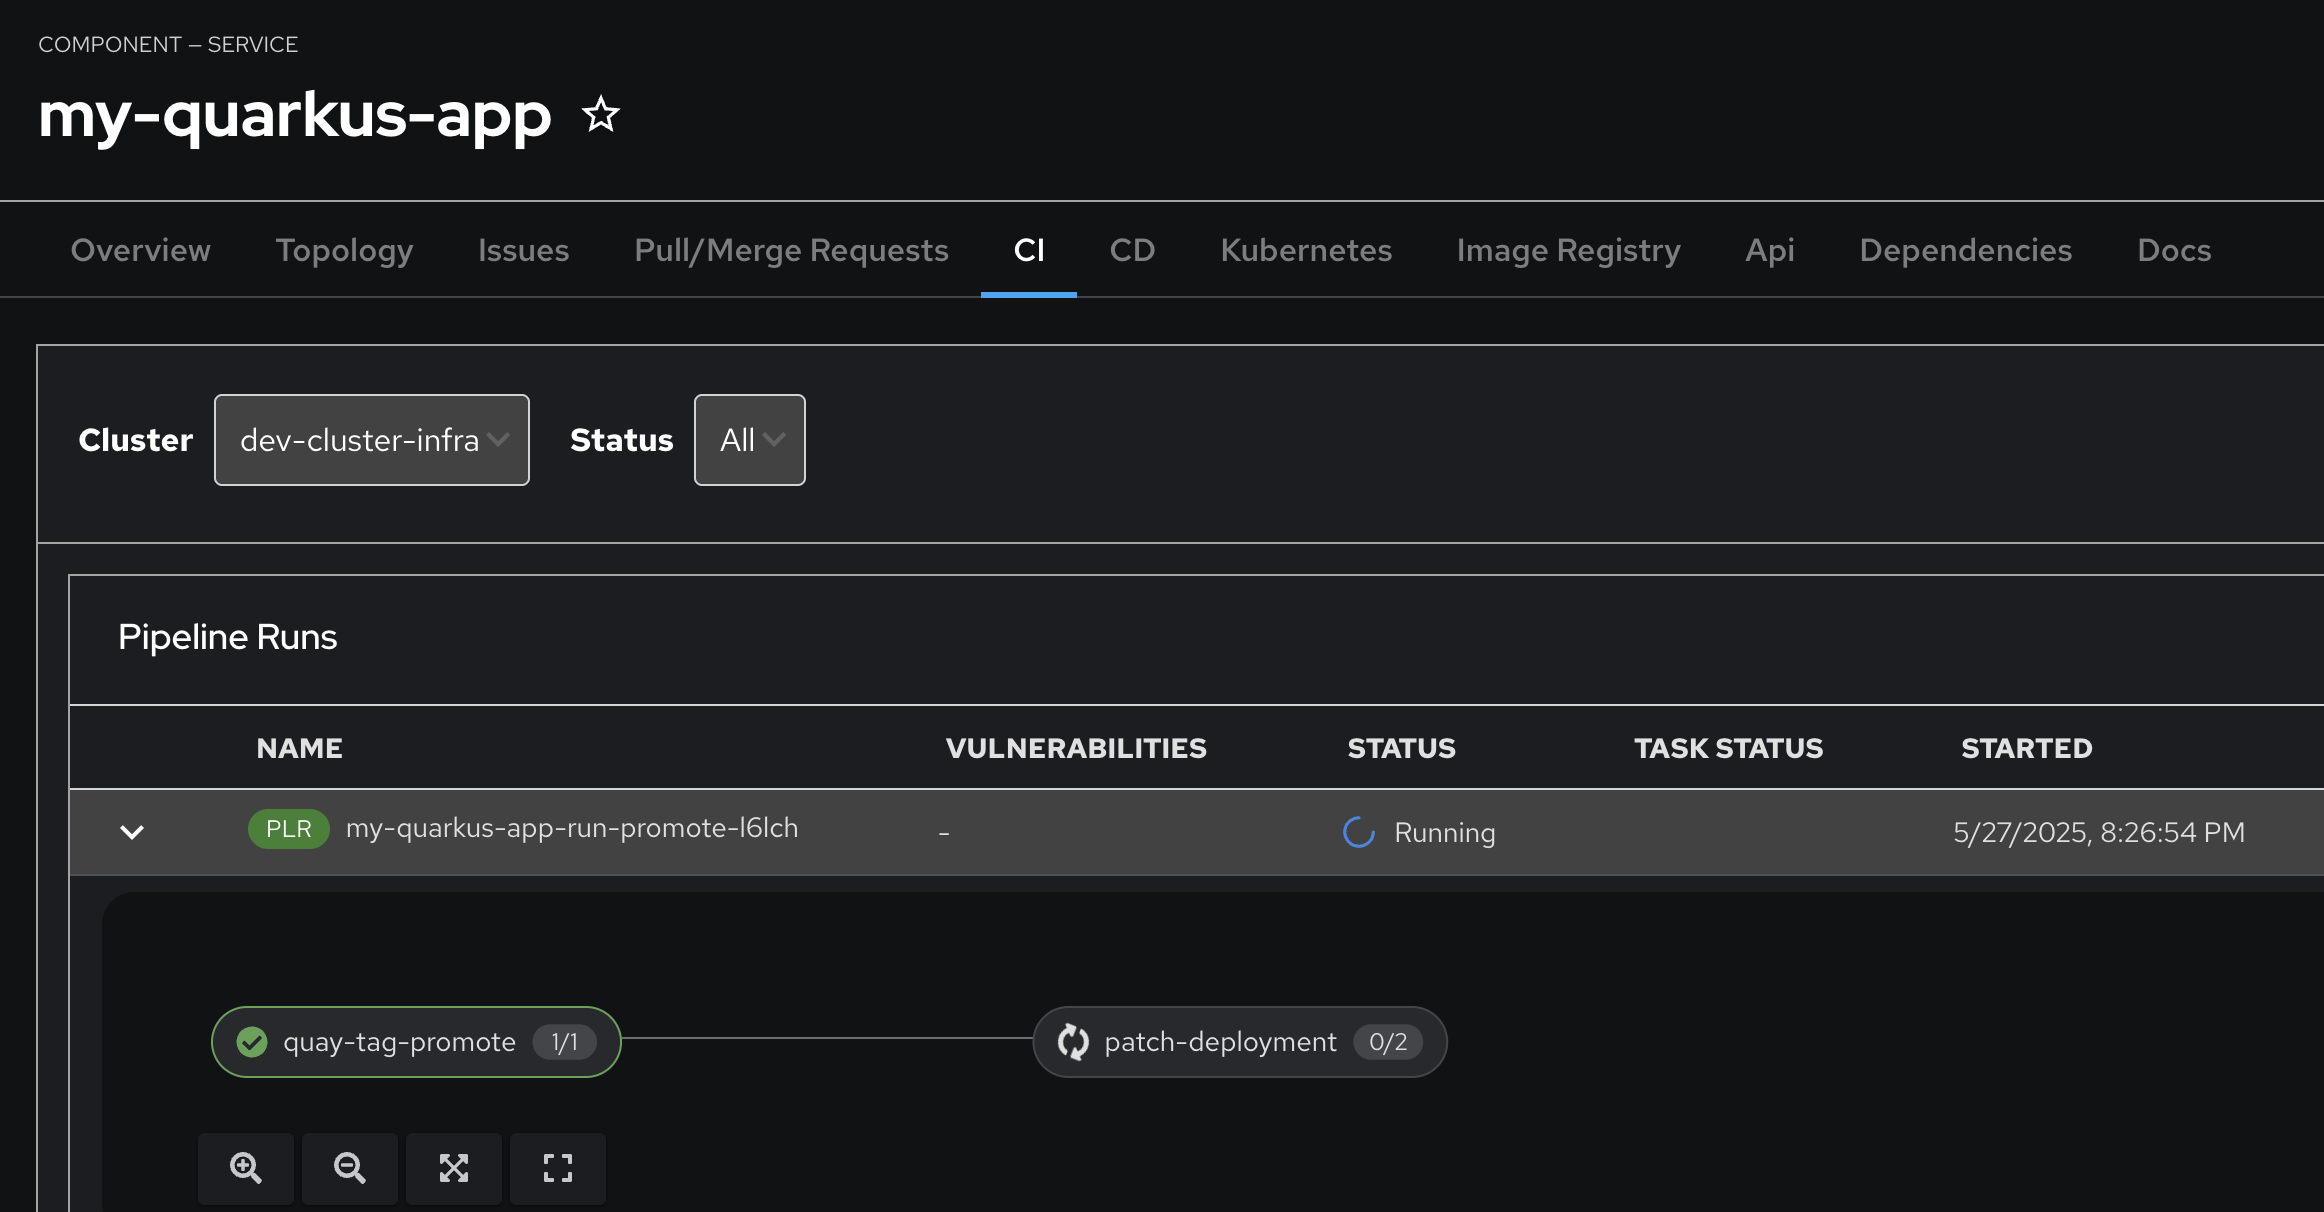
The next step is to promote your container image to production. Promotion to production occurs when you create a release in GitLab.
-
Switch back to GitLab console and select the
development/my-quarkus-userXrepository. Ensure you are in the root of the repository. Click the Tag link as you previously did.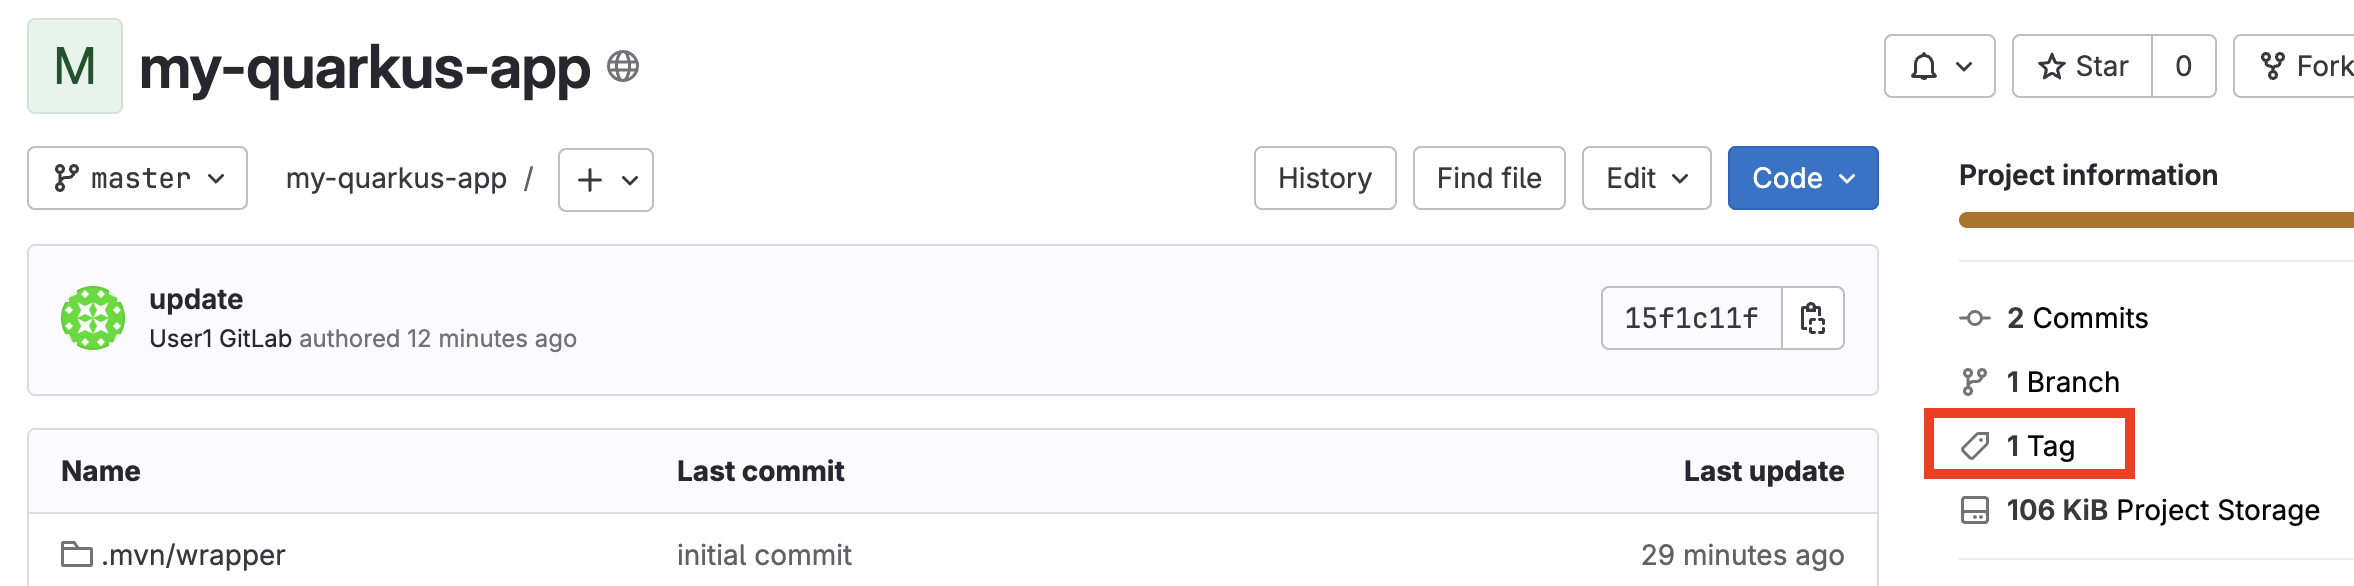
-
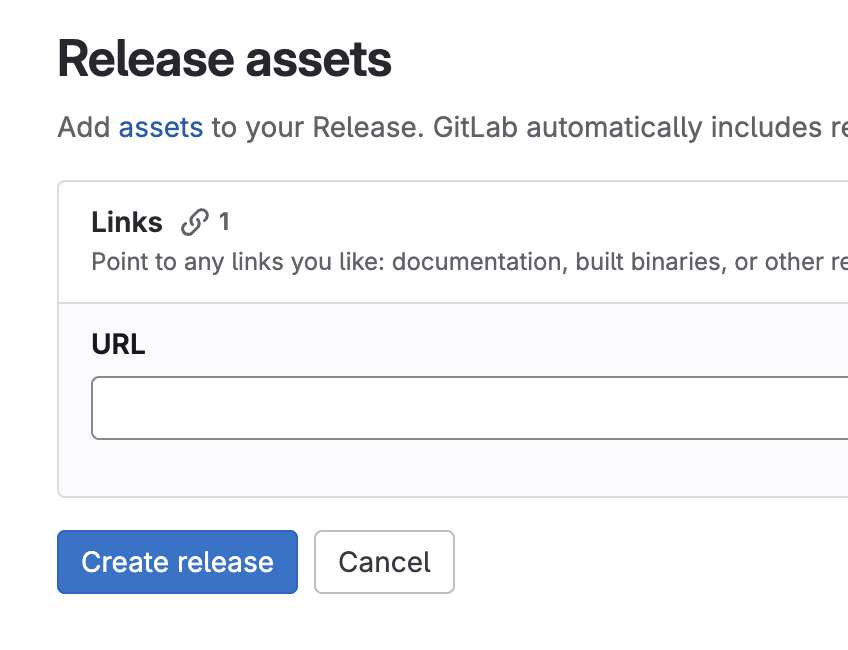
On the v1.0 tag, click the Create release button.

-
For the Release title enter
Prod v1.0, leave all other fields as defaults and click the Create release button at the bottom of the screen.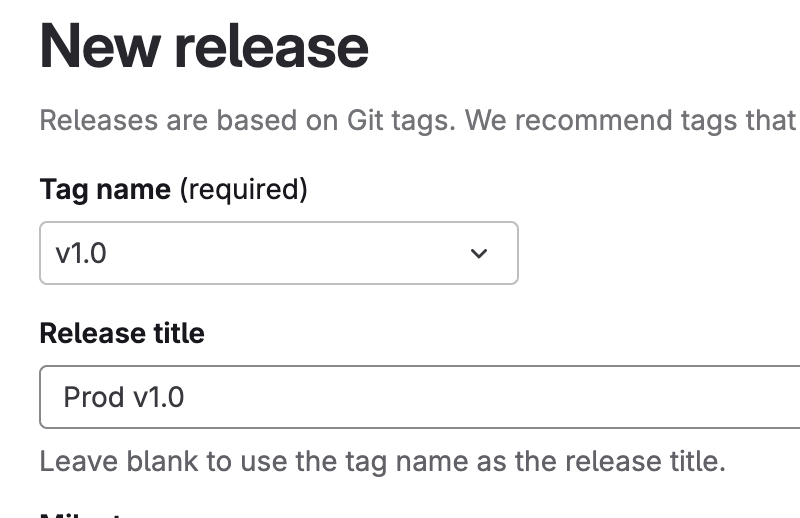
-
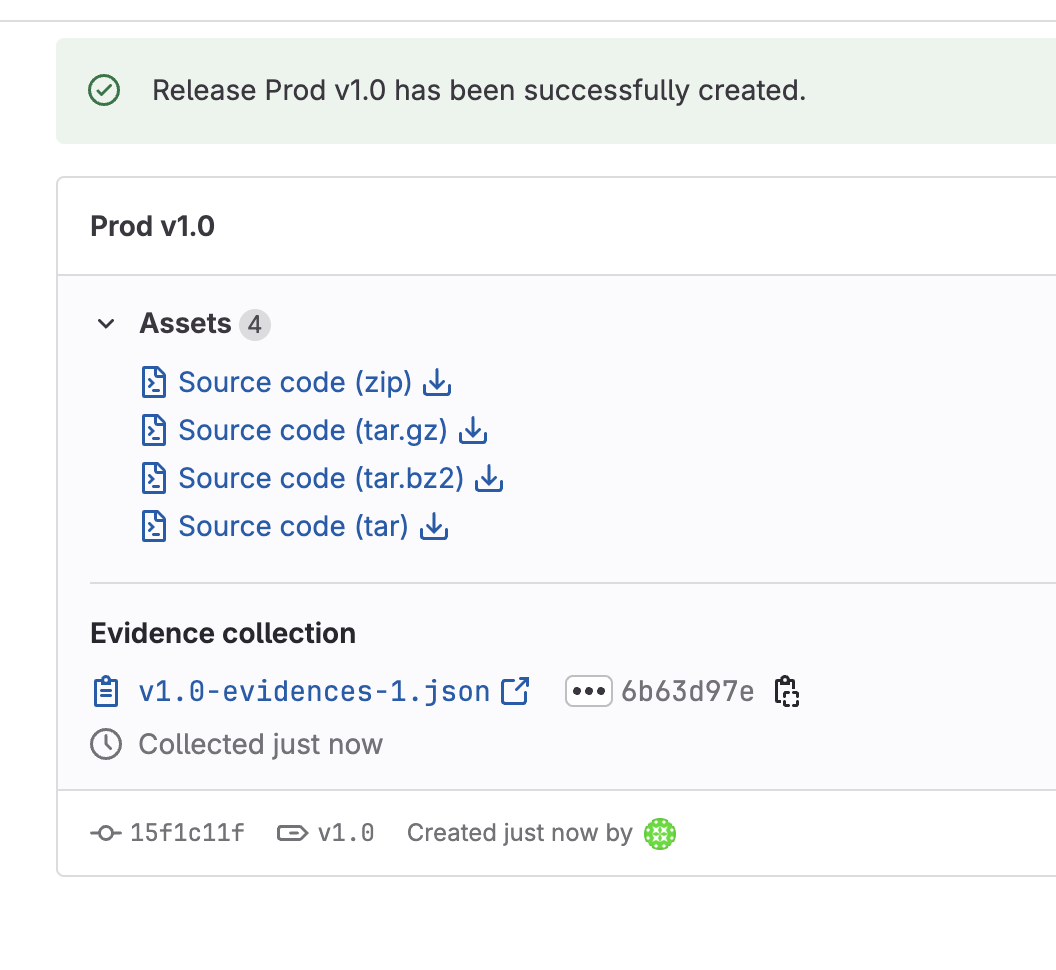
Your release is now created.
-
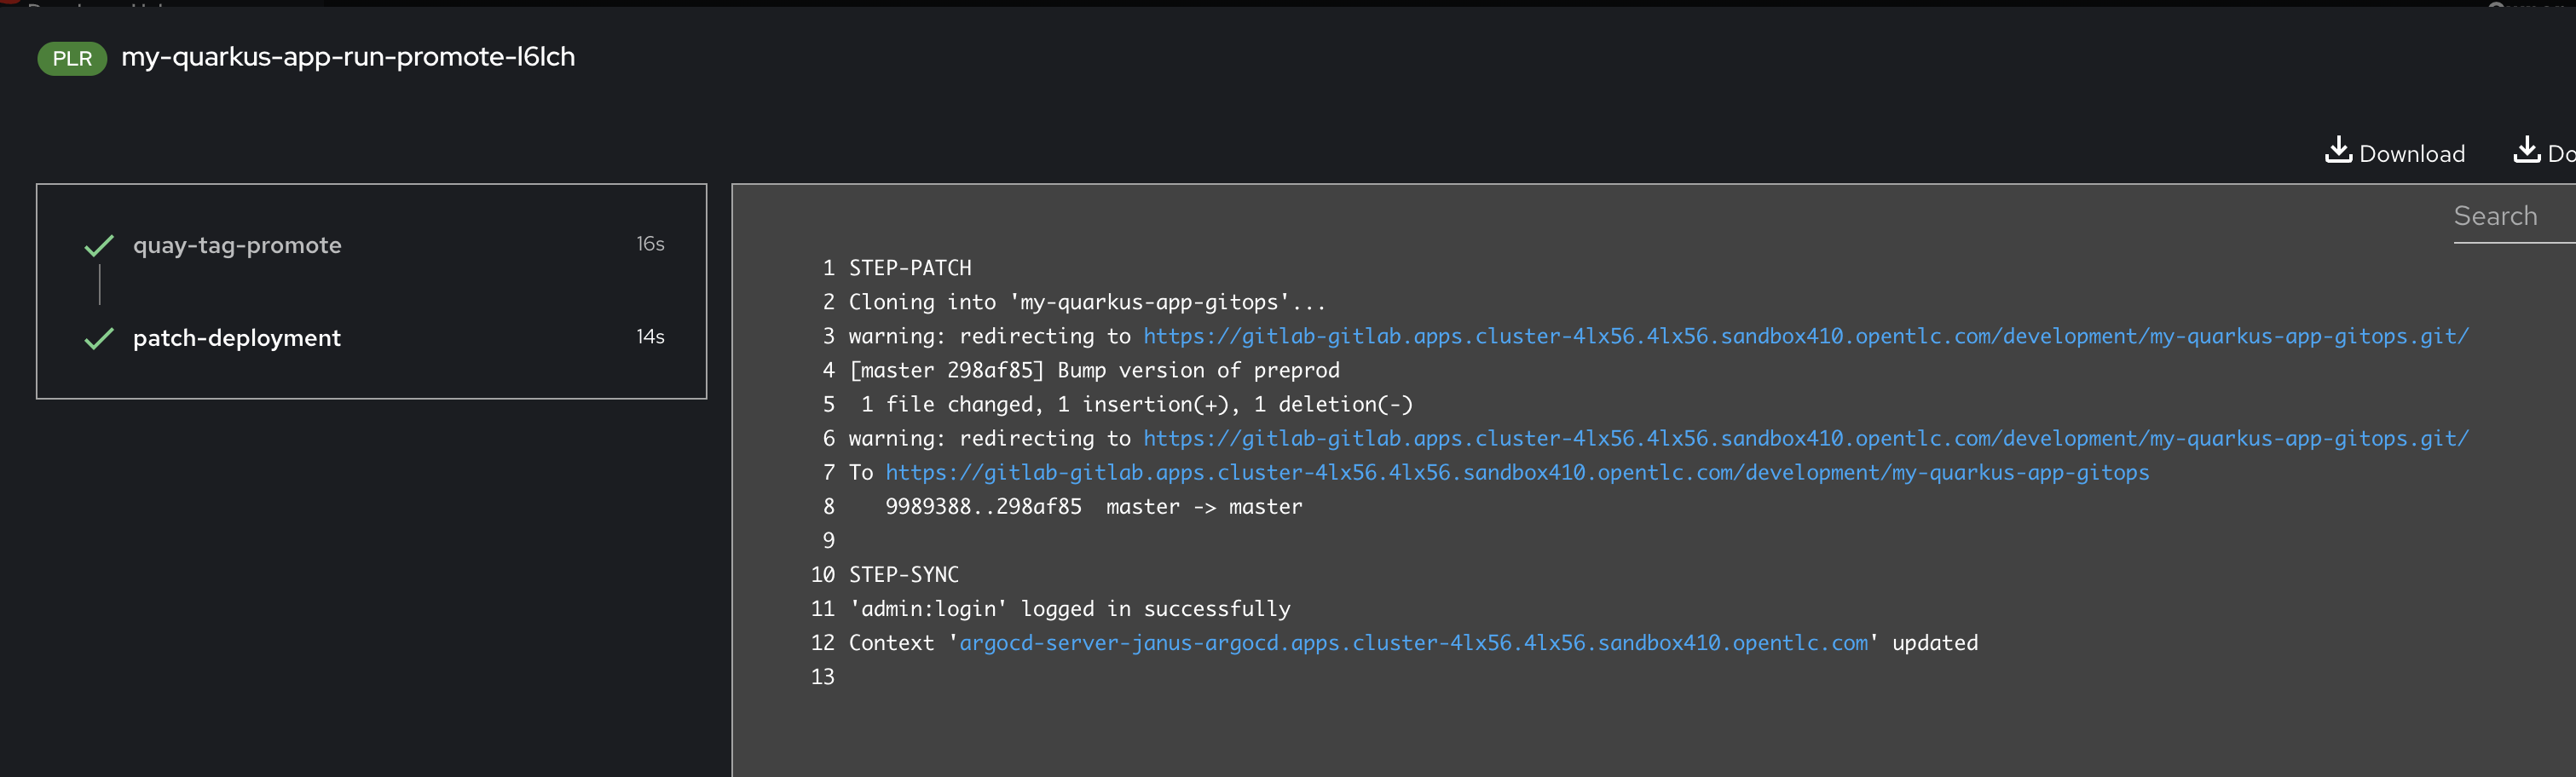
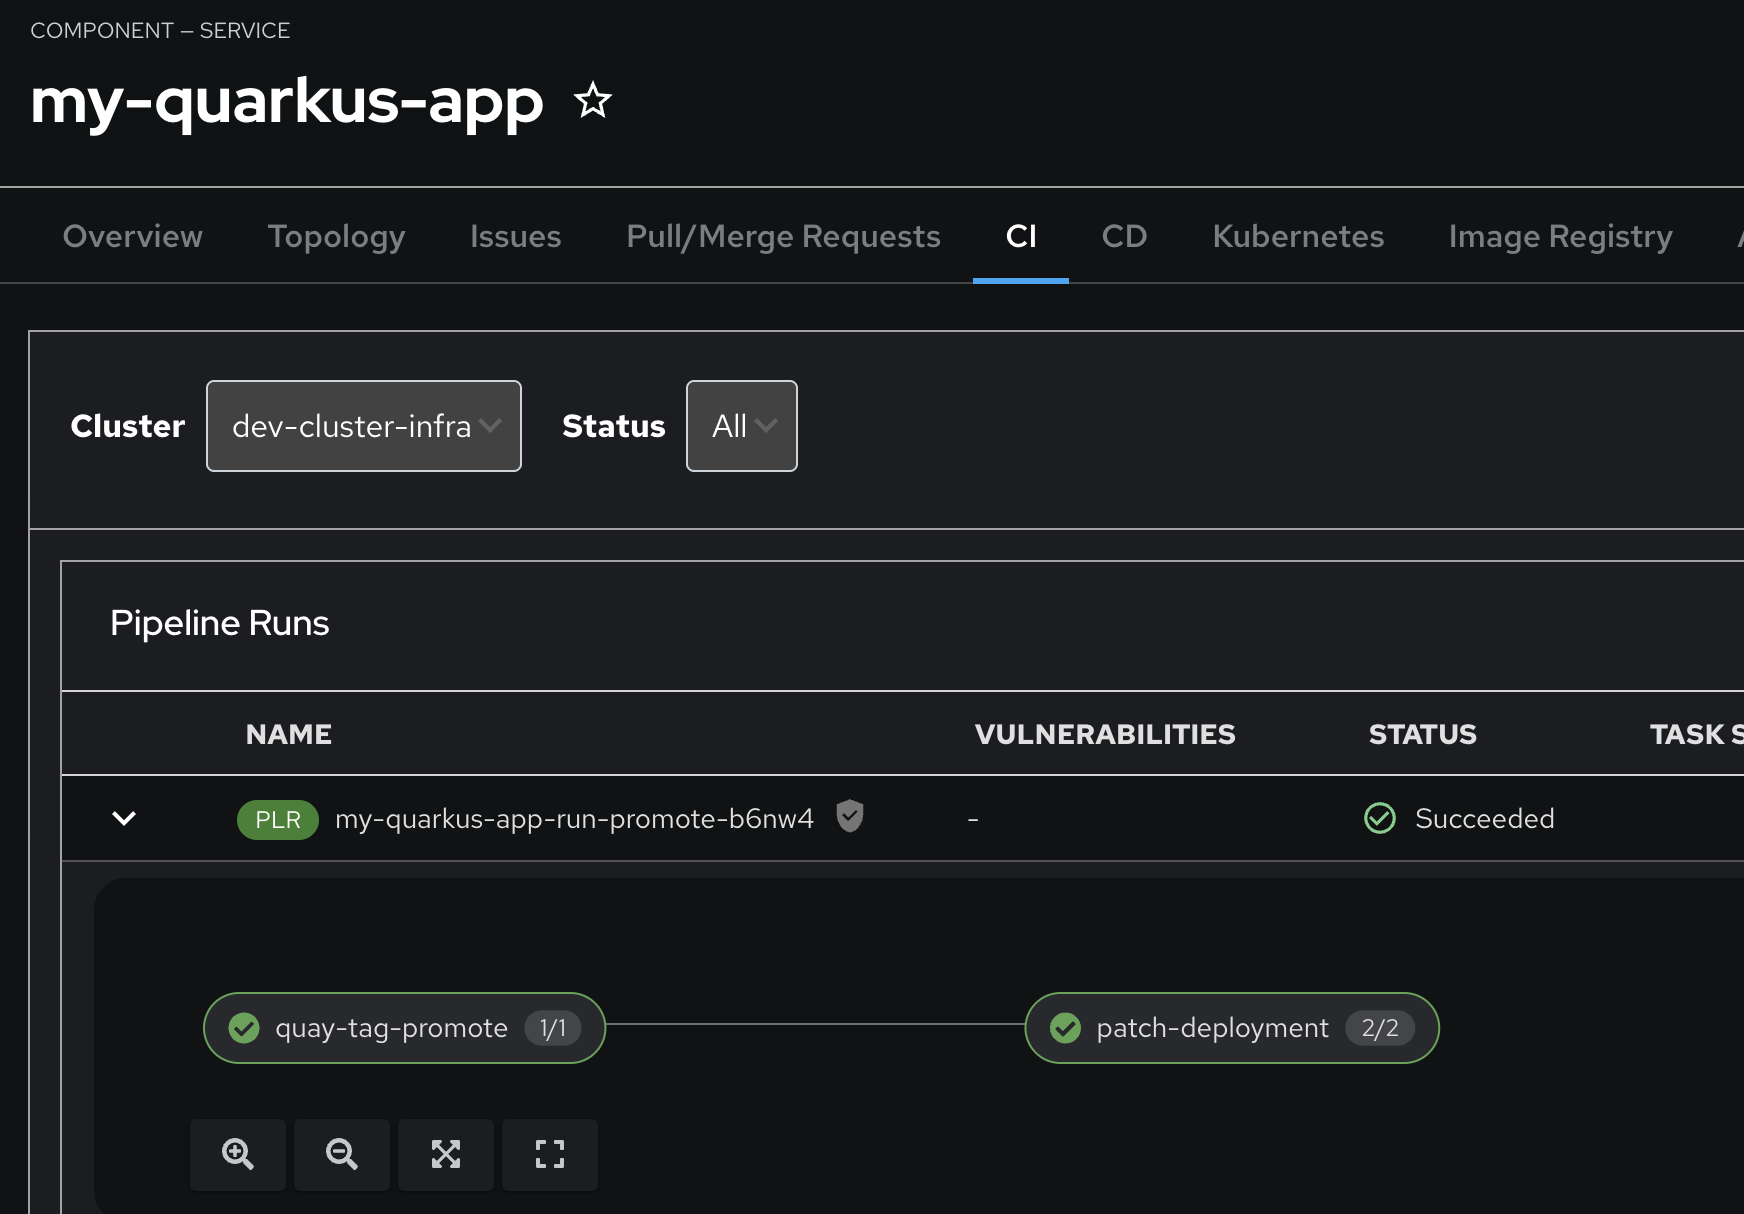
Switch back to RHDH console, go to CI tab, then wait until the pipeline run complete.
-
Go to Topology tab, then open the
my-quarkus-userX-prodapplication URL by click on the arrow icon of the Deployment to test the application.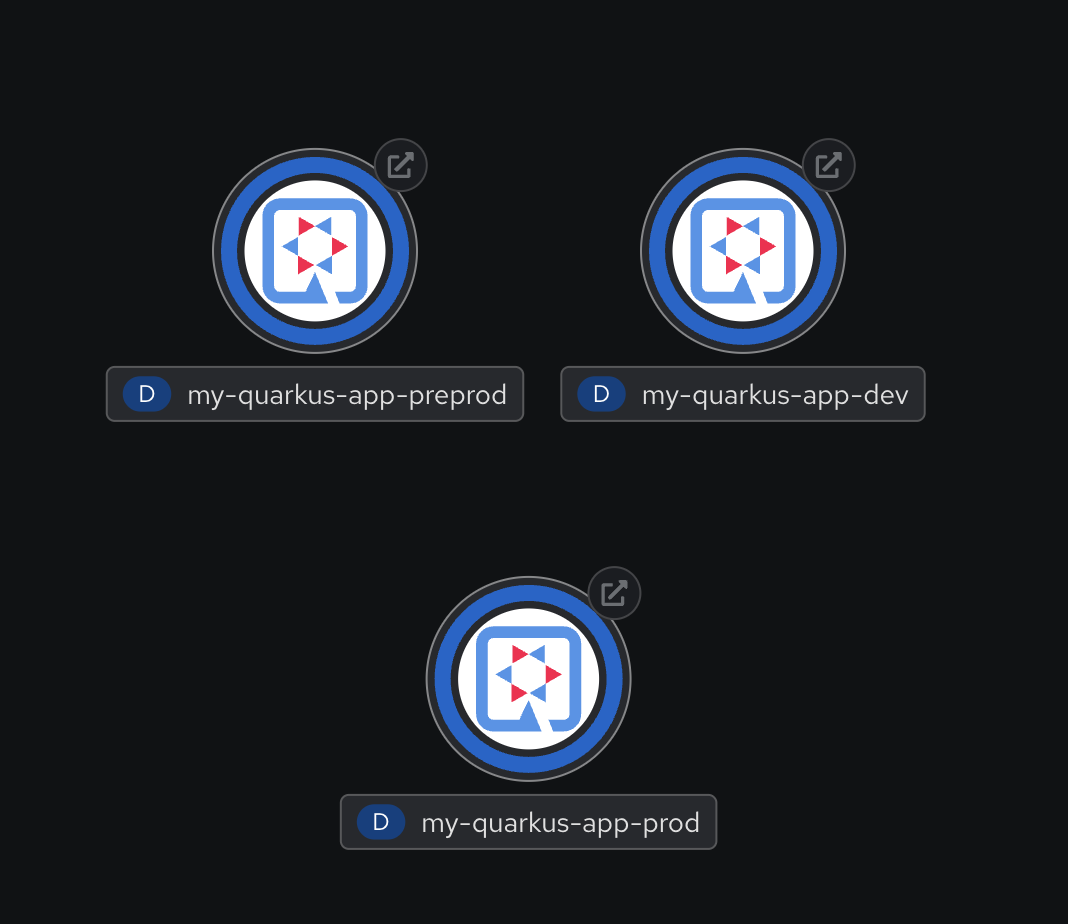
-
Go to CD tab, you should see all Argo CD Applications are Synced and Healthy.